From an empty table to a photograph.
A session in Greyboard is one path: set the scale, lay a sheet on the cutting mat, cut the parts by hand or by laser, glue them onto the base board, turn the model on the turntable and photograph it in studio light. Then export the cutting layout: DXF and SVG for a laser cutter, an actual-size PDF for a knife.
Seven steps, one quiet session
How an architectural model is made in Greyboard, from the first sheet to the file for the laser.
-
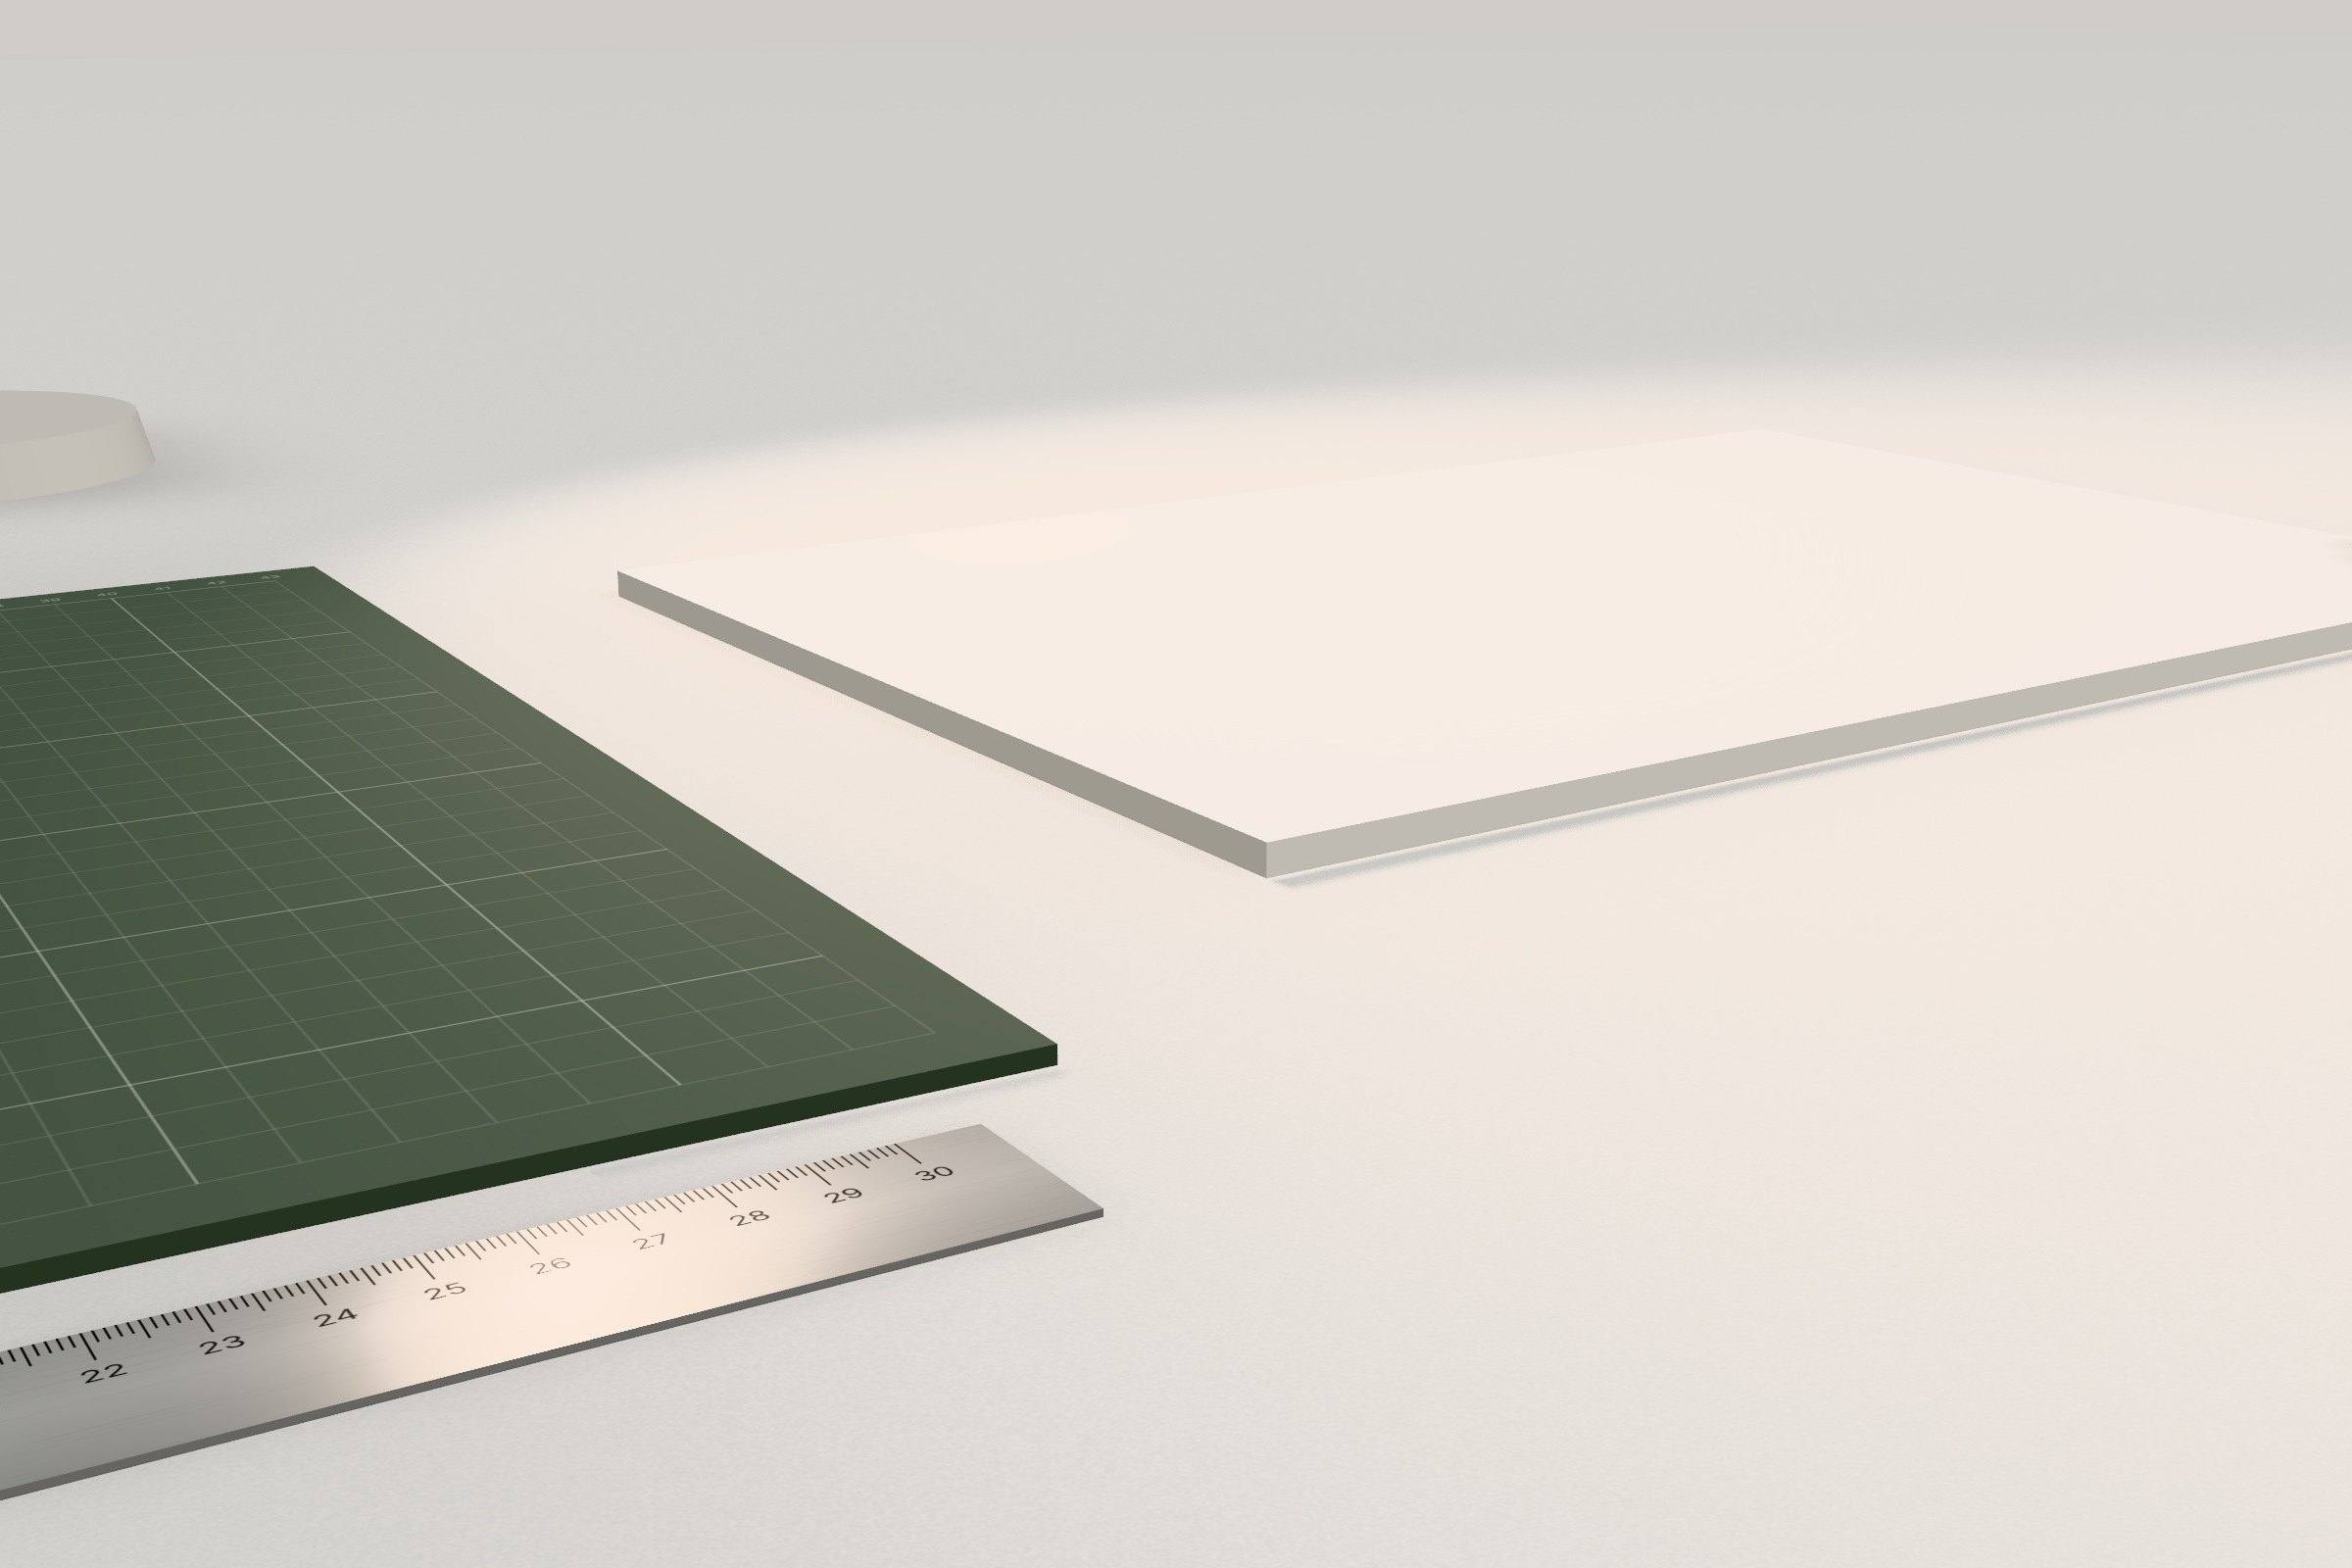
Set the scale and the base board
1:500 and 1:200 for massing and sites, 1:100 and 1:50 for buildings. Pin a drawing to the table if you have one: contour lines from a DXF, or a picture laid as a printed sheet.
-
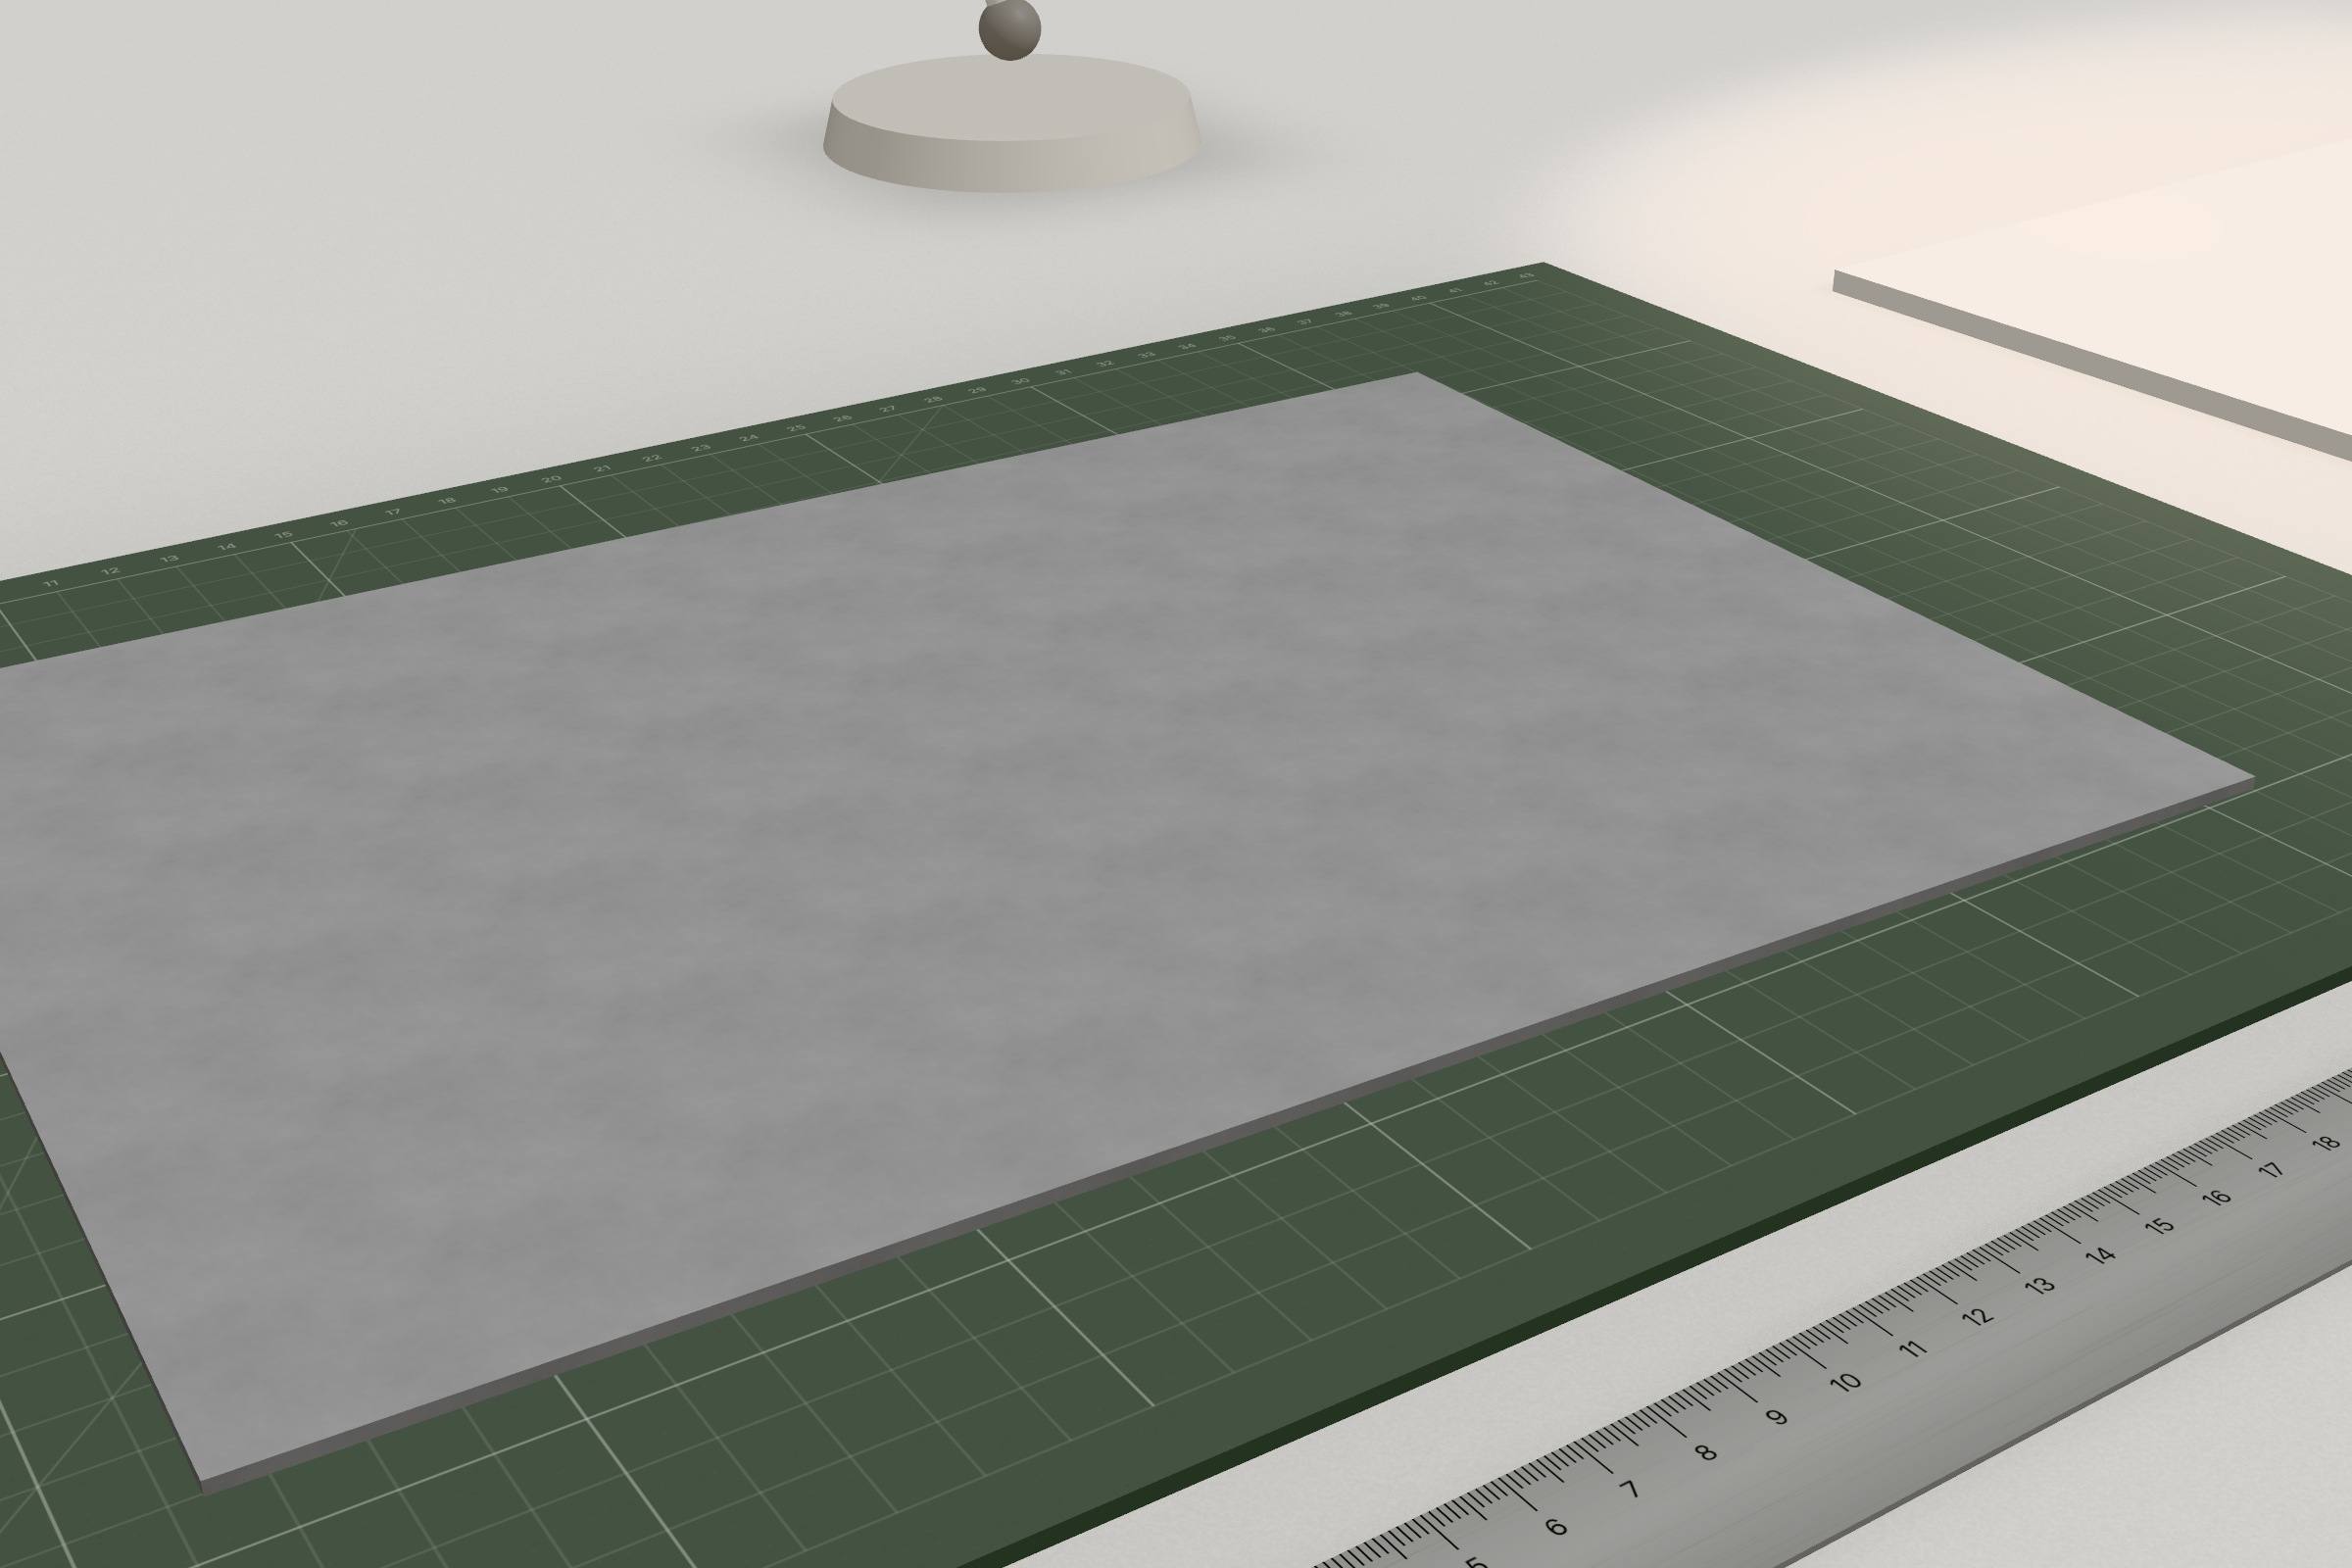
Lay a sheet on the mat
Pull a sheet from the shelf; it slides onto the cutting mat and settles. Its thickness is shown at once in real millimetres for your scale.
-
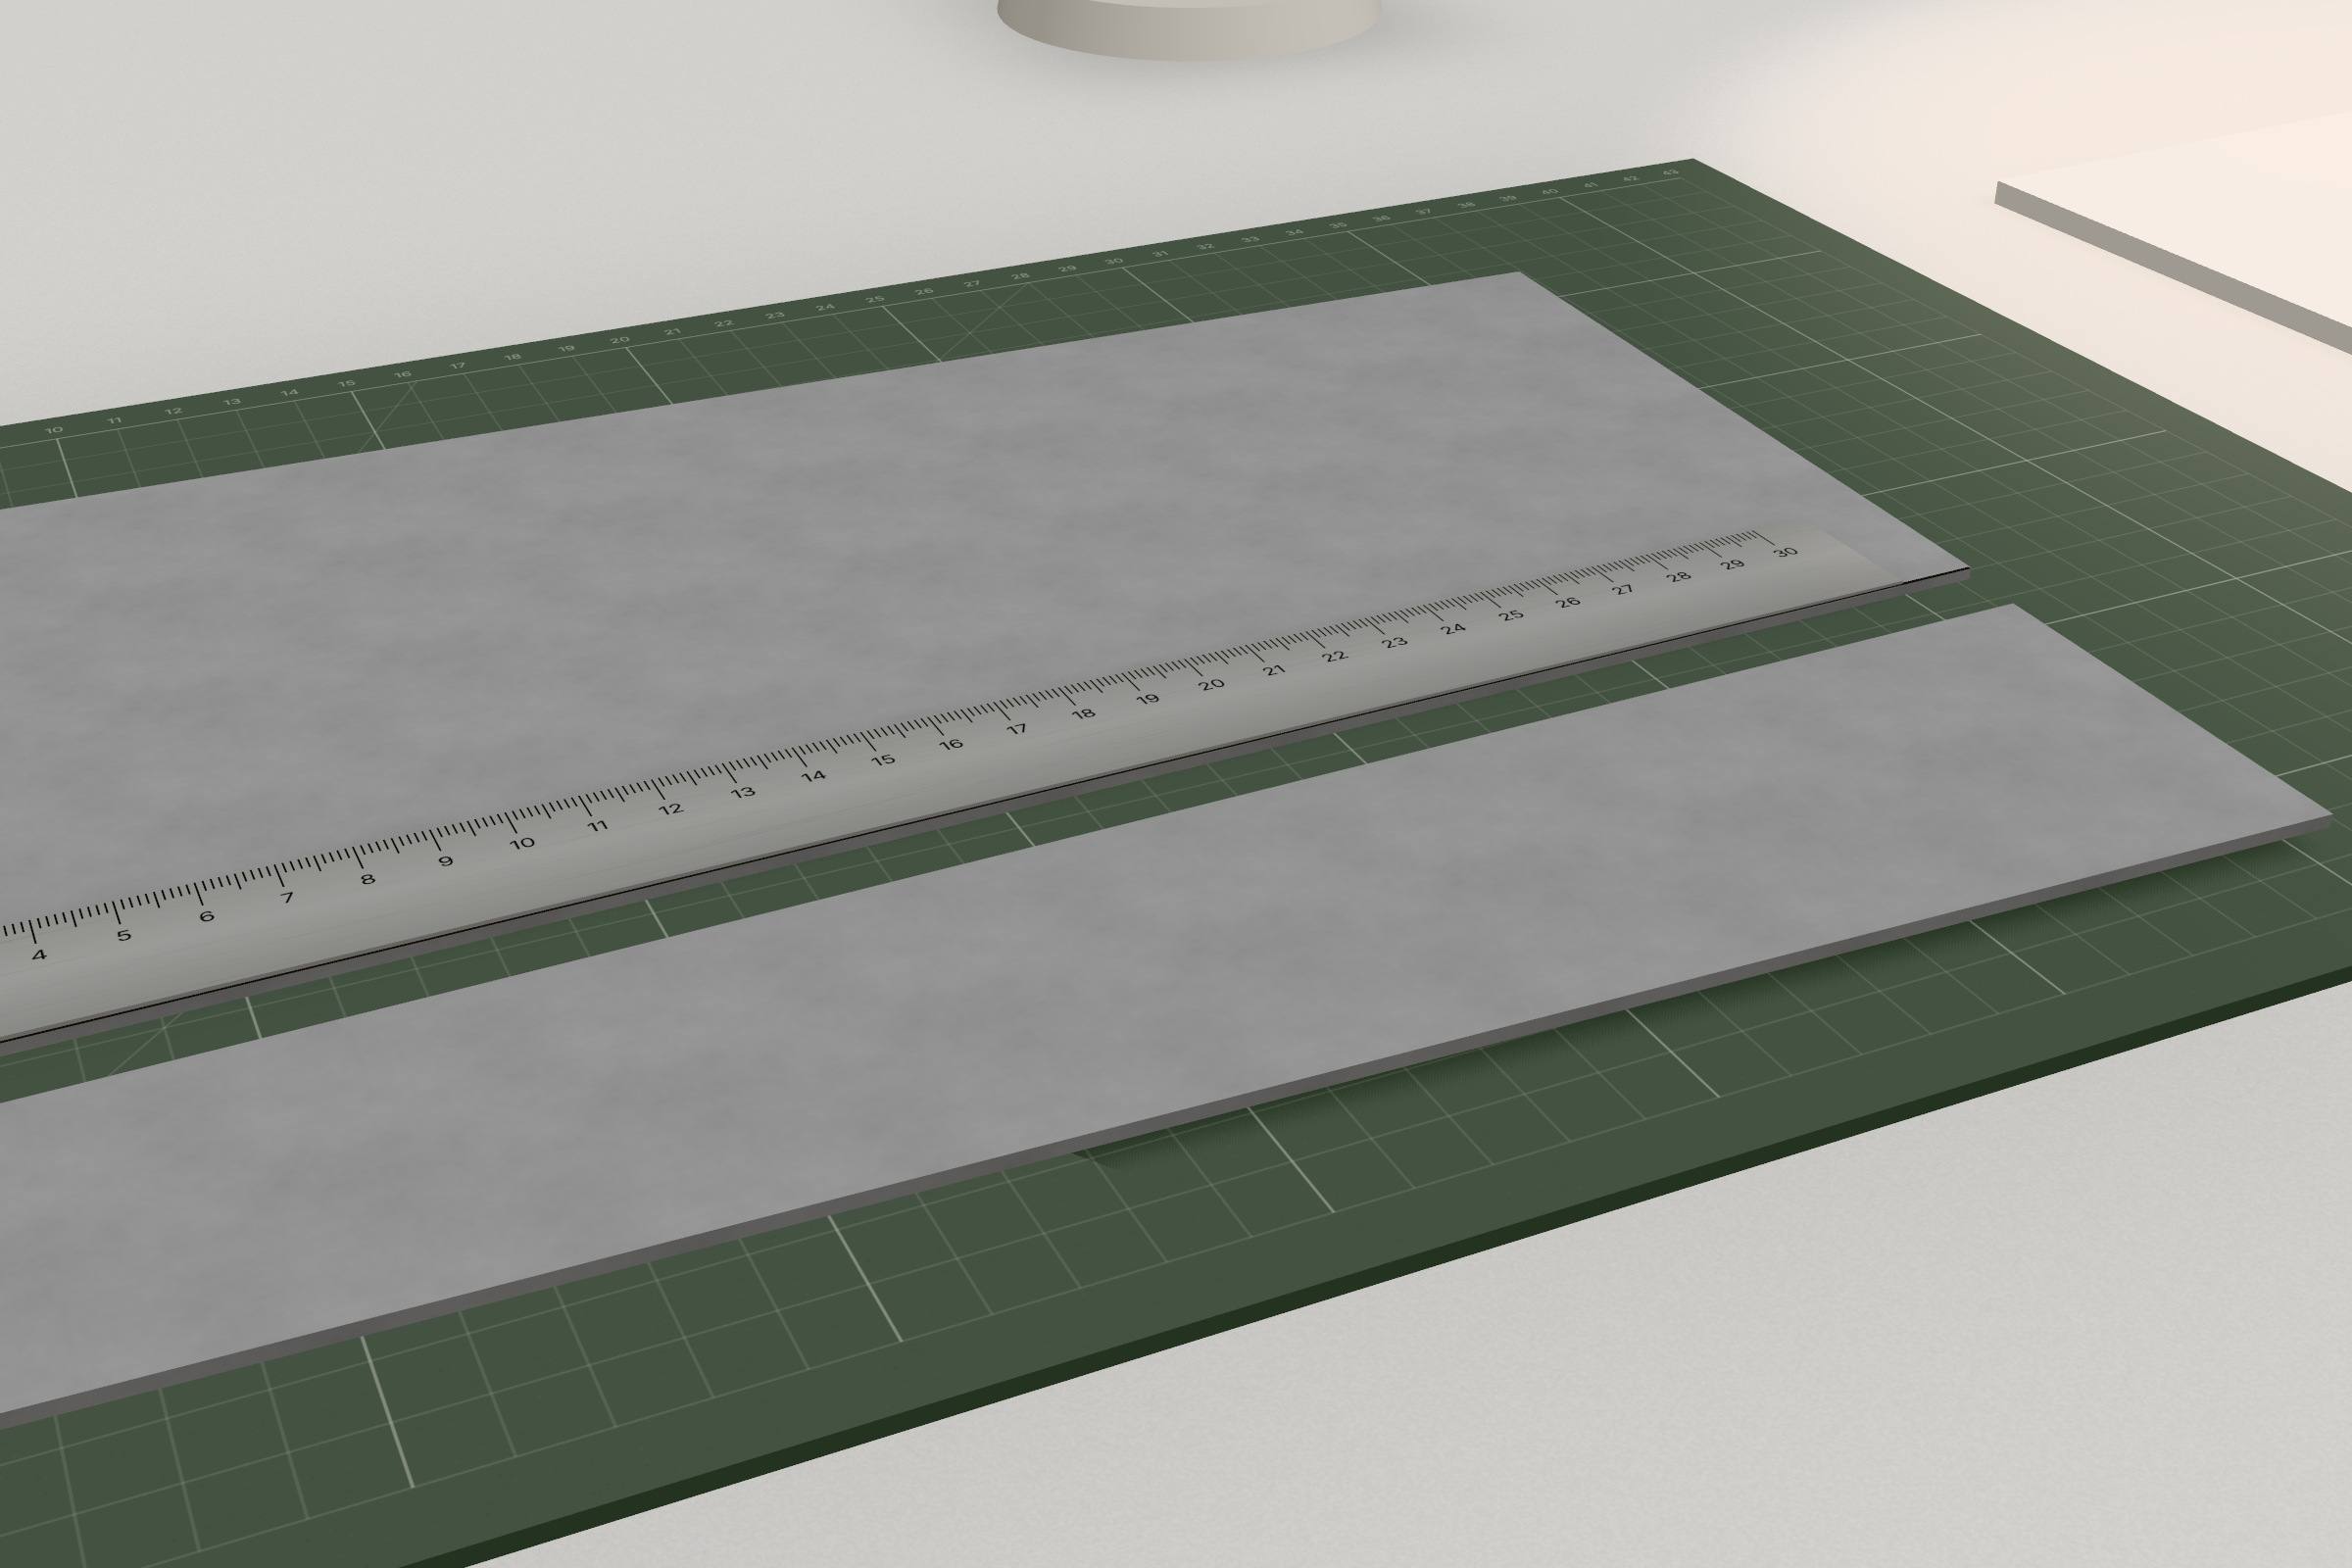
Cut
Lay the steel rule and draw the knife along it. In the work mode every cut goes through at once; in the meditation mode a thick sheet takes several passes, as by hand (2 mm greyboard about four). The part comes free with a click. Pencil marks show the length and the angle; offcuts stay on the mat.
-
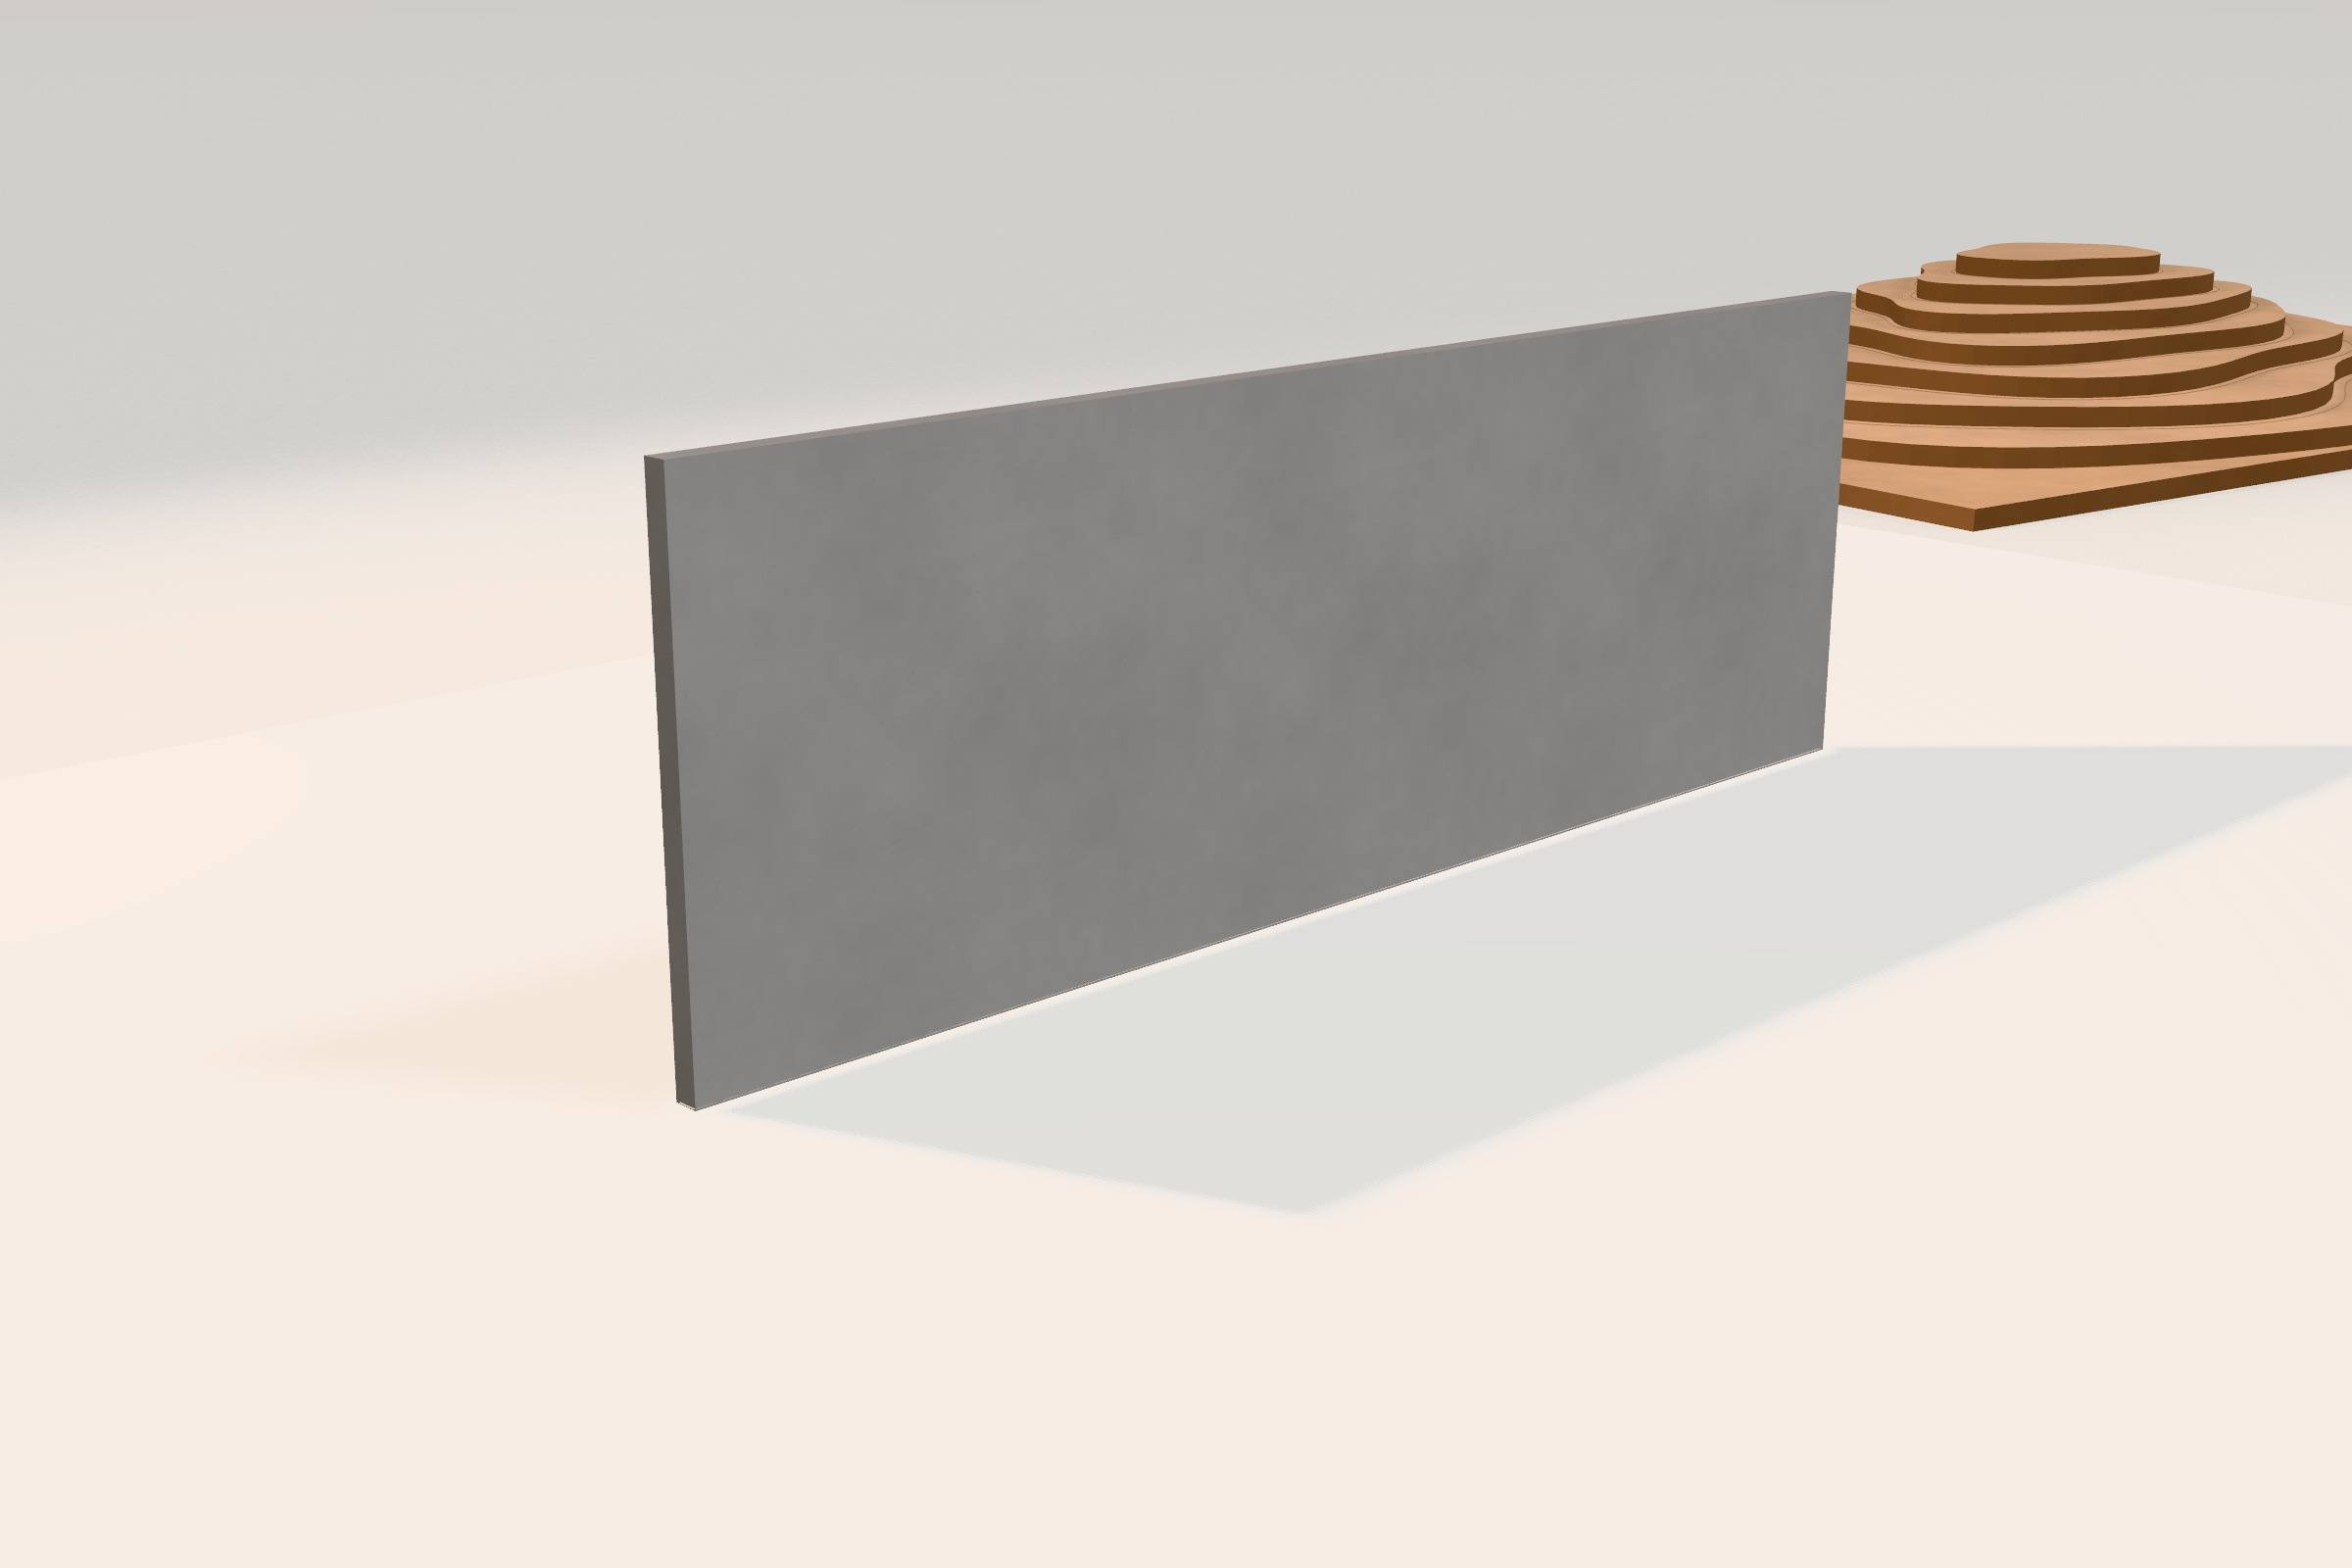
Assemble on the base board
Carry the part to the board: it snaps to the edges near it, as a butt or a lap joint, and a thin bead of glue turns matt in two or three seconds.
-
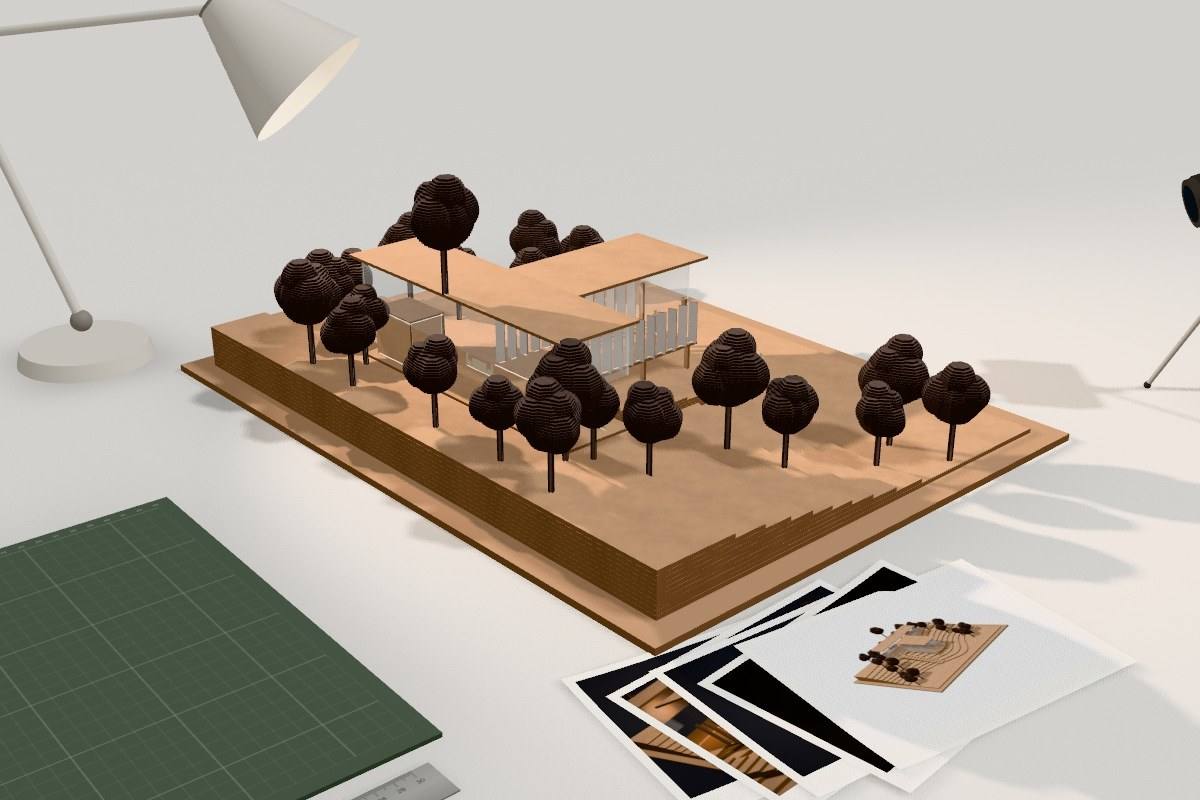
Check on the turntable
Turn the model with two fingers and move the lamp. A pencil-thin hint appears only where something is wrong: a joint too short, a wall that will not stand, a bridge too thin for the card.
-
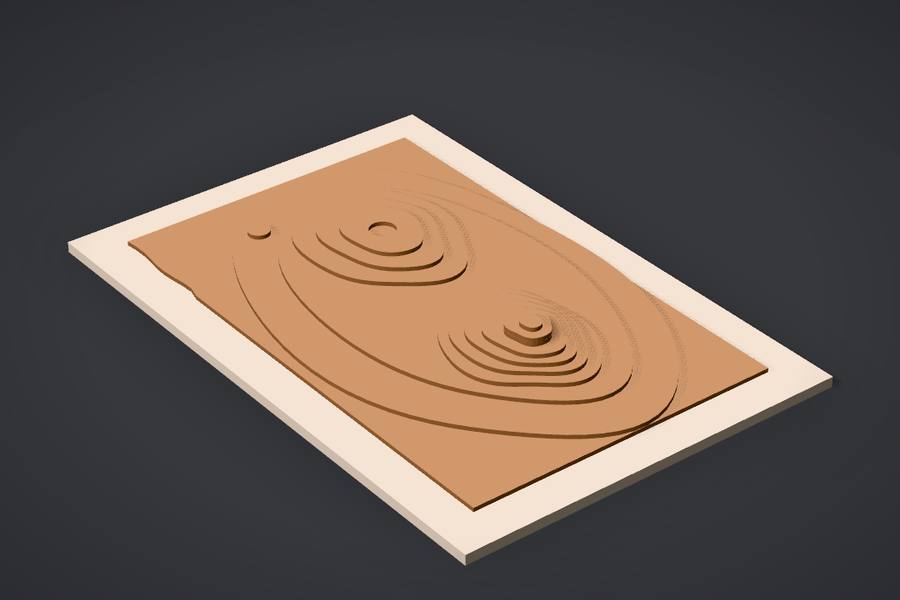
Photograph
Take the camera from its tripod: the table gives way to a studio backdrop and one lamp. Seven presets, from Dark studio to Section; the shot falls on the table as a print.
-
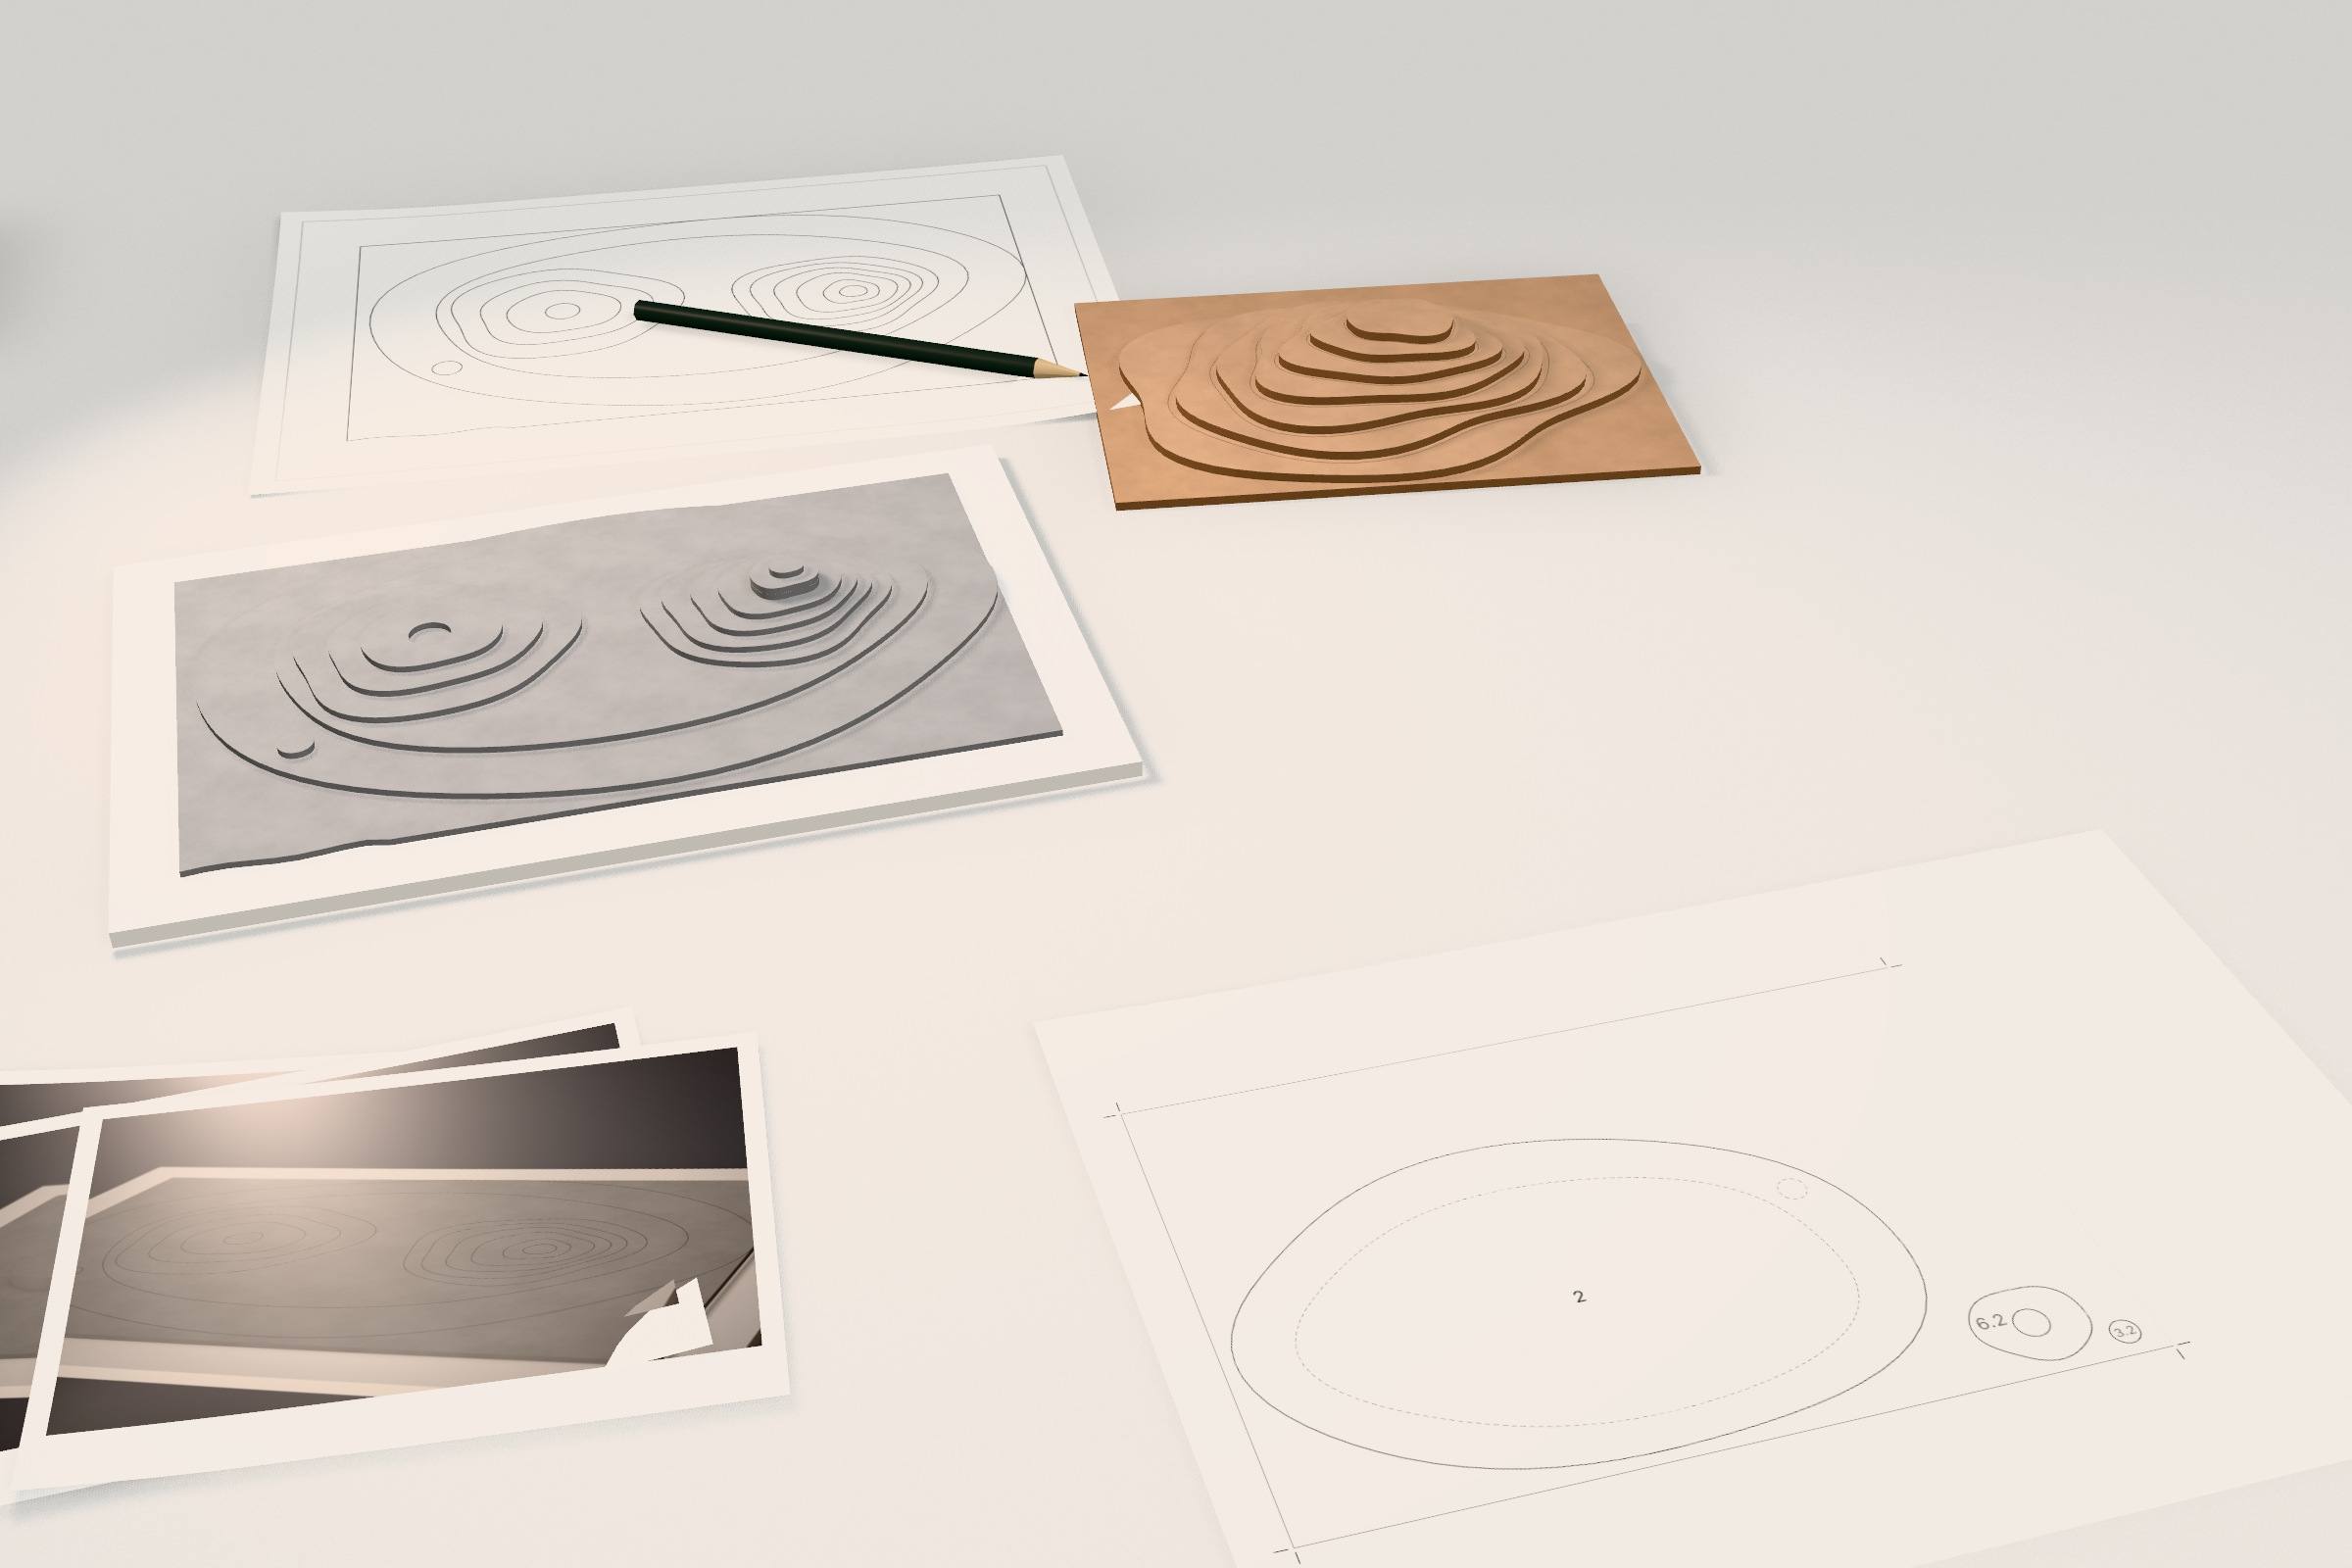
Export the cutting layout
One action, no dialogs: parts nested on sheets, numbered, as DXF and SVG for the laser or an actual-size PDF for the knife. The work goes on the shelf, saved.
Two tempos: by hand, or by laser
Both write the same model, and you can switch at any moment.
| By hand | Fast tempo | |
|---|---|---|
| How you cut | knife and steel rule: one stroke, or pass after pass in the meditation mode | a whole sheet by laser in a few seconds |
| What you make | any outline you draw | boxes, walls from plan lines, stairs, columns, cylinders, perforated screens, louvres, railings |
| Sound | scrape, crunch, the click of a part coming free | the hum and hiss of a laser, ticks at the corners |
| When | when the making is the point | when the model is the point |
What you take home
-
A photograph
A graded studio shot with depth of field, kept as a print on the table and on the shelf.
-
Files for the laser
One DXF and one SVG per sheet with CUT, ENGRAVE and LABEL layers, in millimetres; opens in LightBurn.
-
A PDF for the knife
Actual size, tiled on A4 or A3 with overlap strips, registration circles and a 50 mm check square.
-
The model itself
Autosaved in your browser and kept on the shelf of works, ready to come back to the table.
Questions about the workflow
Do I need to know CAD?
No. You work with sheets, a rule and a knife on a table; the geometry is kept exact underneath, in millimetres of the model.
Can I start from a plan or a site survey?
Yes: contour lines come in as a DXF, and any picture (a plan, a photo, a scan) can lie on the table as a printed sheet to work over.
Is my work saved?
Yes, automatically, in your own browser on this device. Every work stays on the shelf until you remove it.
Can I undo a cut?
Every cut can be undone. Mistakes cost nothing: offcuts stay on the mat, and you can use them again.
Clear the table. Start a model.
Open the studioFree during the beta · no sign-up · iPad, Mac and PC browsers