A terrain model from contour lines.
A terrain (site) model is a stack of flat plates, one for each contour line, cut from card or wood. The sheet sets the vertical scale: contour interval = sheet thickness × scale, so 2 mm greyboard at 1:500 matches 1 m contours. Greyboard turns a DXF of contour lines into those plates, lays them out on sheets and exports DXF, SVG or an actual-size PDF.
Which sheet for which contour interval?
One plate is one contour, so the sheet thickness times the scale must equal the distance between contours. If your survey has 0.5 m contours and you build at 1:500, you need 1 mm sheets, or you keep every second line.
| Sheet | 1:200 | 1:500 | 1:1000 | 1:2000 |
|---|---|---|---|---|
| 1 mm | 20 cm | 50 cm | 1 m | 2 m |
| 1.5 mm | 30 cm | 75 cm | 1.5 m | 3 m |
| 2 mm | 40 cm | 1 m | 2 m | 4 m |
| 3 mm | 60 cm | 1.5 m | 3 m | 6 m |
The number of plates is the height of the site divided by the interval, plus the base board.
From a DXF to a model in seven steps
How to make a laser-cut or hand-cut terrain model from contour lines in Greyboard.
-
Prepare the contour lines
Export the contours from your survey or CAD drawing as a DXF: polylines that carry their elevation, in millimetres, centimetres or metres. Lines cut off by the edge of the survey are closed along a BOUNDARY layer, or along the bounding box of all contours.
-
Lay the file on the table
Drop the DXF onto the studio table. The studio reads the elevations and the units, and asks only when the file does not say.
-
Choose scale, sheet and thickness
1:200, 1:500 or another scale, and the sheet: greyboard, corrugated board, kraft MDF. The thickness and the scale set the contour interval.
-
Choose how the terrain is built
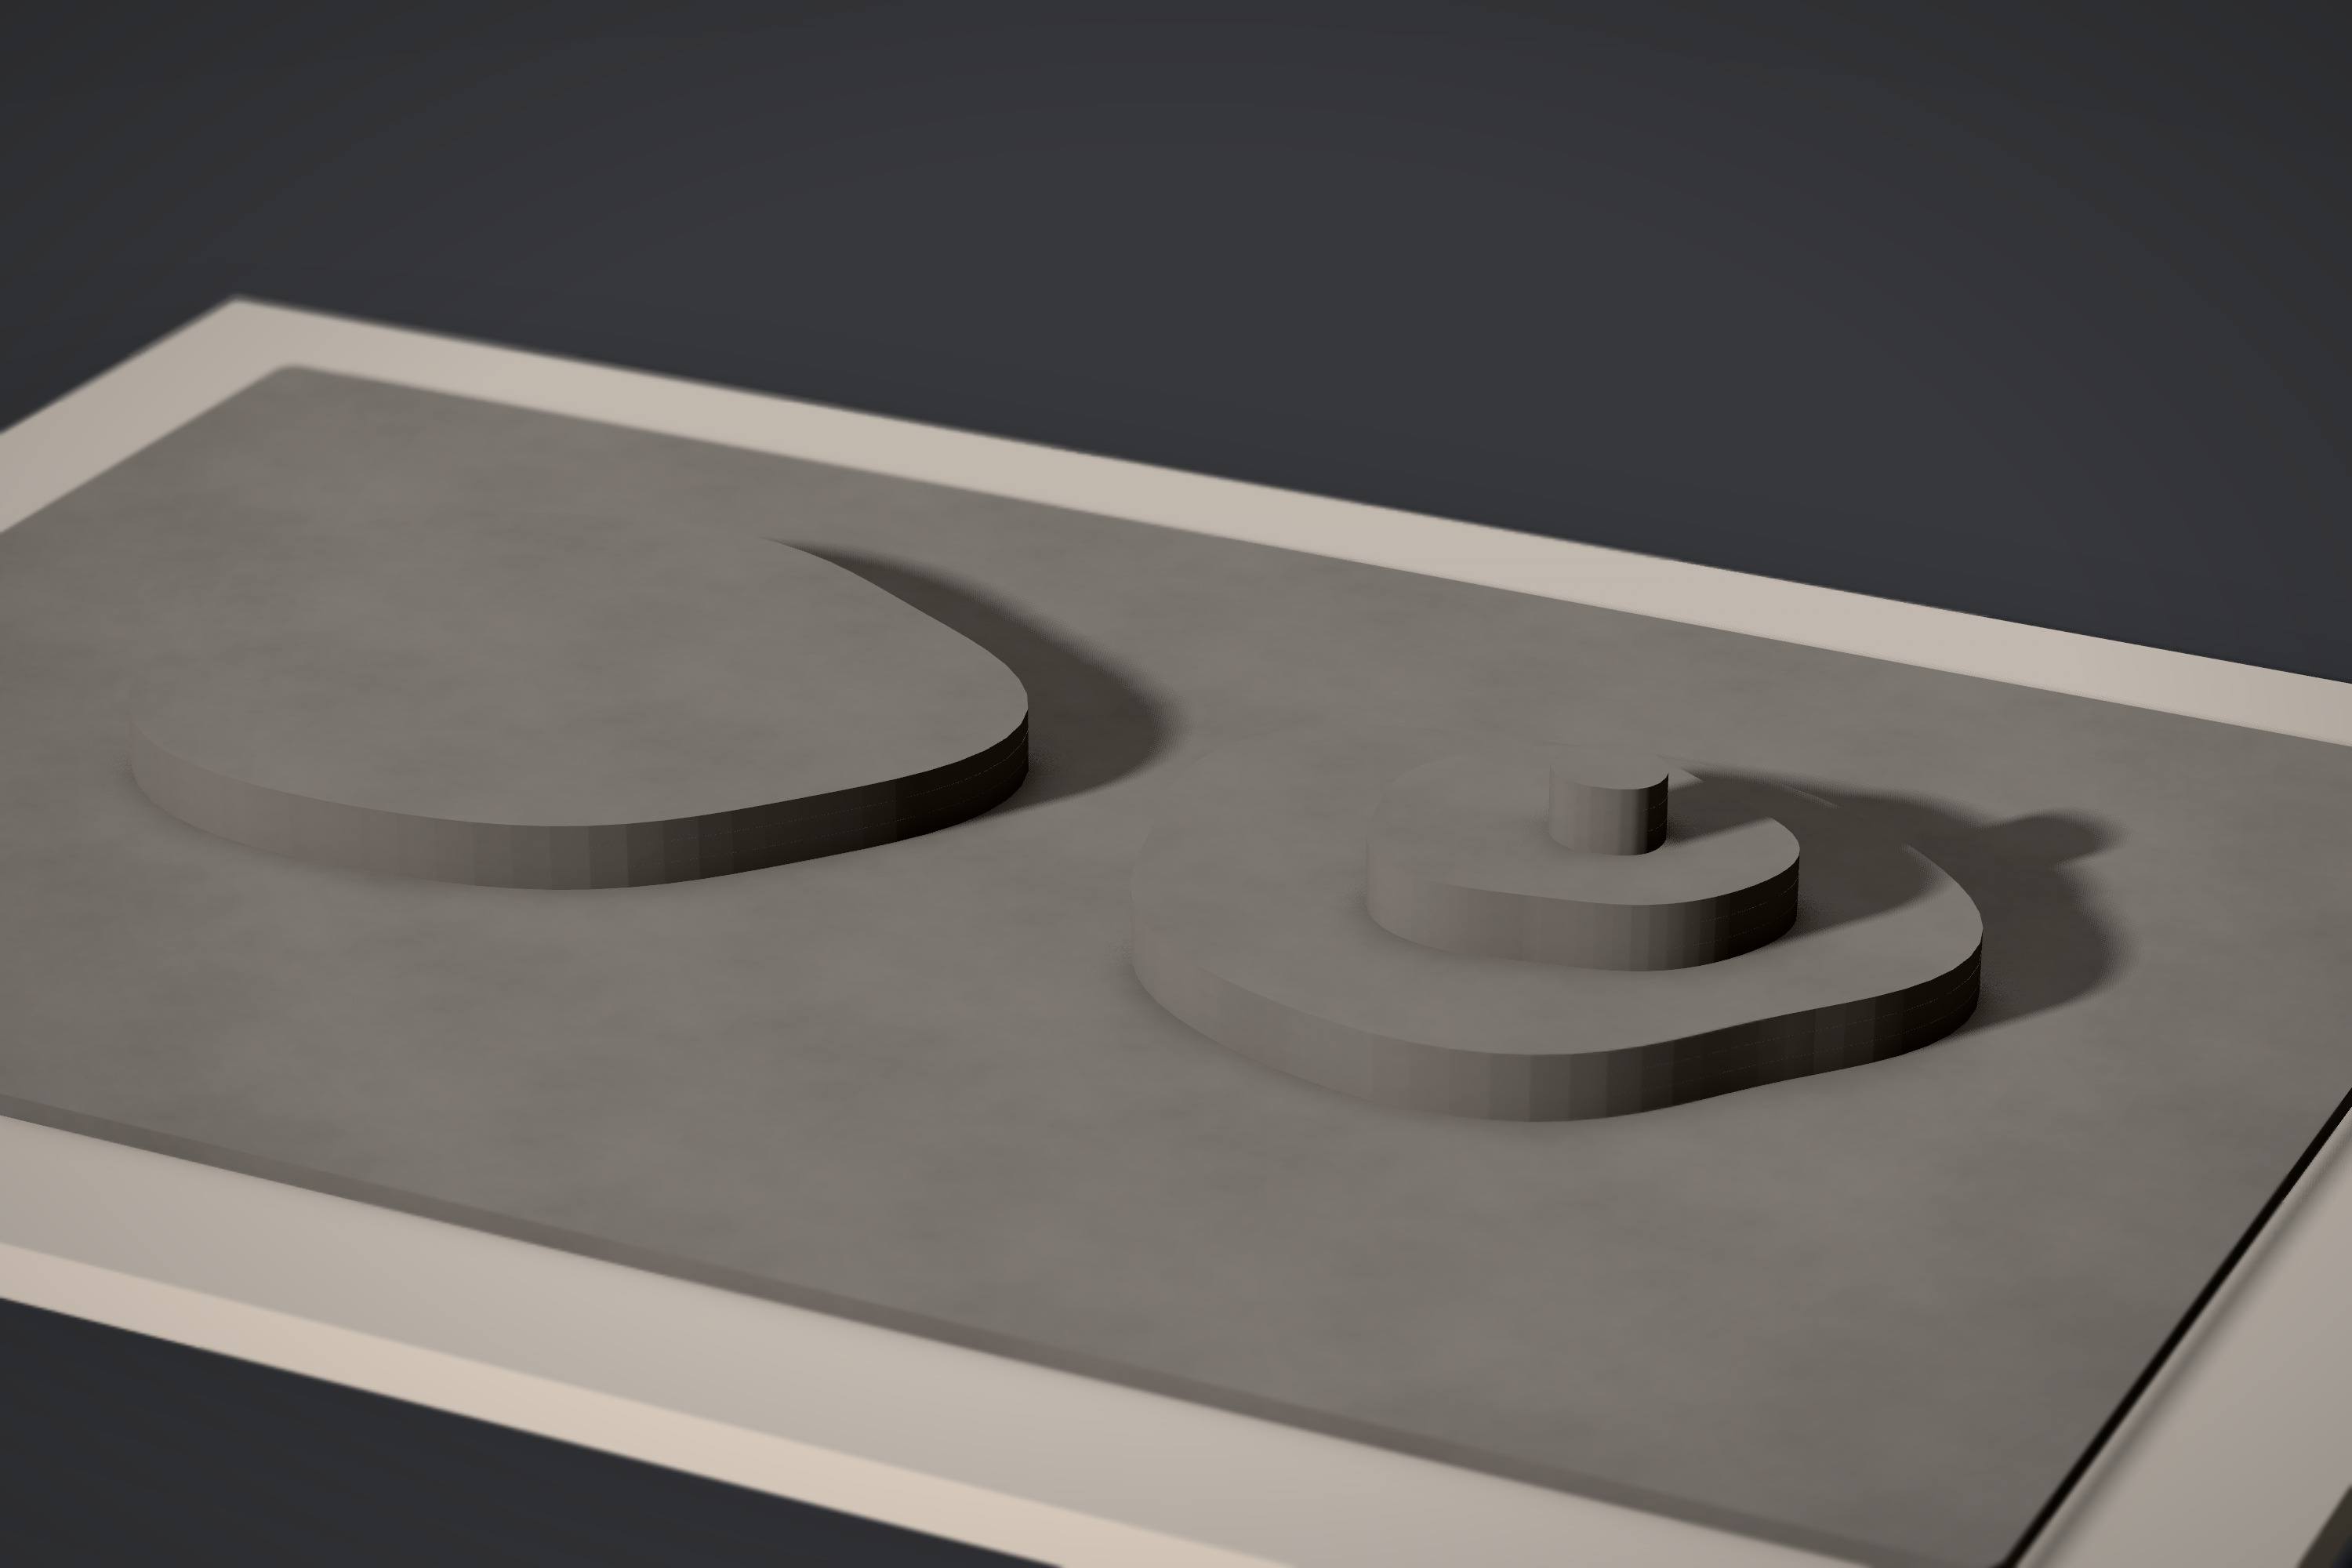
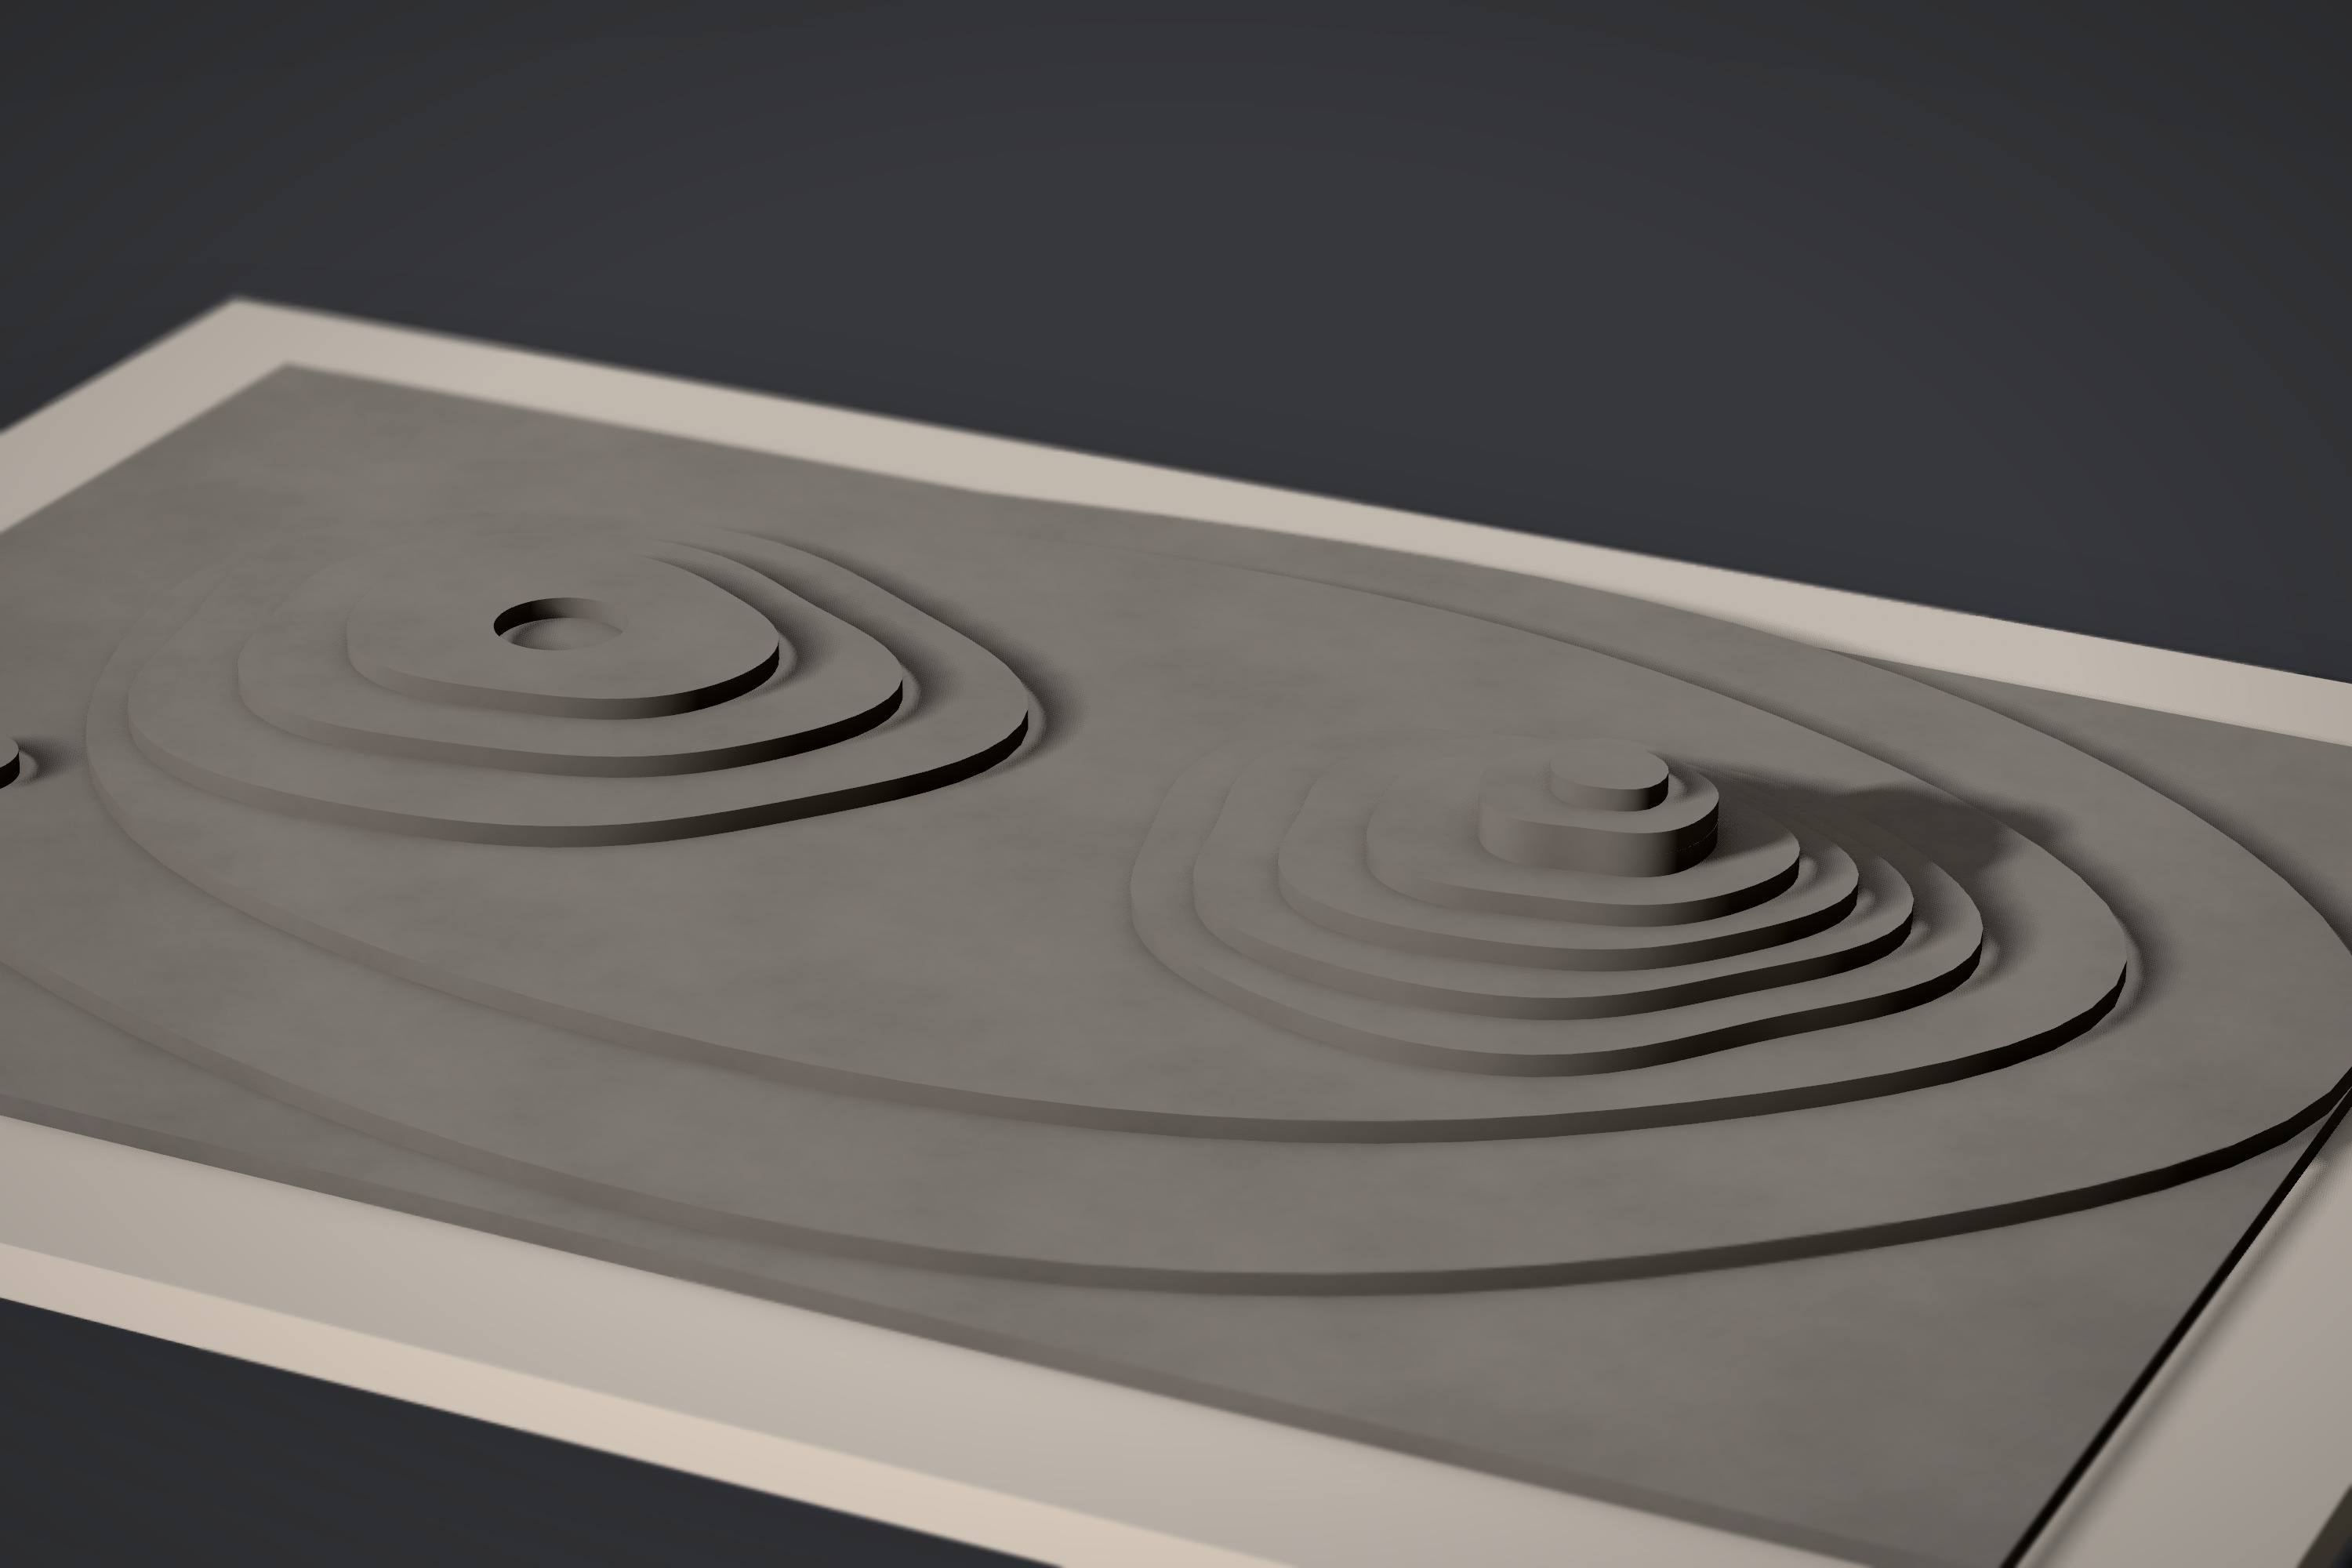
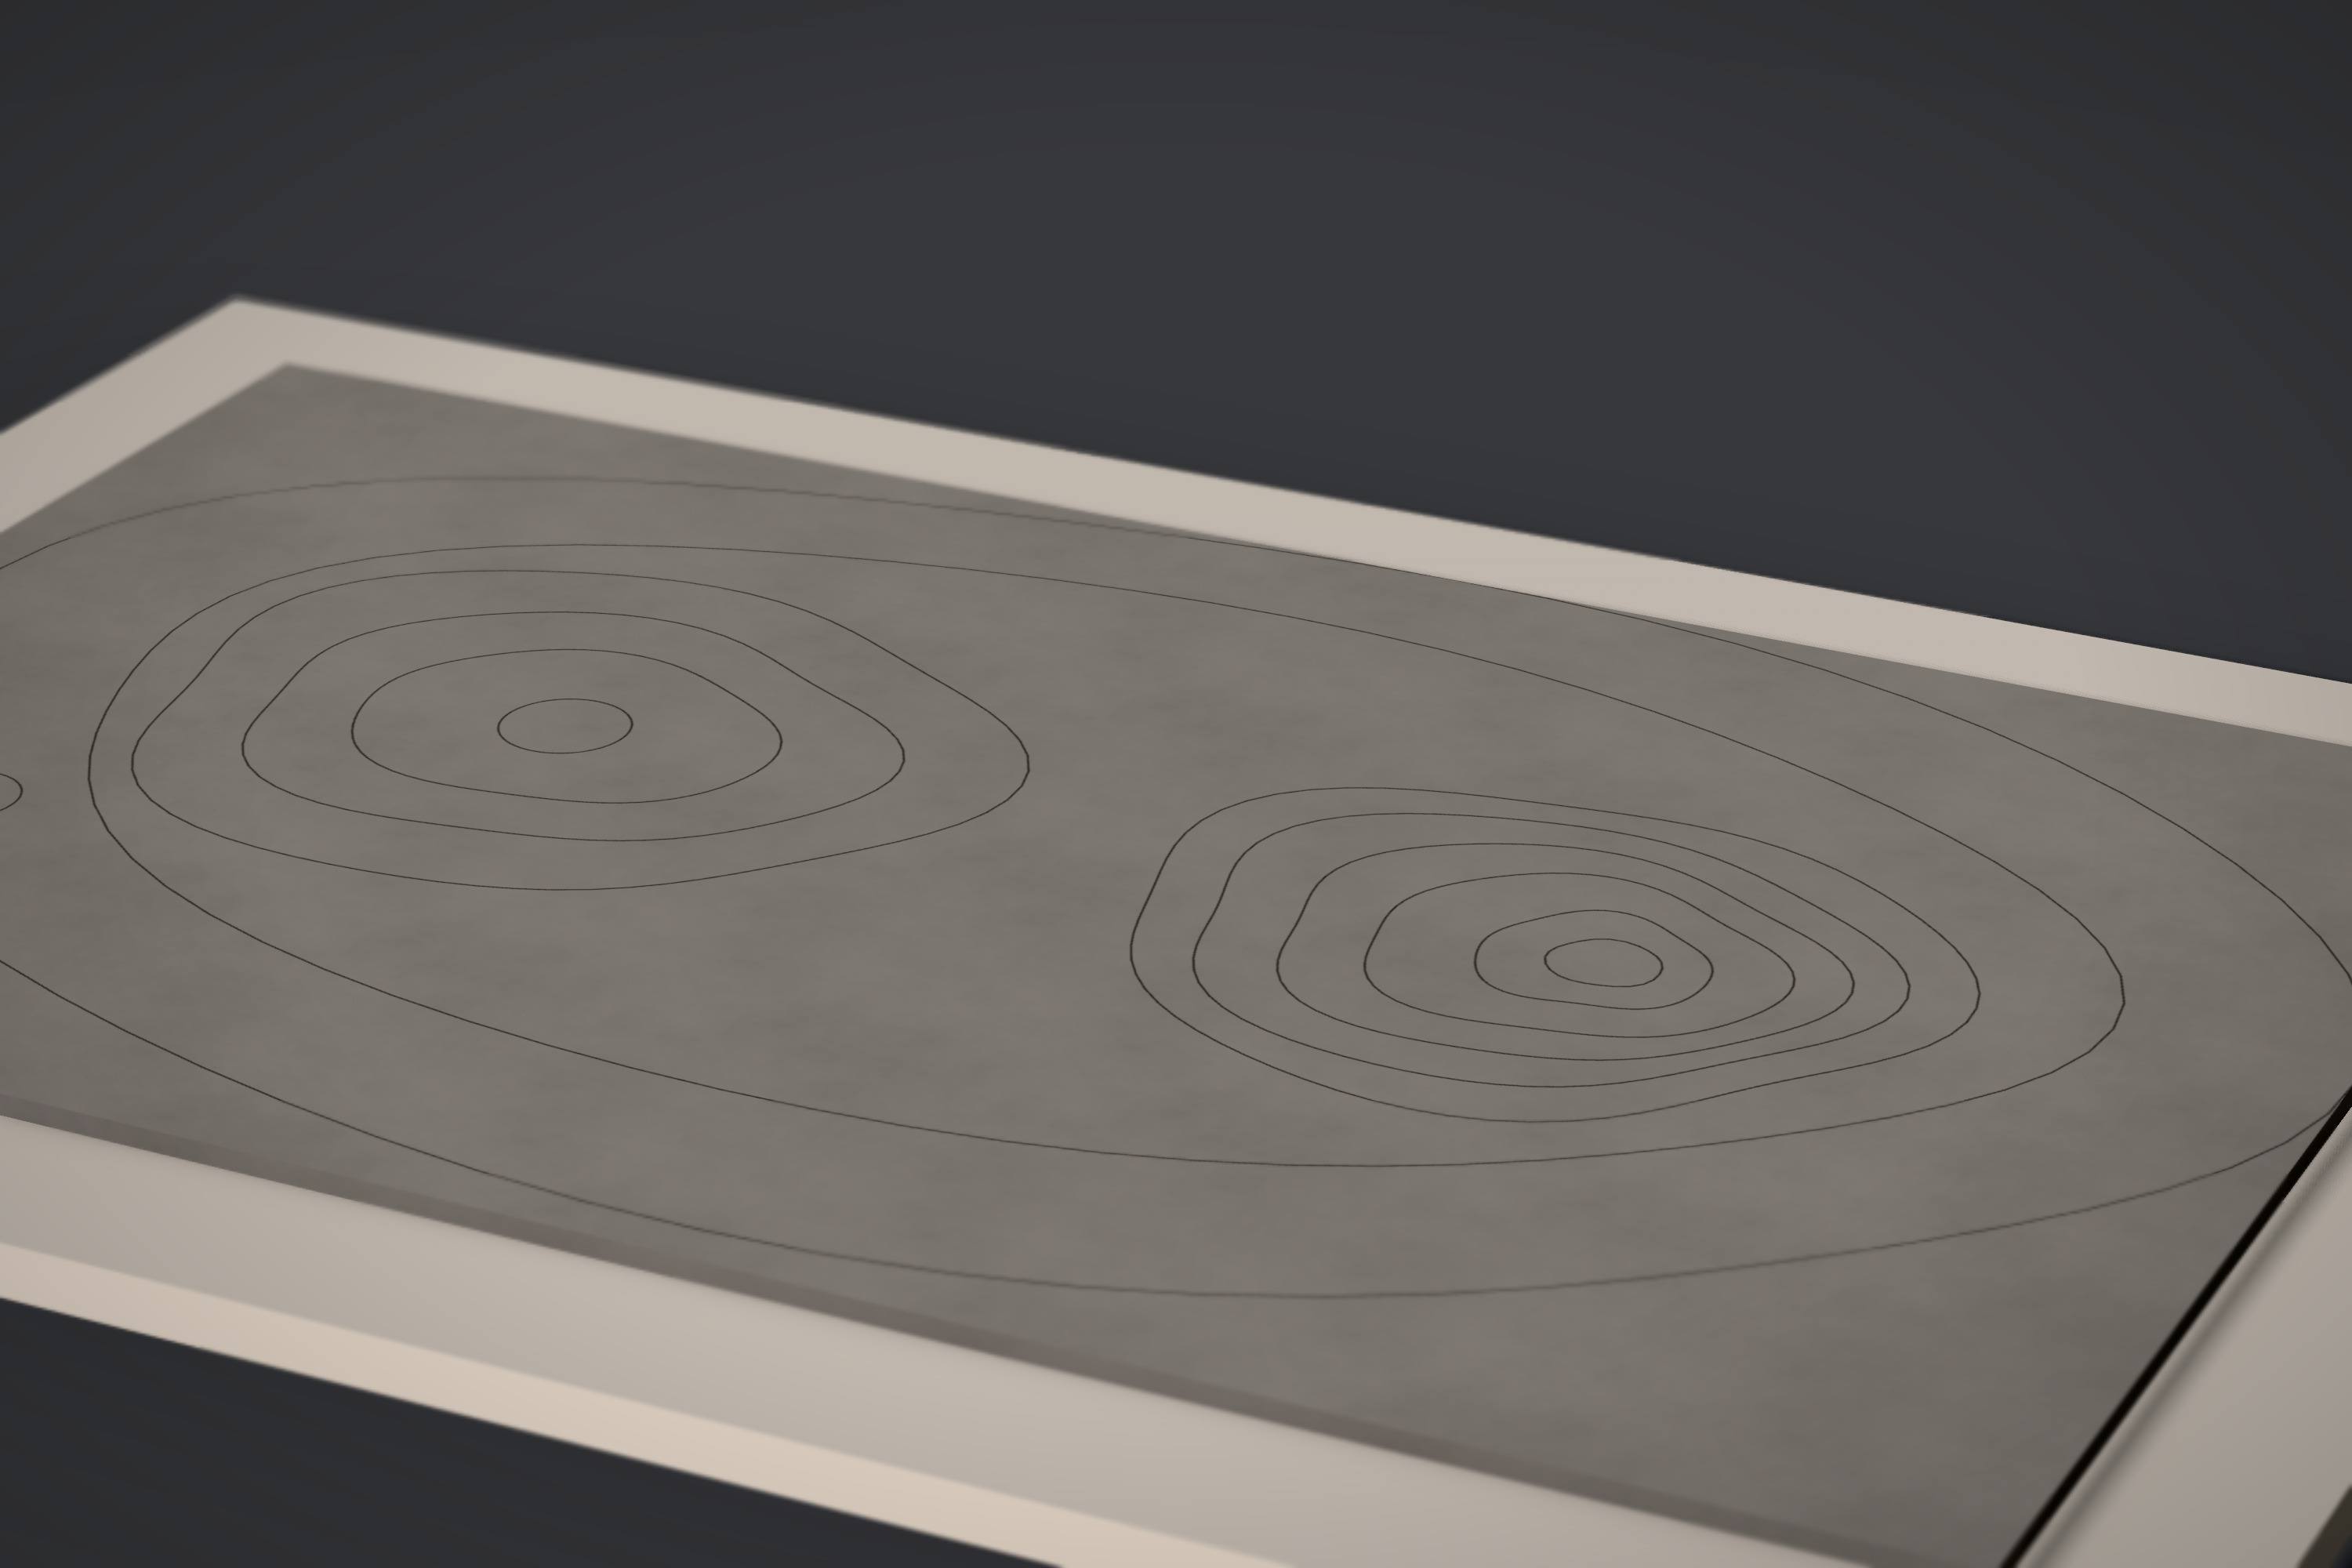
Stacked layers (one plate per contour), terraces (fewer, thicker steps with rounded edges) or one engraved sheet (contours as engraving, nothing to stack).
-
Lay the plates out on sheets
The plates are nested on sheets of your size with a margin and a gap for the kerf. Every plate gets its number and the outline of the plate above it, engraved, so stacking is a matter of matching lines.
-
Export the cutting layout
DXF and SVG with CUT, ENGRAVE and LABEL layers for the laser, or an actual-size PDF on A4 or A3 for the knife, with a 50 mm check square on every page.
-
Cut, stack and glue
Lay the plates on the base board in number order, each one on the engraved outline beneath it, with a thin bead of PVA glue.
A worked example: a hillside at 1:200
A 44 × 32 m slope with contours 0.3 m apart, cut from 1.5 mm greyboard at 1:200: the file behind the real export on our home page. These numbers are the core’s own report for it.
- 9 plates
- on 9 levels; the base board is 220 × 160 mm
- 2 sheets
- 600 × 400 mm, nothing left unplaced
- 5.6 m
- of cut in 9 closed contours, plus 1.9 m of engraving
- ~8 min
- on a 40–60 W CO2 laser; ~28 min by hand
Layers, terraces or an engraved sheet?
| Way | What you cut | Best for |
|---|---|---|
| Layers | one plate per contour line, stacked | the classic site model; reads clearly in raking light |
| Terraces | fewer, thicker steps, edges rounded | steep sites, quicker builds, less material |
| Engraved sheet | one sheet, contours engraved | a flat base under a building model, a quick study |
The same hill, three ways
What the laser file looks like
Every sheet becomes one DXF (R12 by default, R2000 on request) and one SVG in millimetres. Lines are hairlines with no fill, so laser software reads them as vectors, not as artwork.
- CUT, red #FF0000: cut through.
- ENGRAVE, blue #0000FF: the outline of the next plate and the plate numbers.
- LABEL, green #00FF00: the sheet caption with material, thickness and scale.
Other ways to make a contour model
By hand, contours are traced onto card with carbon paper and cut one by one: honest, slow, about 7 hours for a 30-layer A2 model. With CAD, the usual path is Rhino with a Grasshopper script or Illustrator: slice, offset, number, nest, then export.
Greyboard keeps the same method and removes the scripting: the slicing, the alignment marks, the numbering and the nesting happen in the browser, and the photo of the model comes from the same geometry as the file you cut.
Questions about terrain models
How many layers will my terrain model have?
The height of the site divided by the contour interval, plus one for the base board. A site that rises 8 m with 1 m contours needs 8 plates on a base.
What if my contour lines are open?
Contours cut off by the edge of the survey are closed along a BOUNDARY layer if the DXF has one, otherwise along the bounding box of all contours. Lines that end in the middle of the drawing are reported, not guessed.
Which DXF does Greyboard need?
Polylines or lines carrying their elevation, on any layer, in millimetres, centimetres or metres. Closed polylines work best; a BOUNDARY layer marks the edge of the site.
Can I make a terrain model from a PDF or an image?
Not yet: contours are read from DXF. A picture can lie on the table as a printed sheet for reference.
How do I glue the layers?
A thin bead of PVA glue along the engraved outline of the plate below, the plate pressed onto it and weighed down while it sets; work from the base up.
Clear the table. Start a model.
Open the studioFree during the beta · no sign-up · iPad, Mac and PC browsers