Take the camera. The table becomes a studio.
Greyboard has seven studio presets for photographing a model: Dark studio, White world, B&W hard light, Aerial, Evening, Spot and Section. Each sets a curved backdrop, one key light, the camera angle and the grade. Lenses run from 35 to 135 mm, or axonometric, and every picture is rendered at 3000 px, whatever the size of your screen.
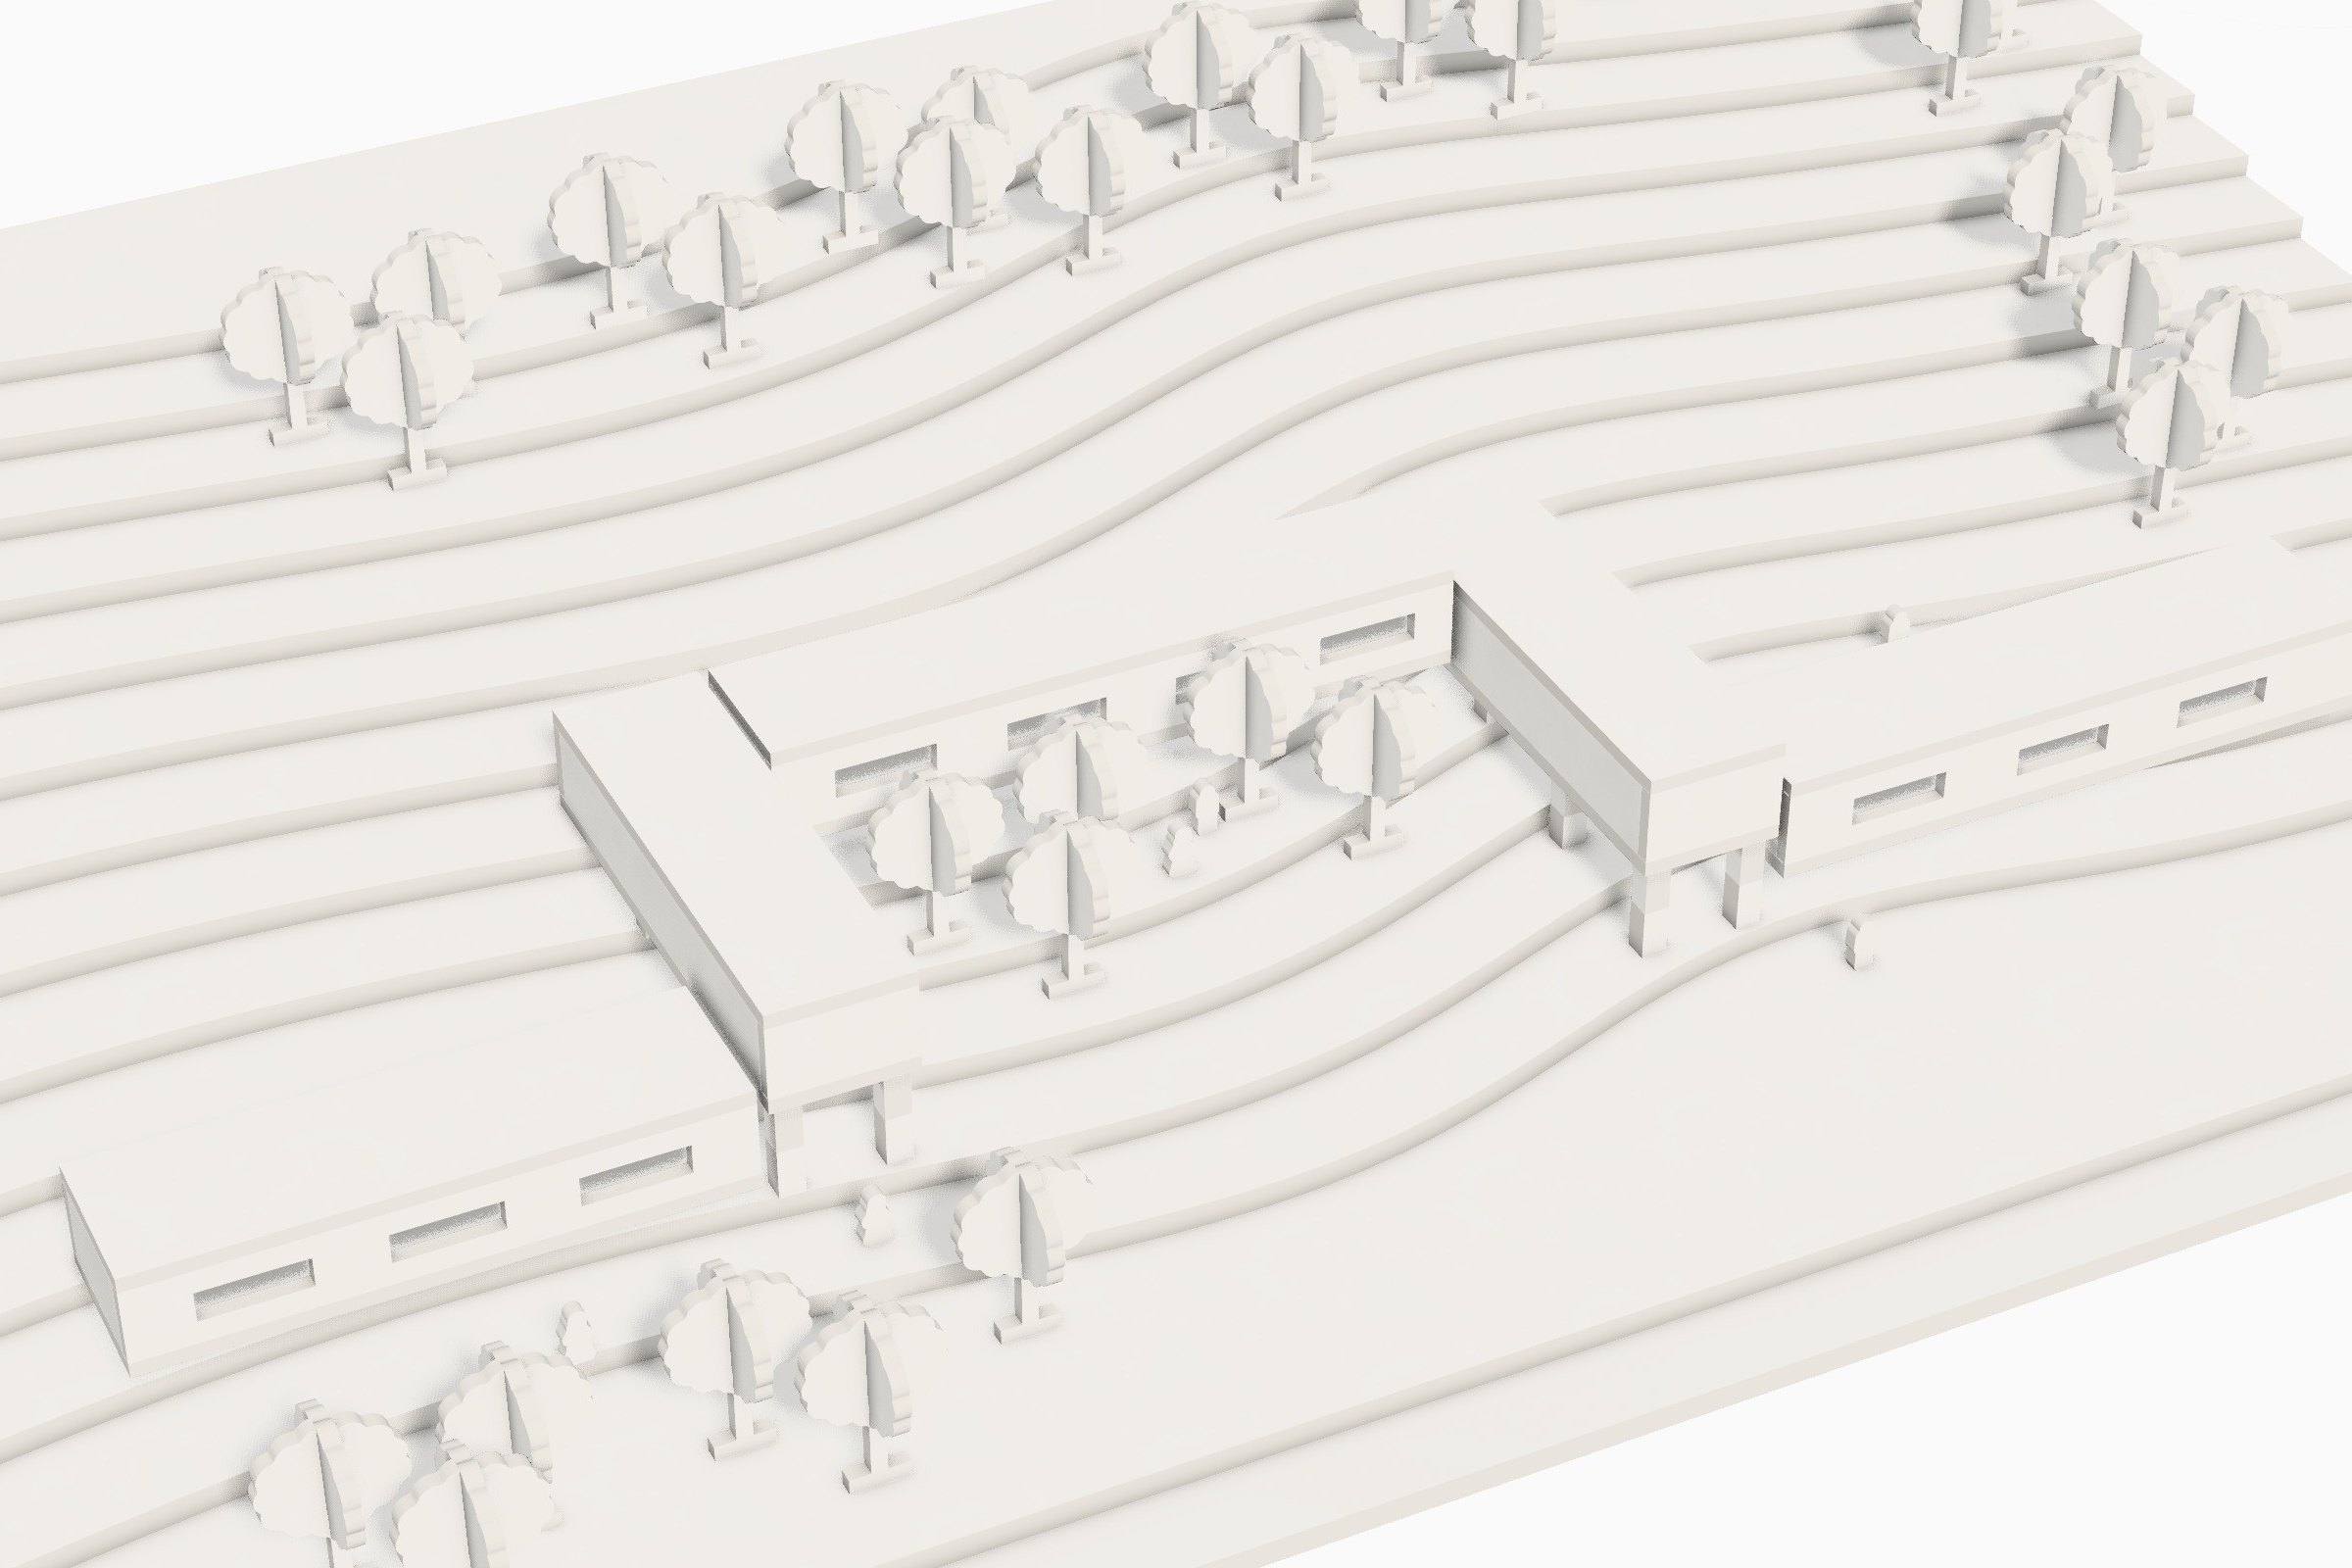
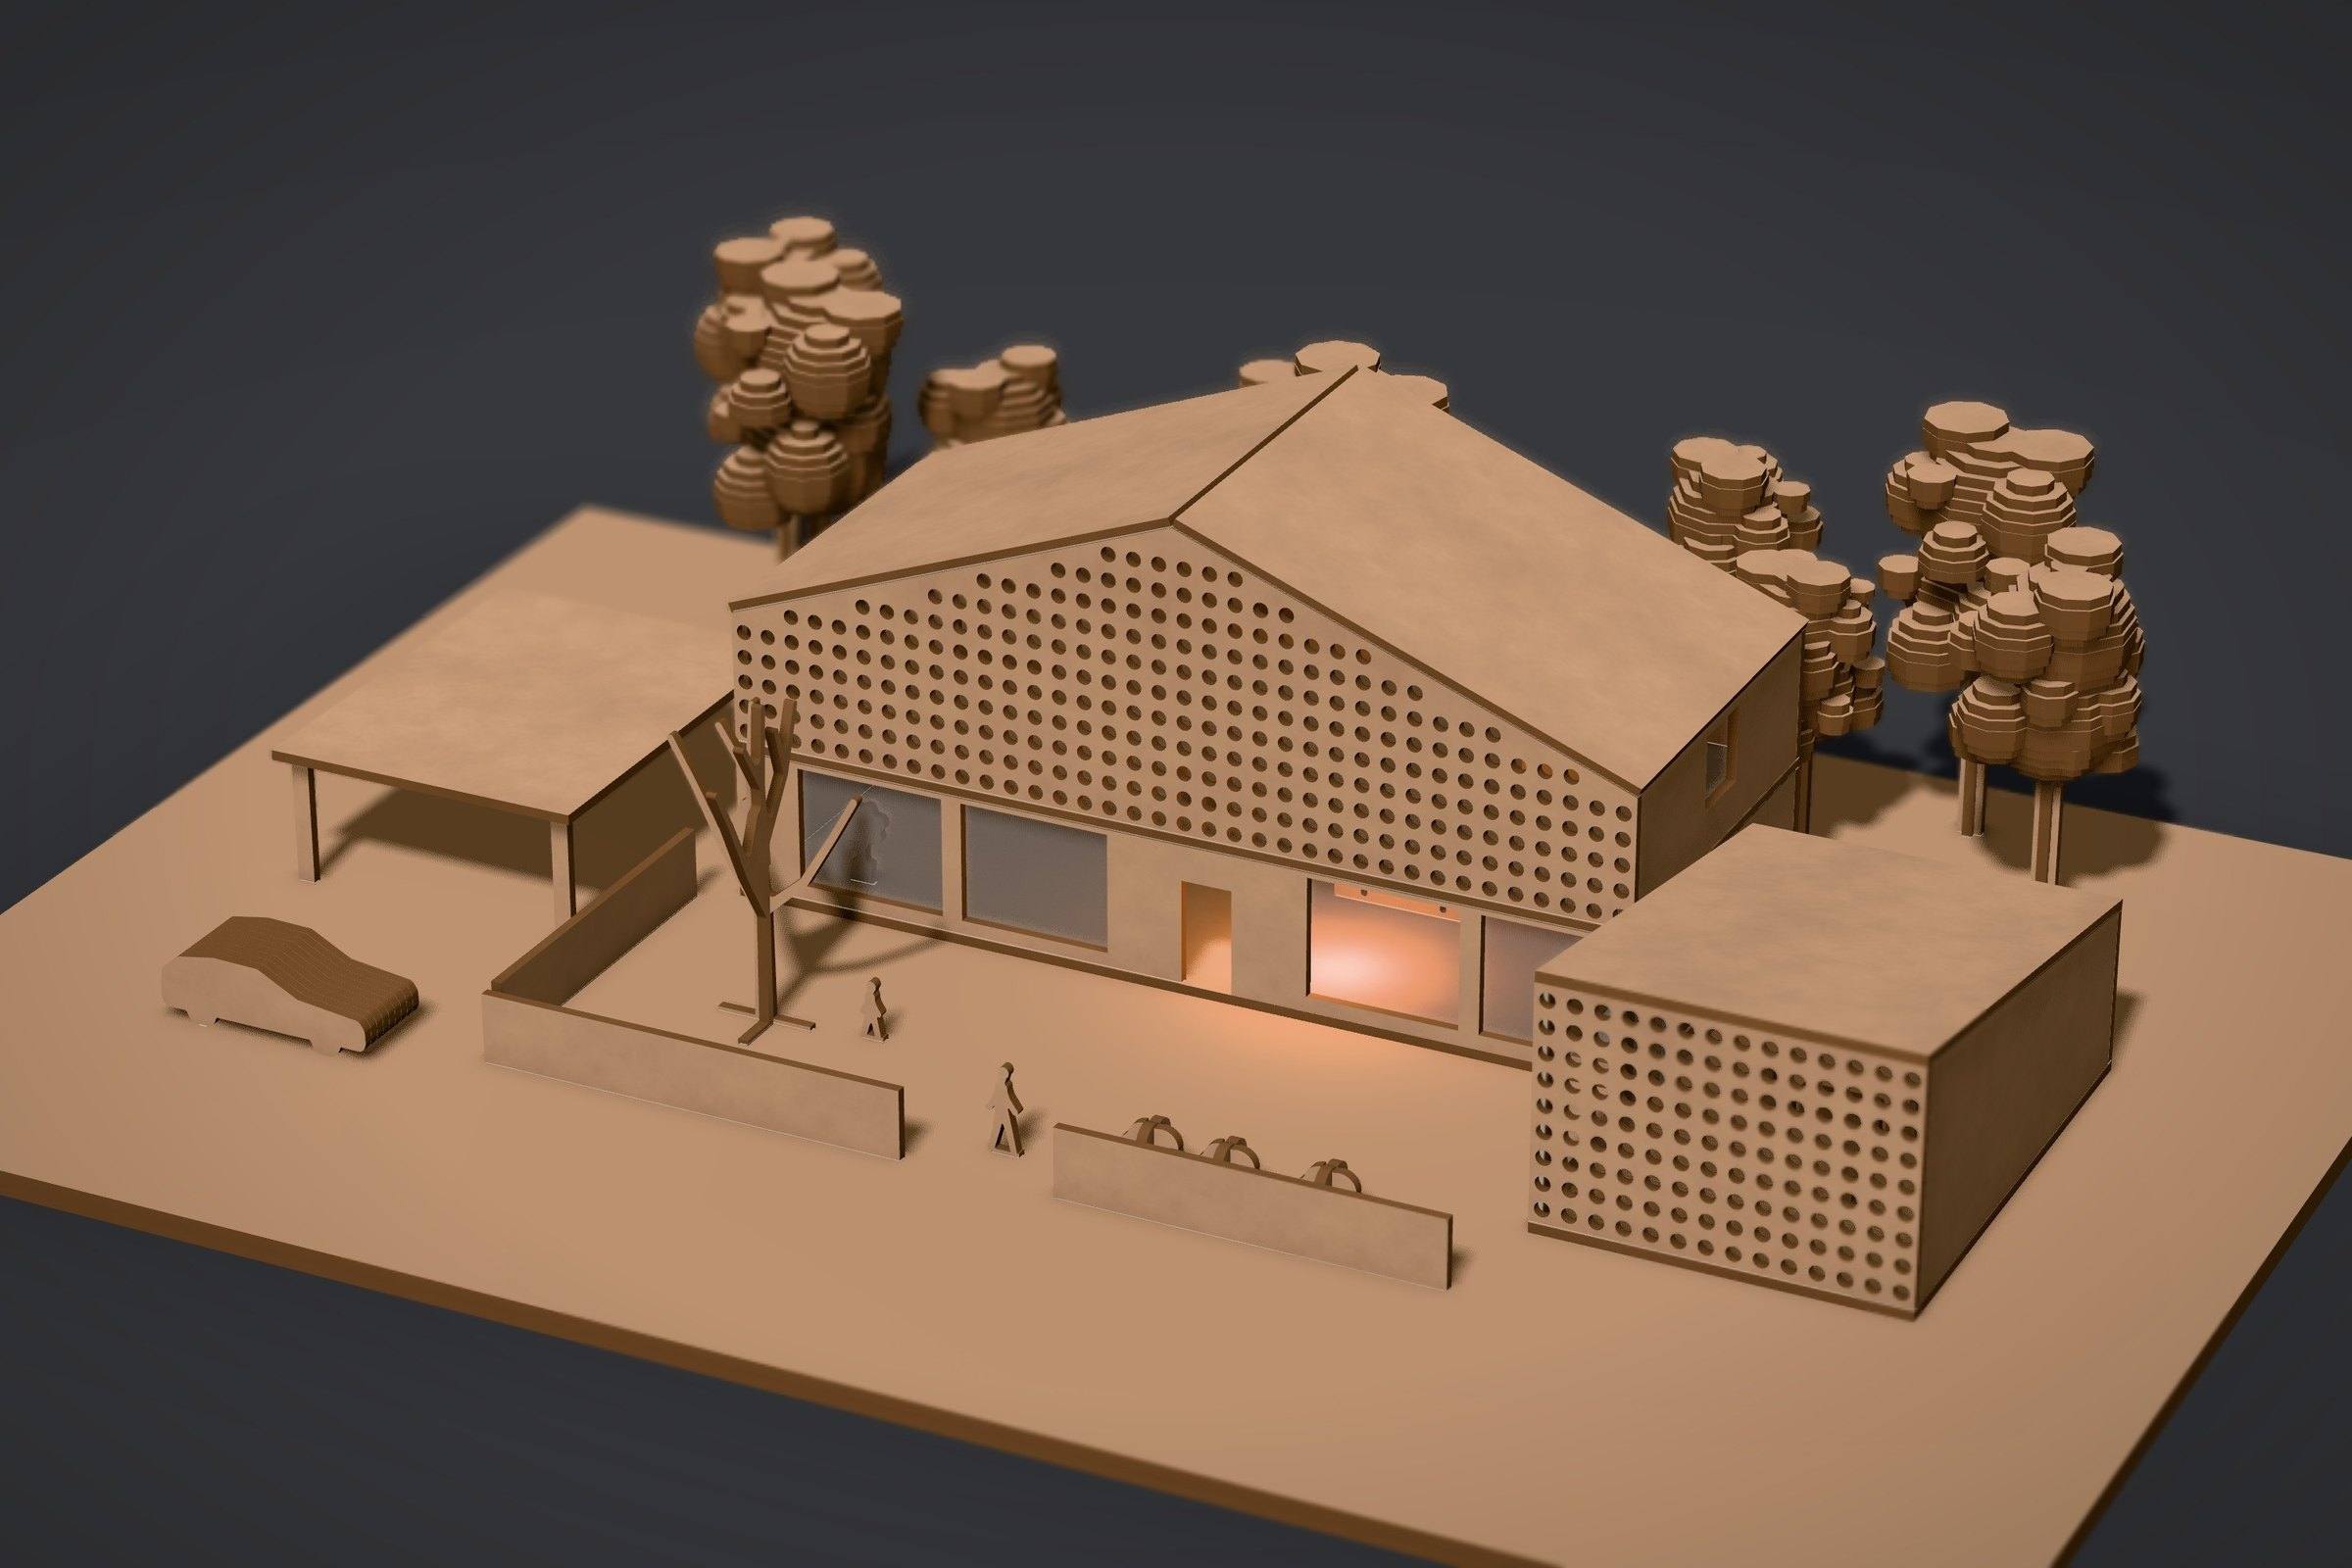
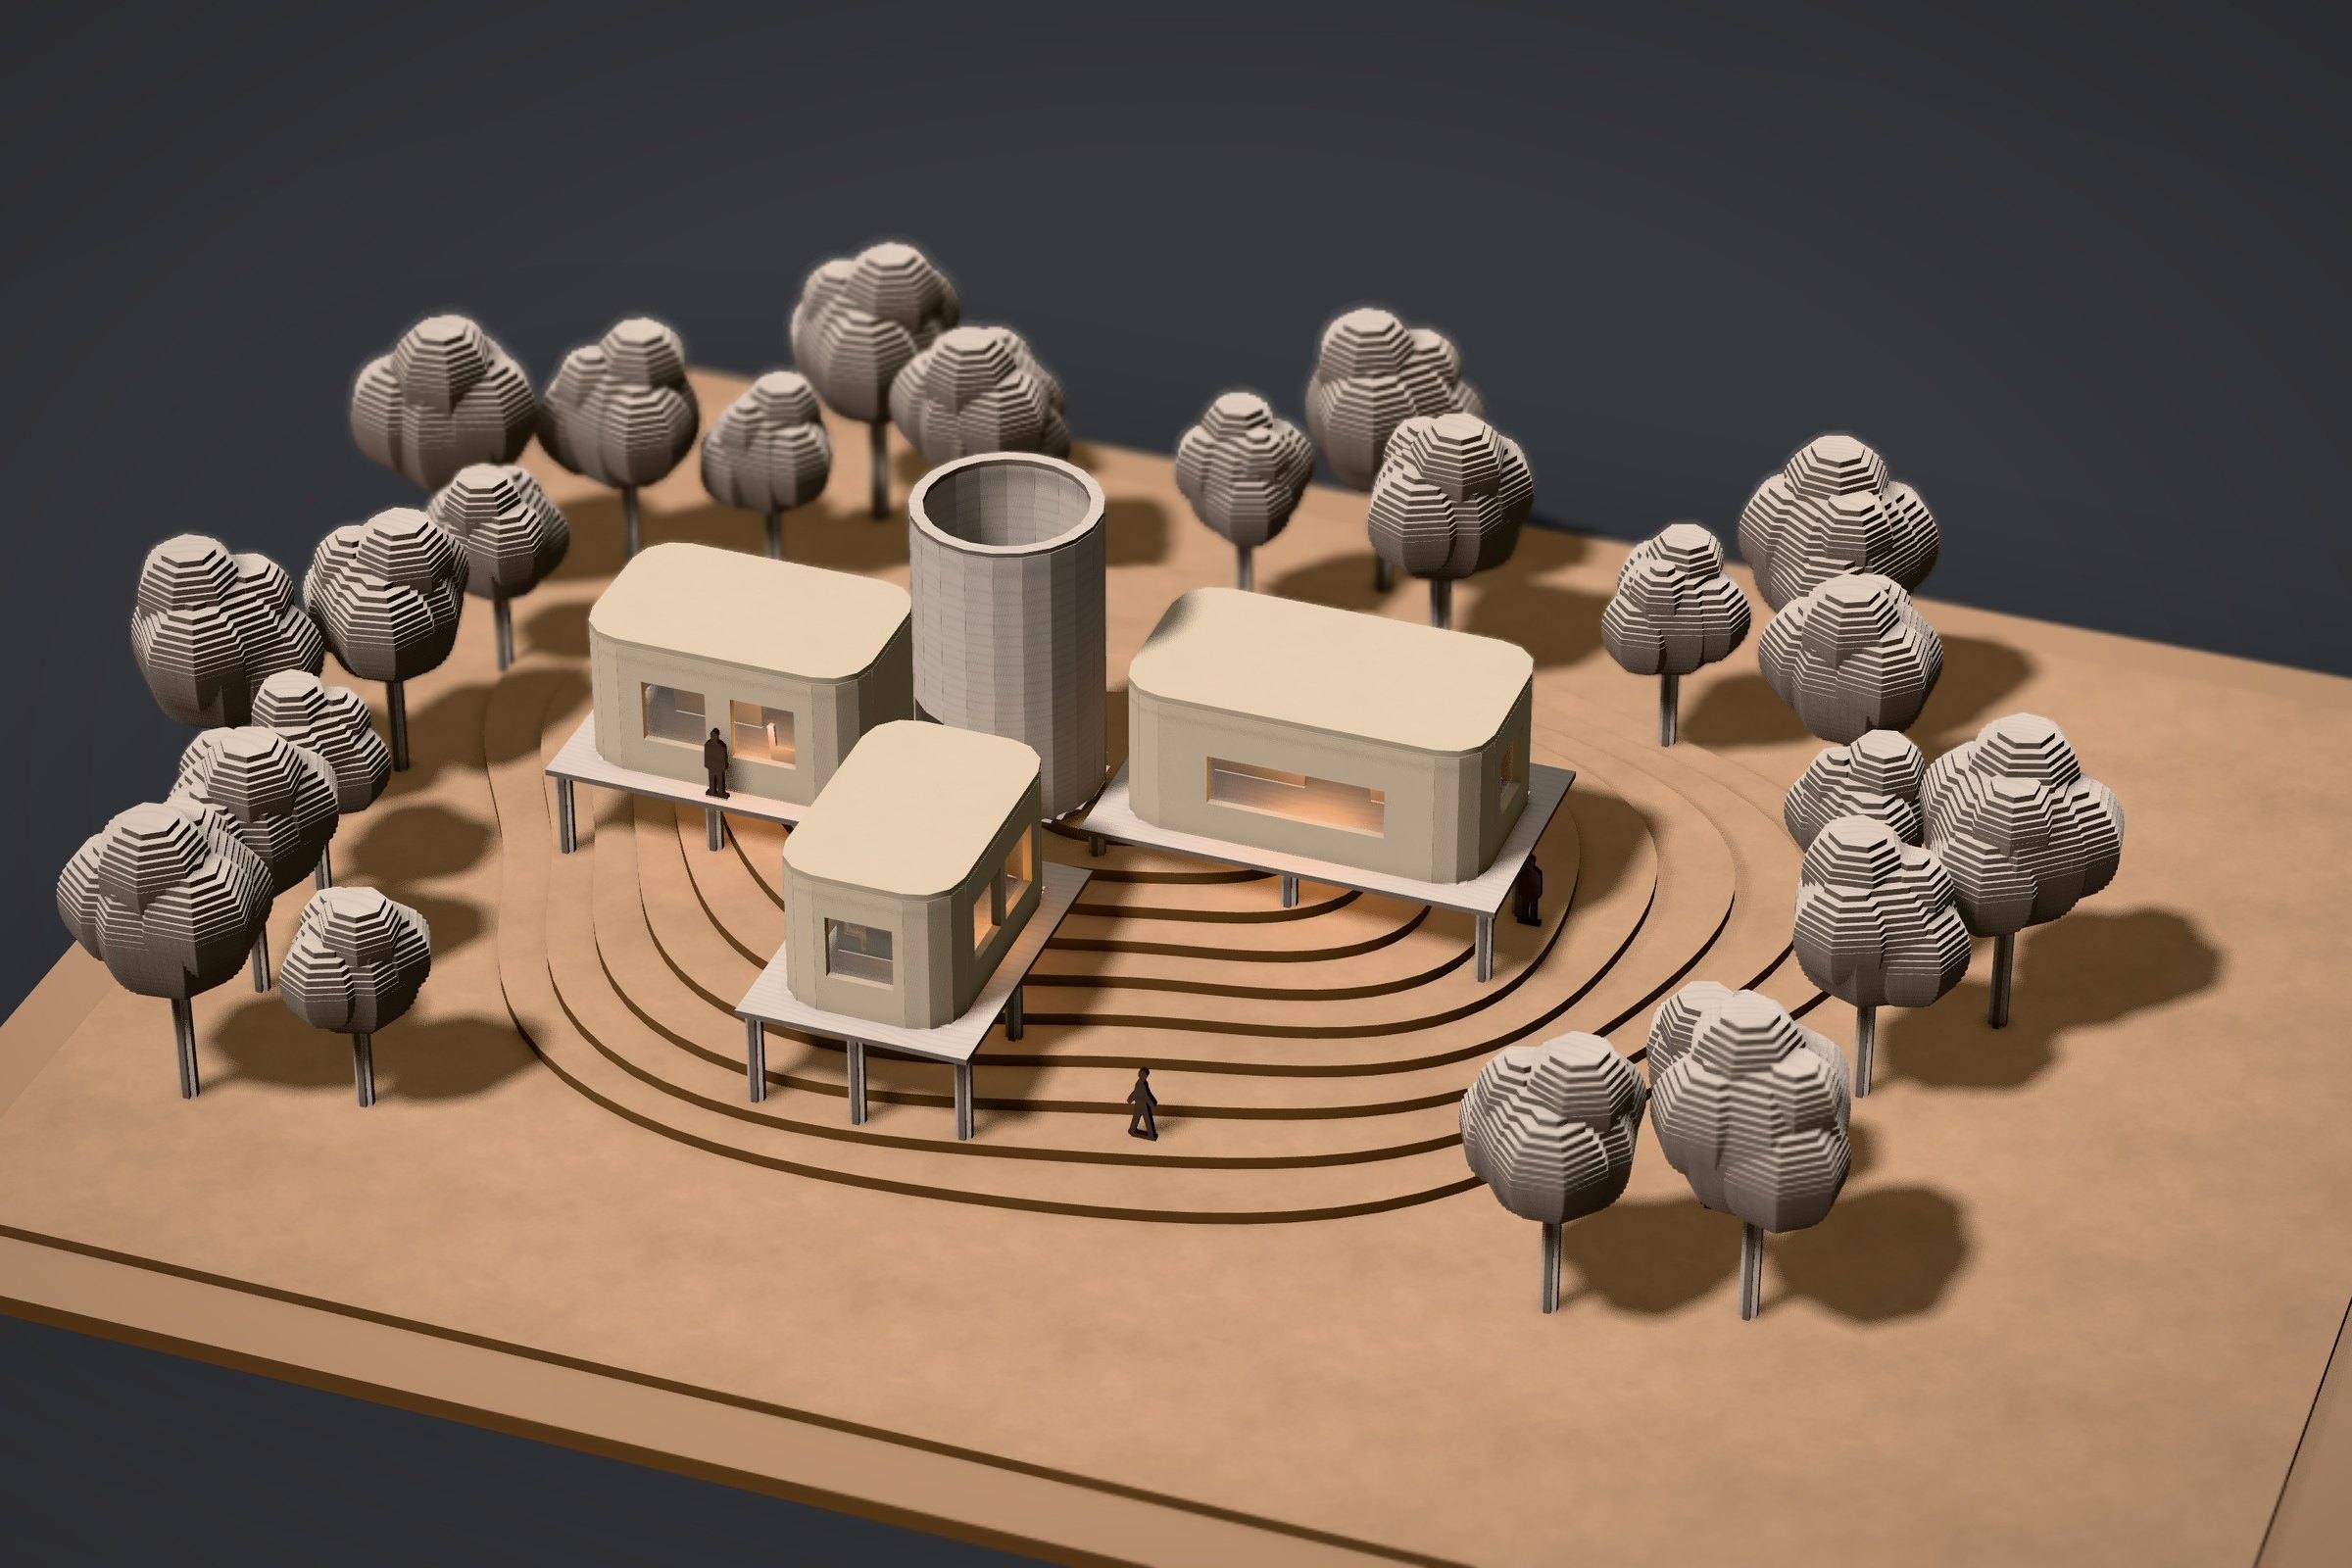
What does a model look like in studio light?
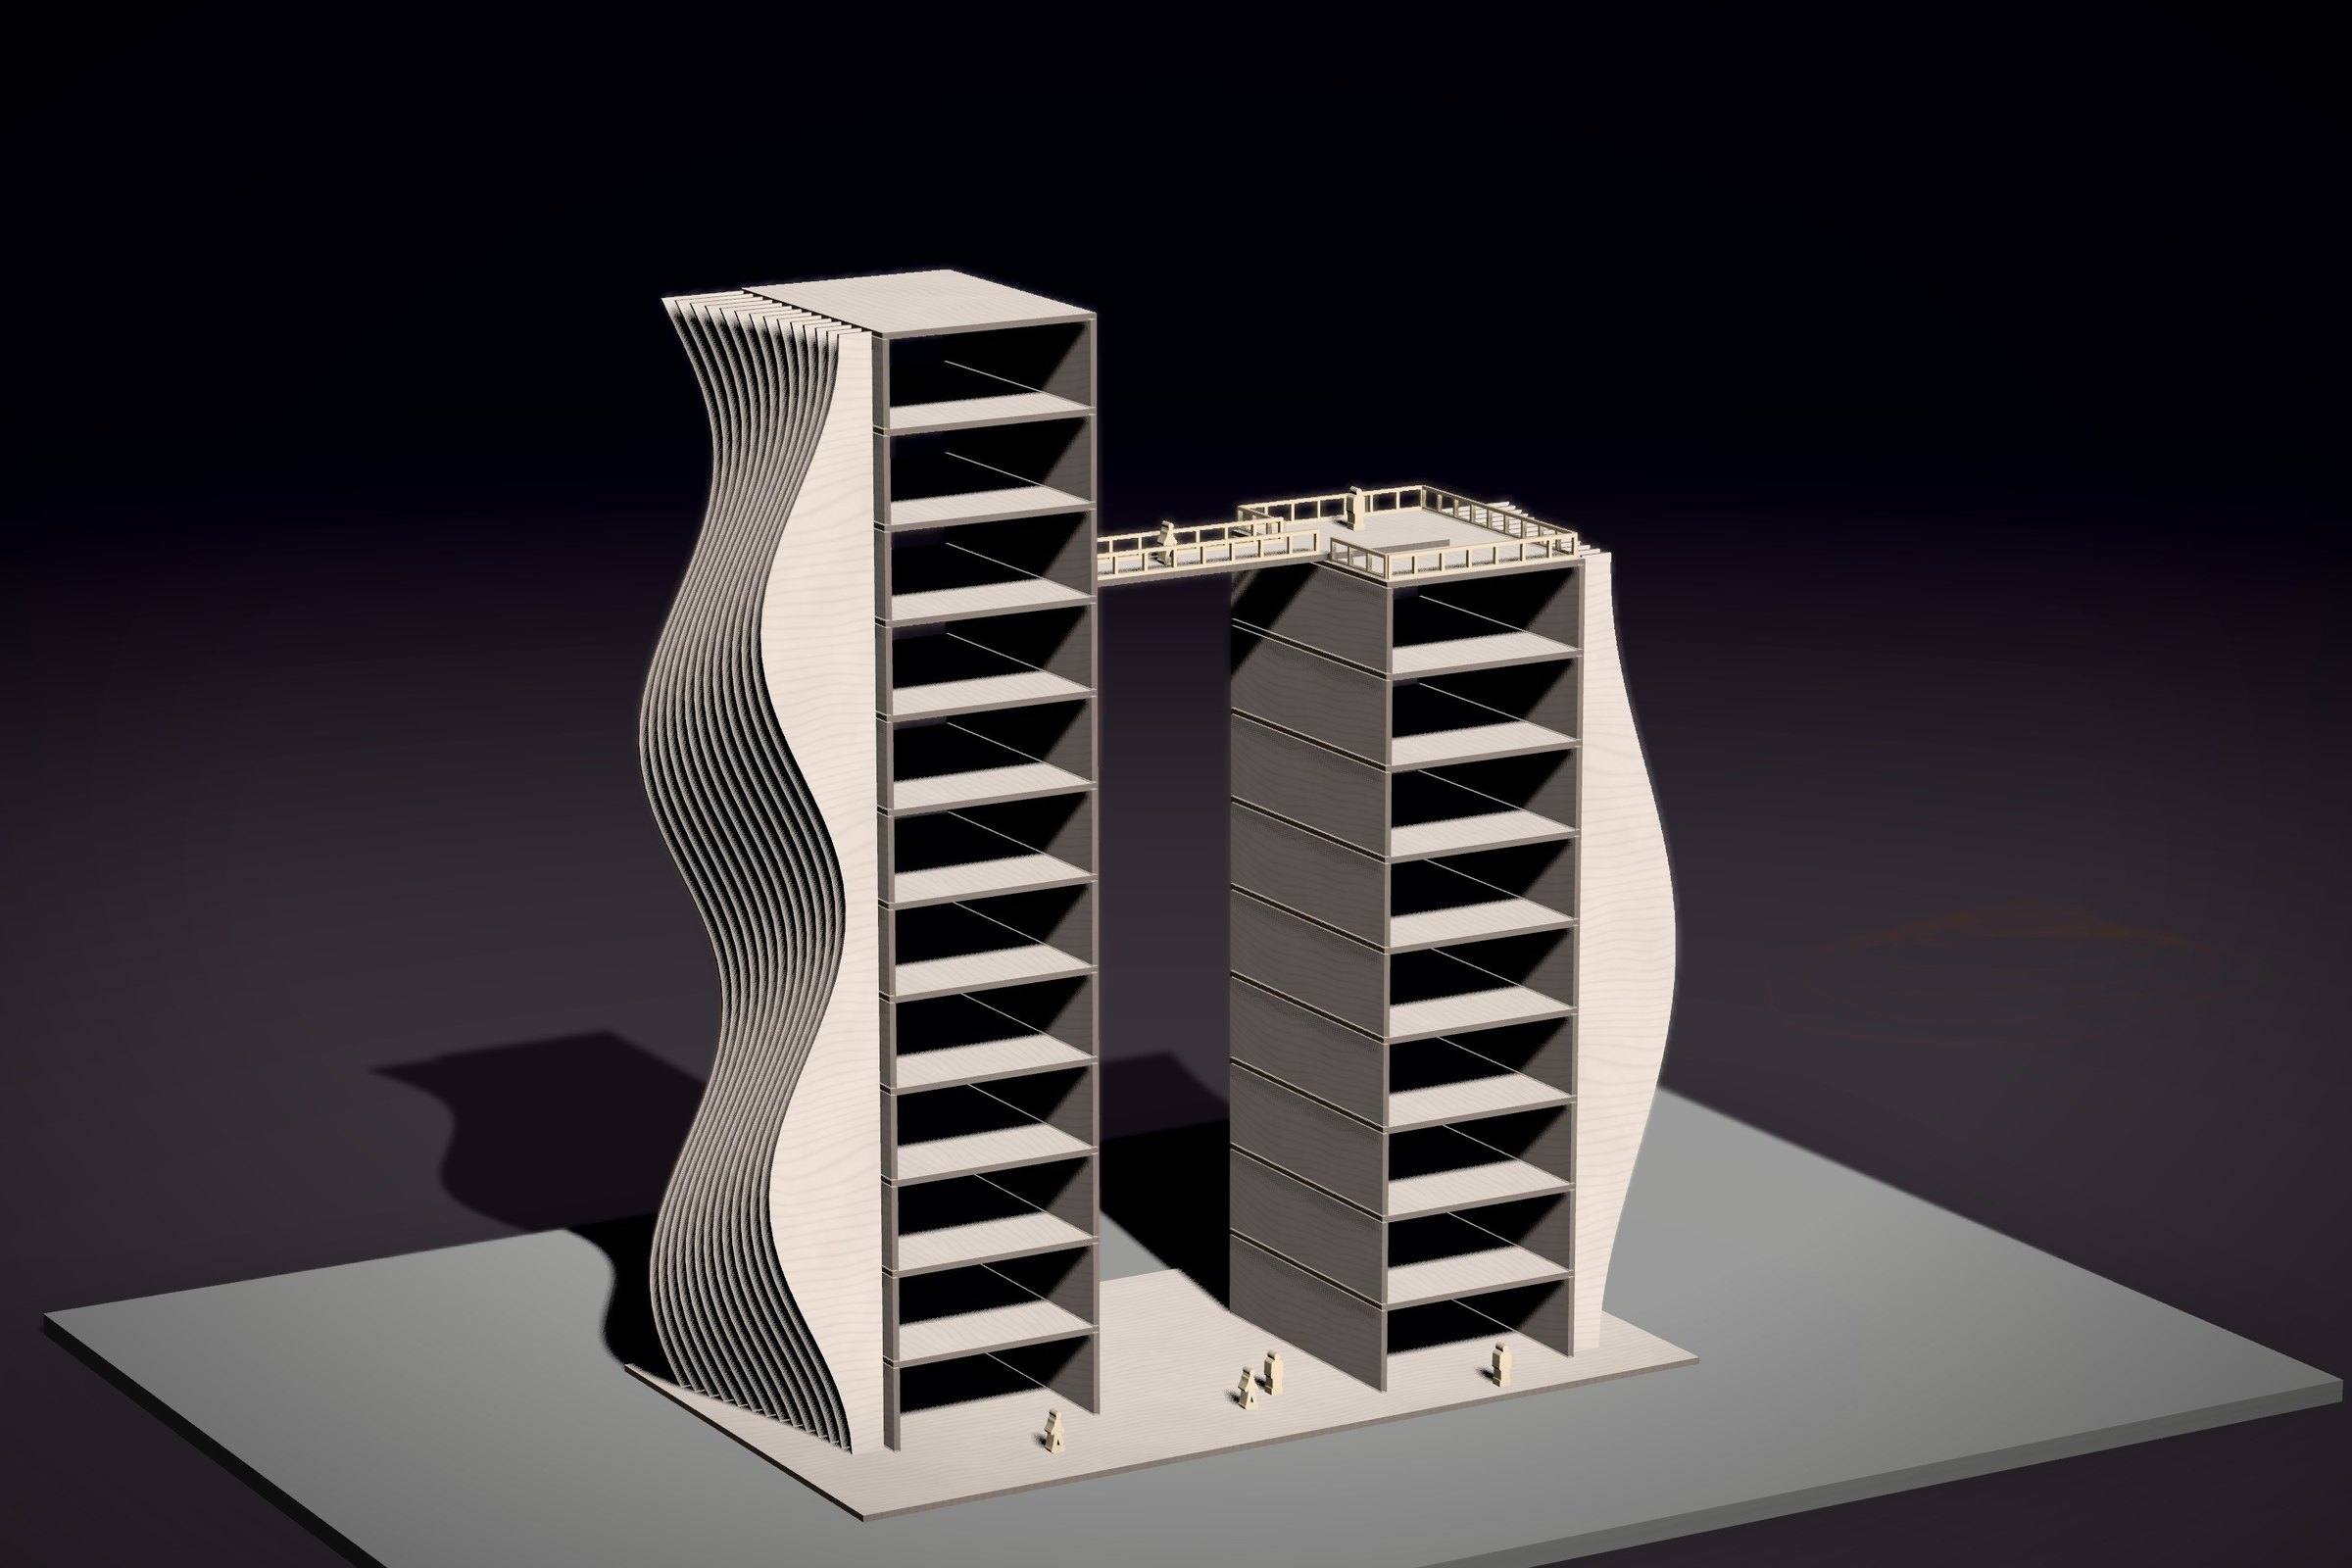
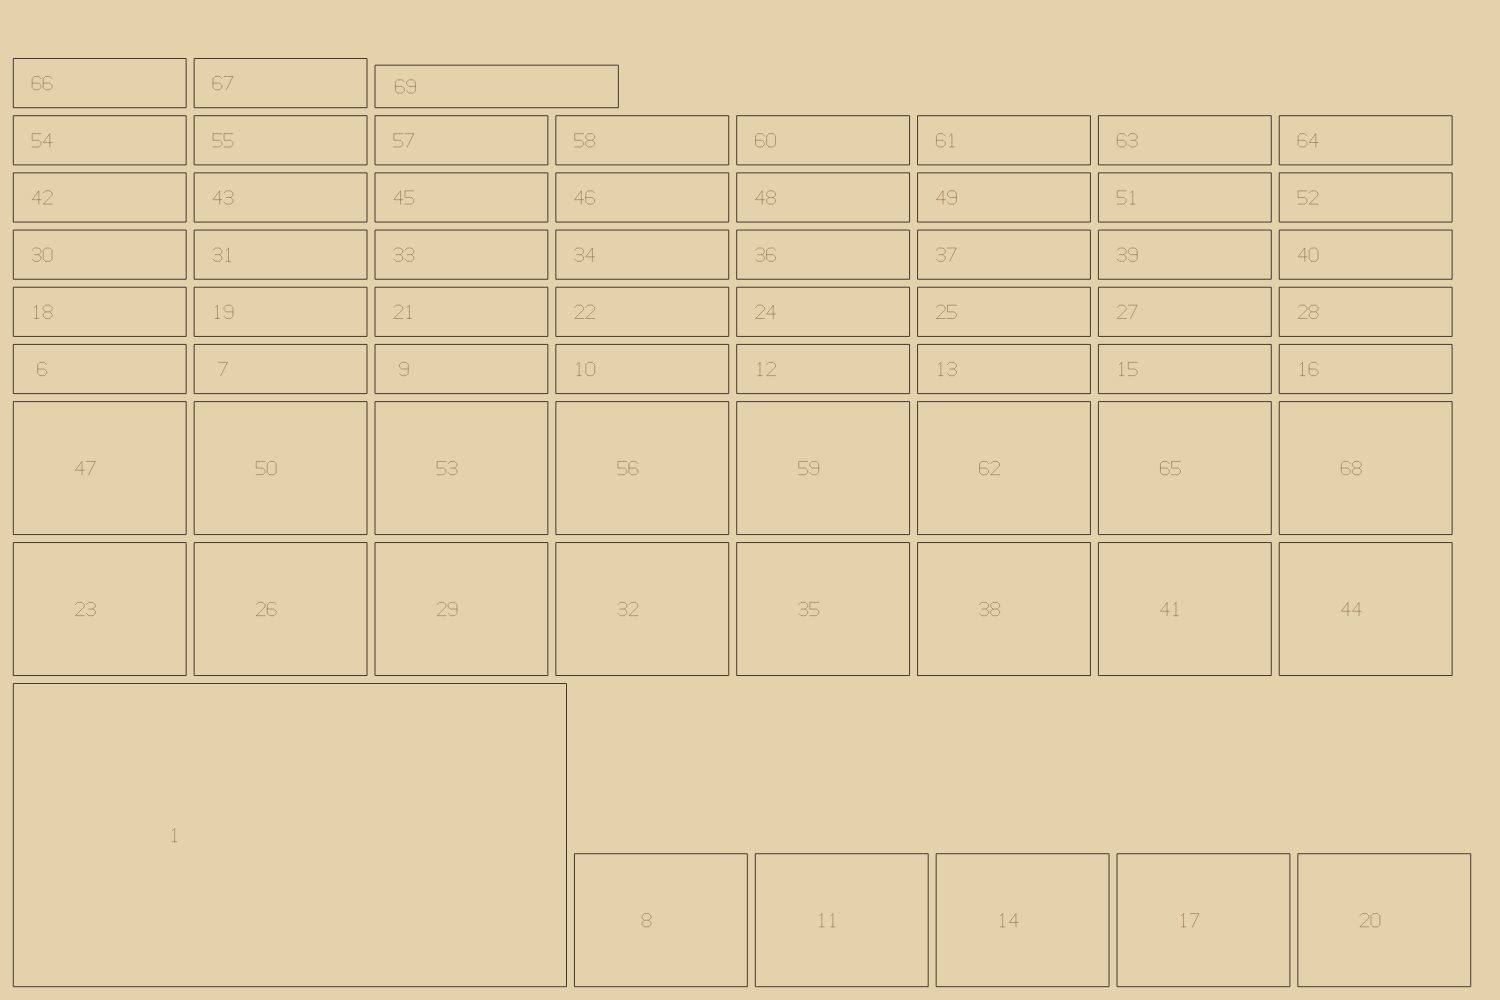
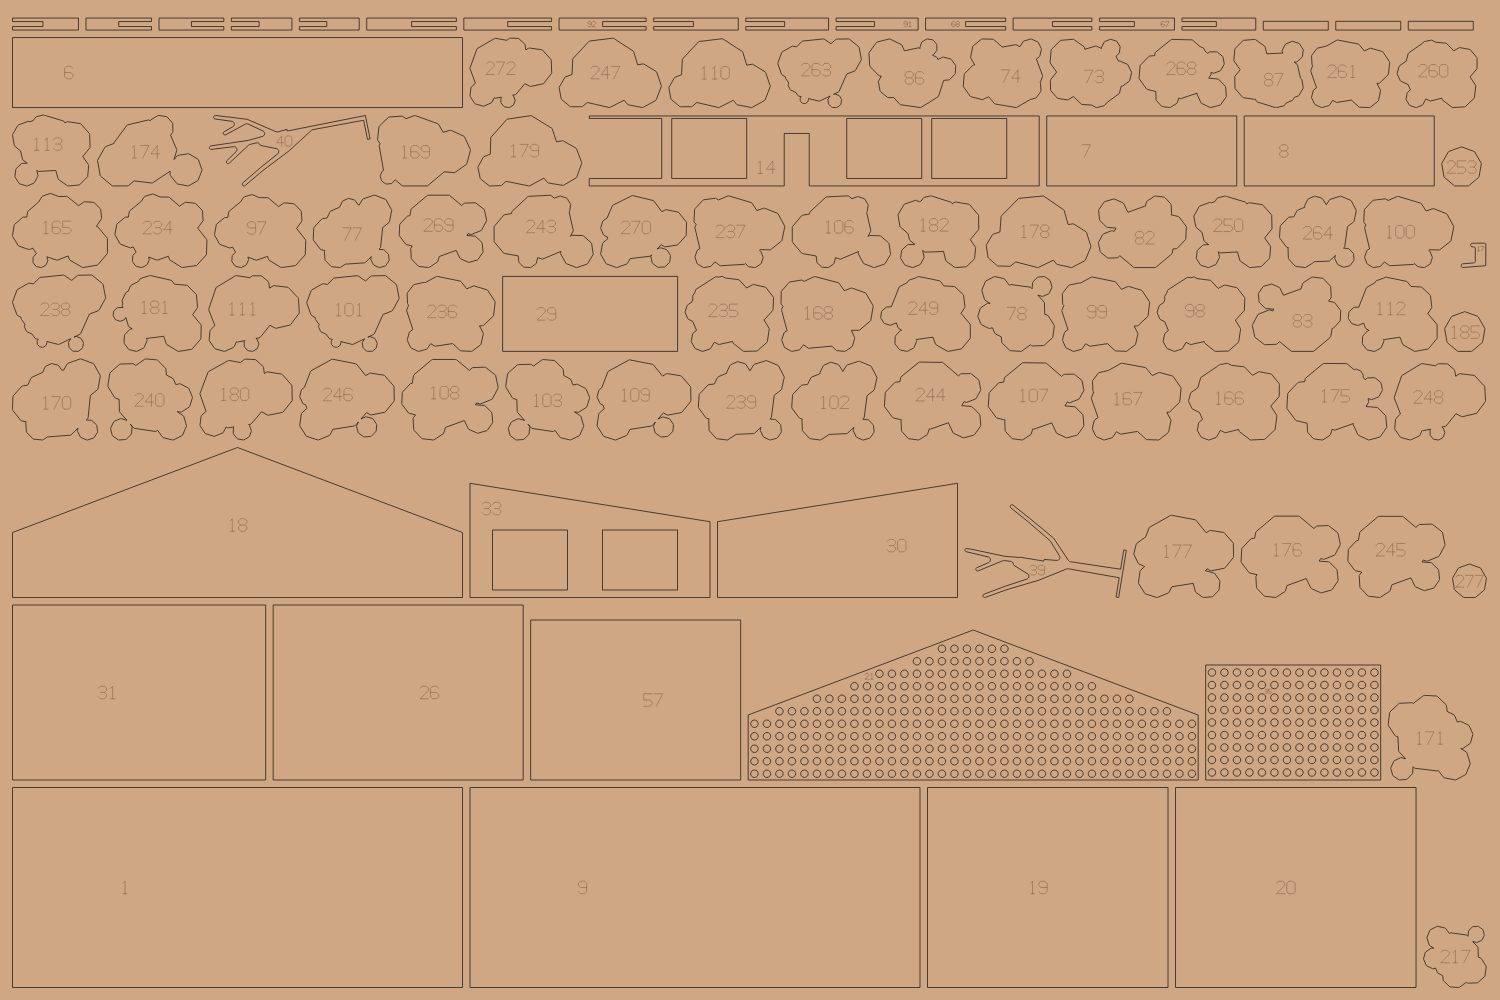
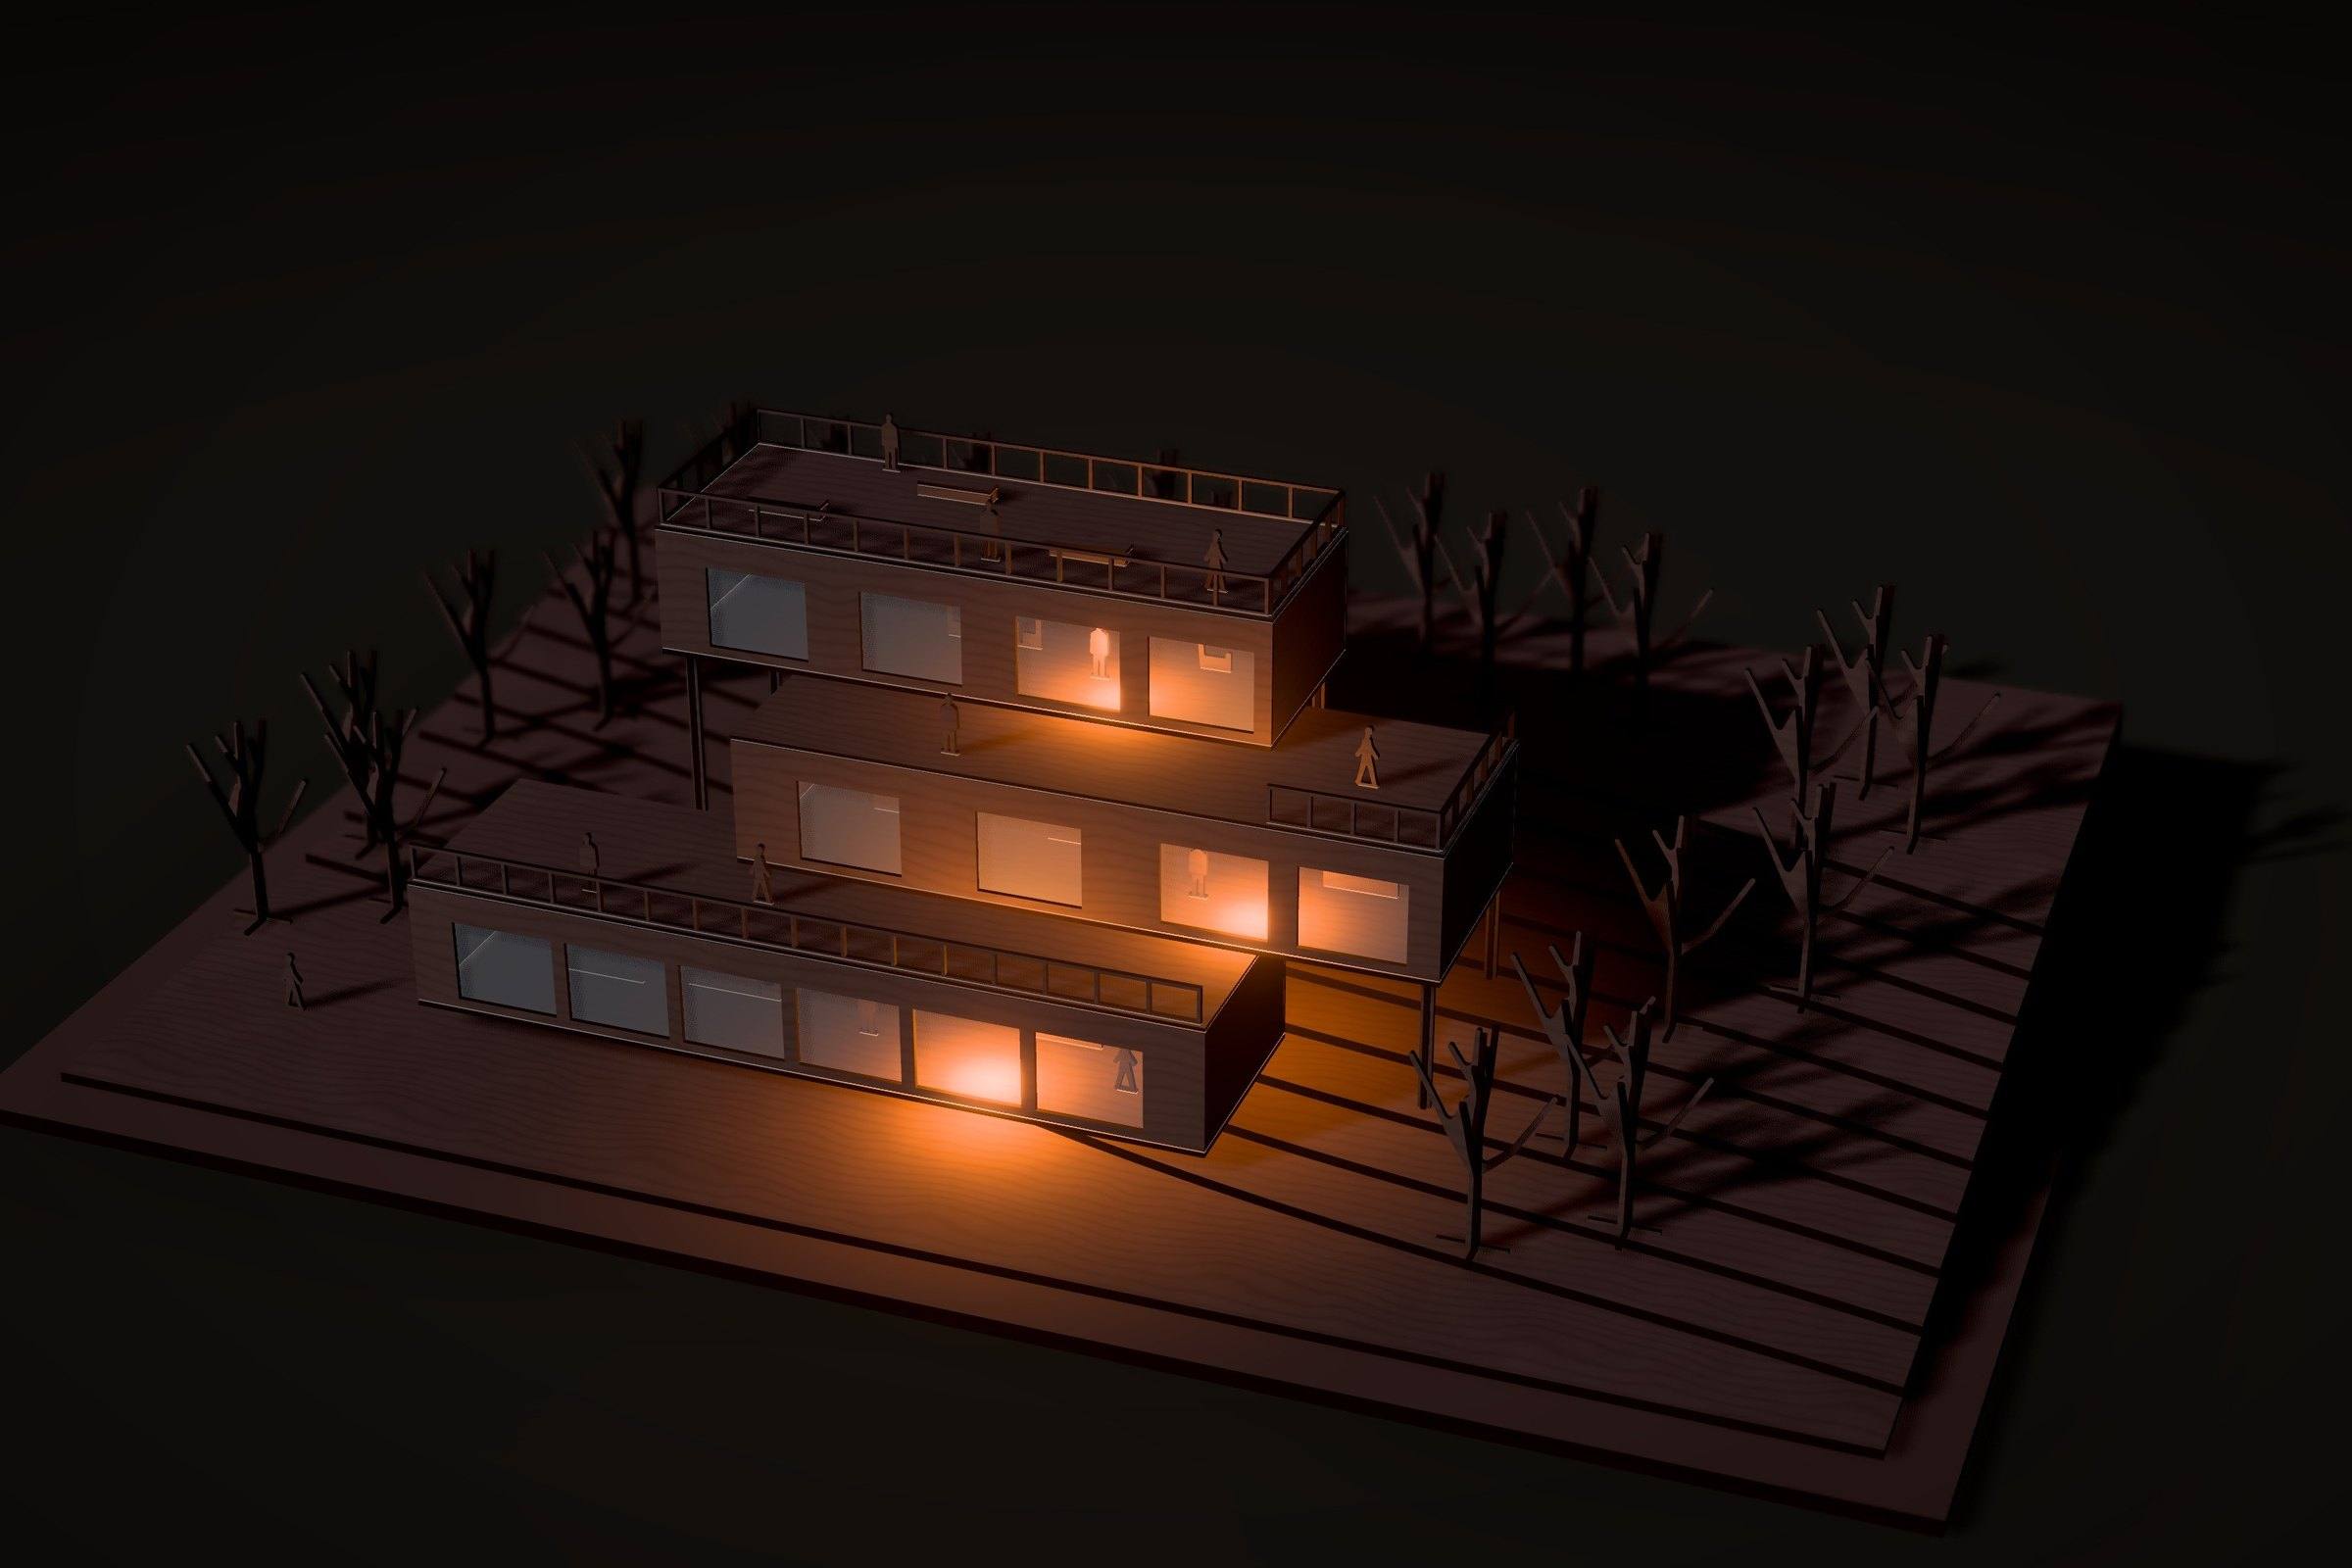
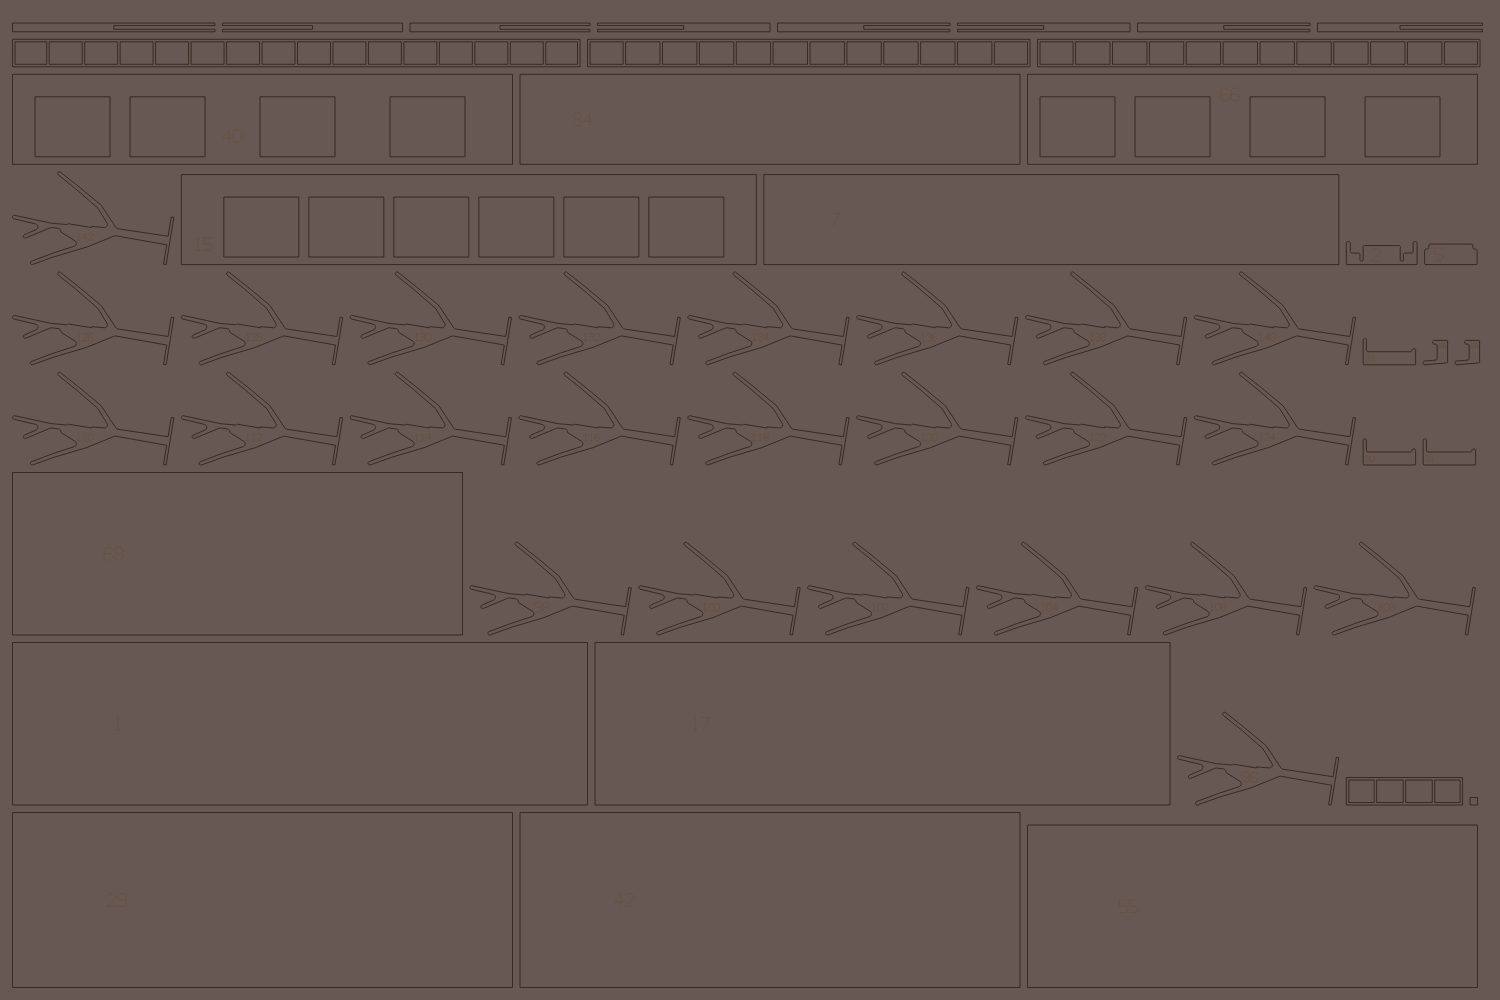
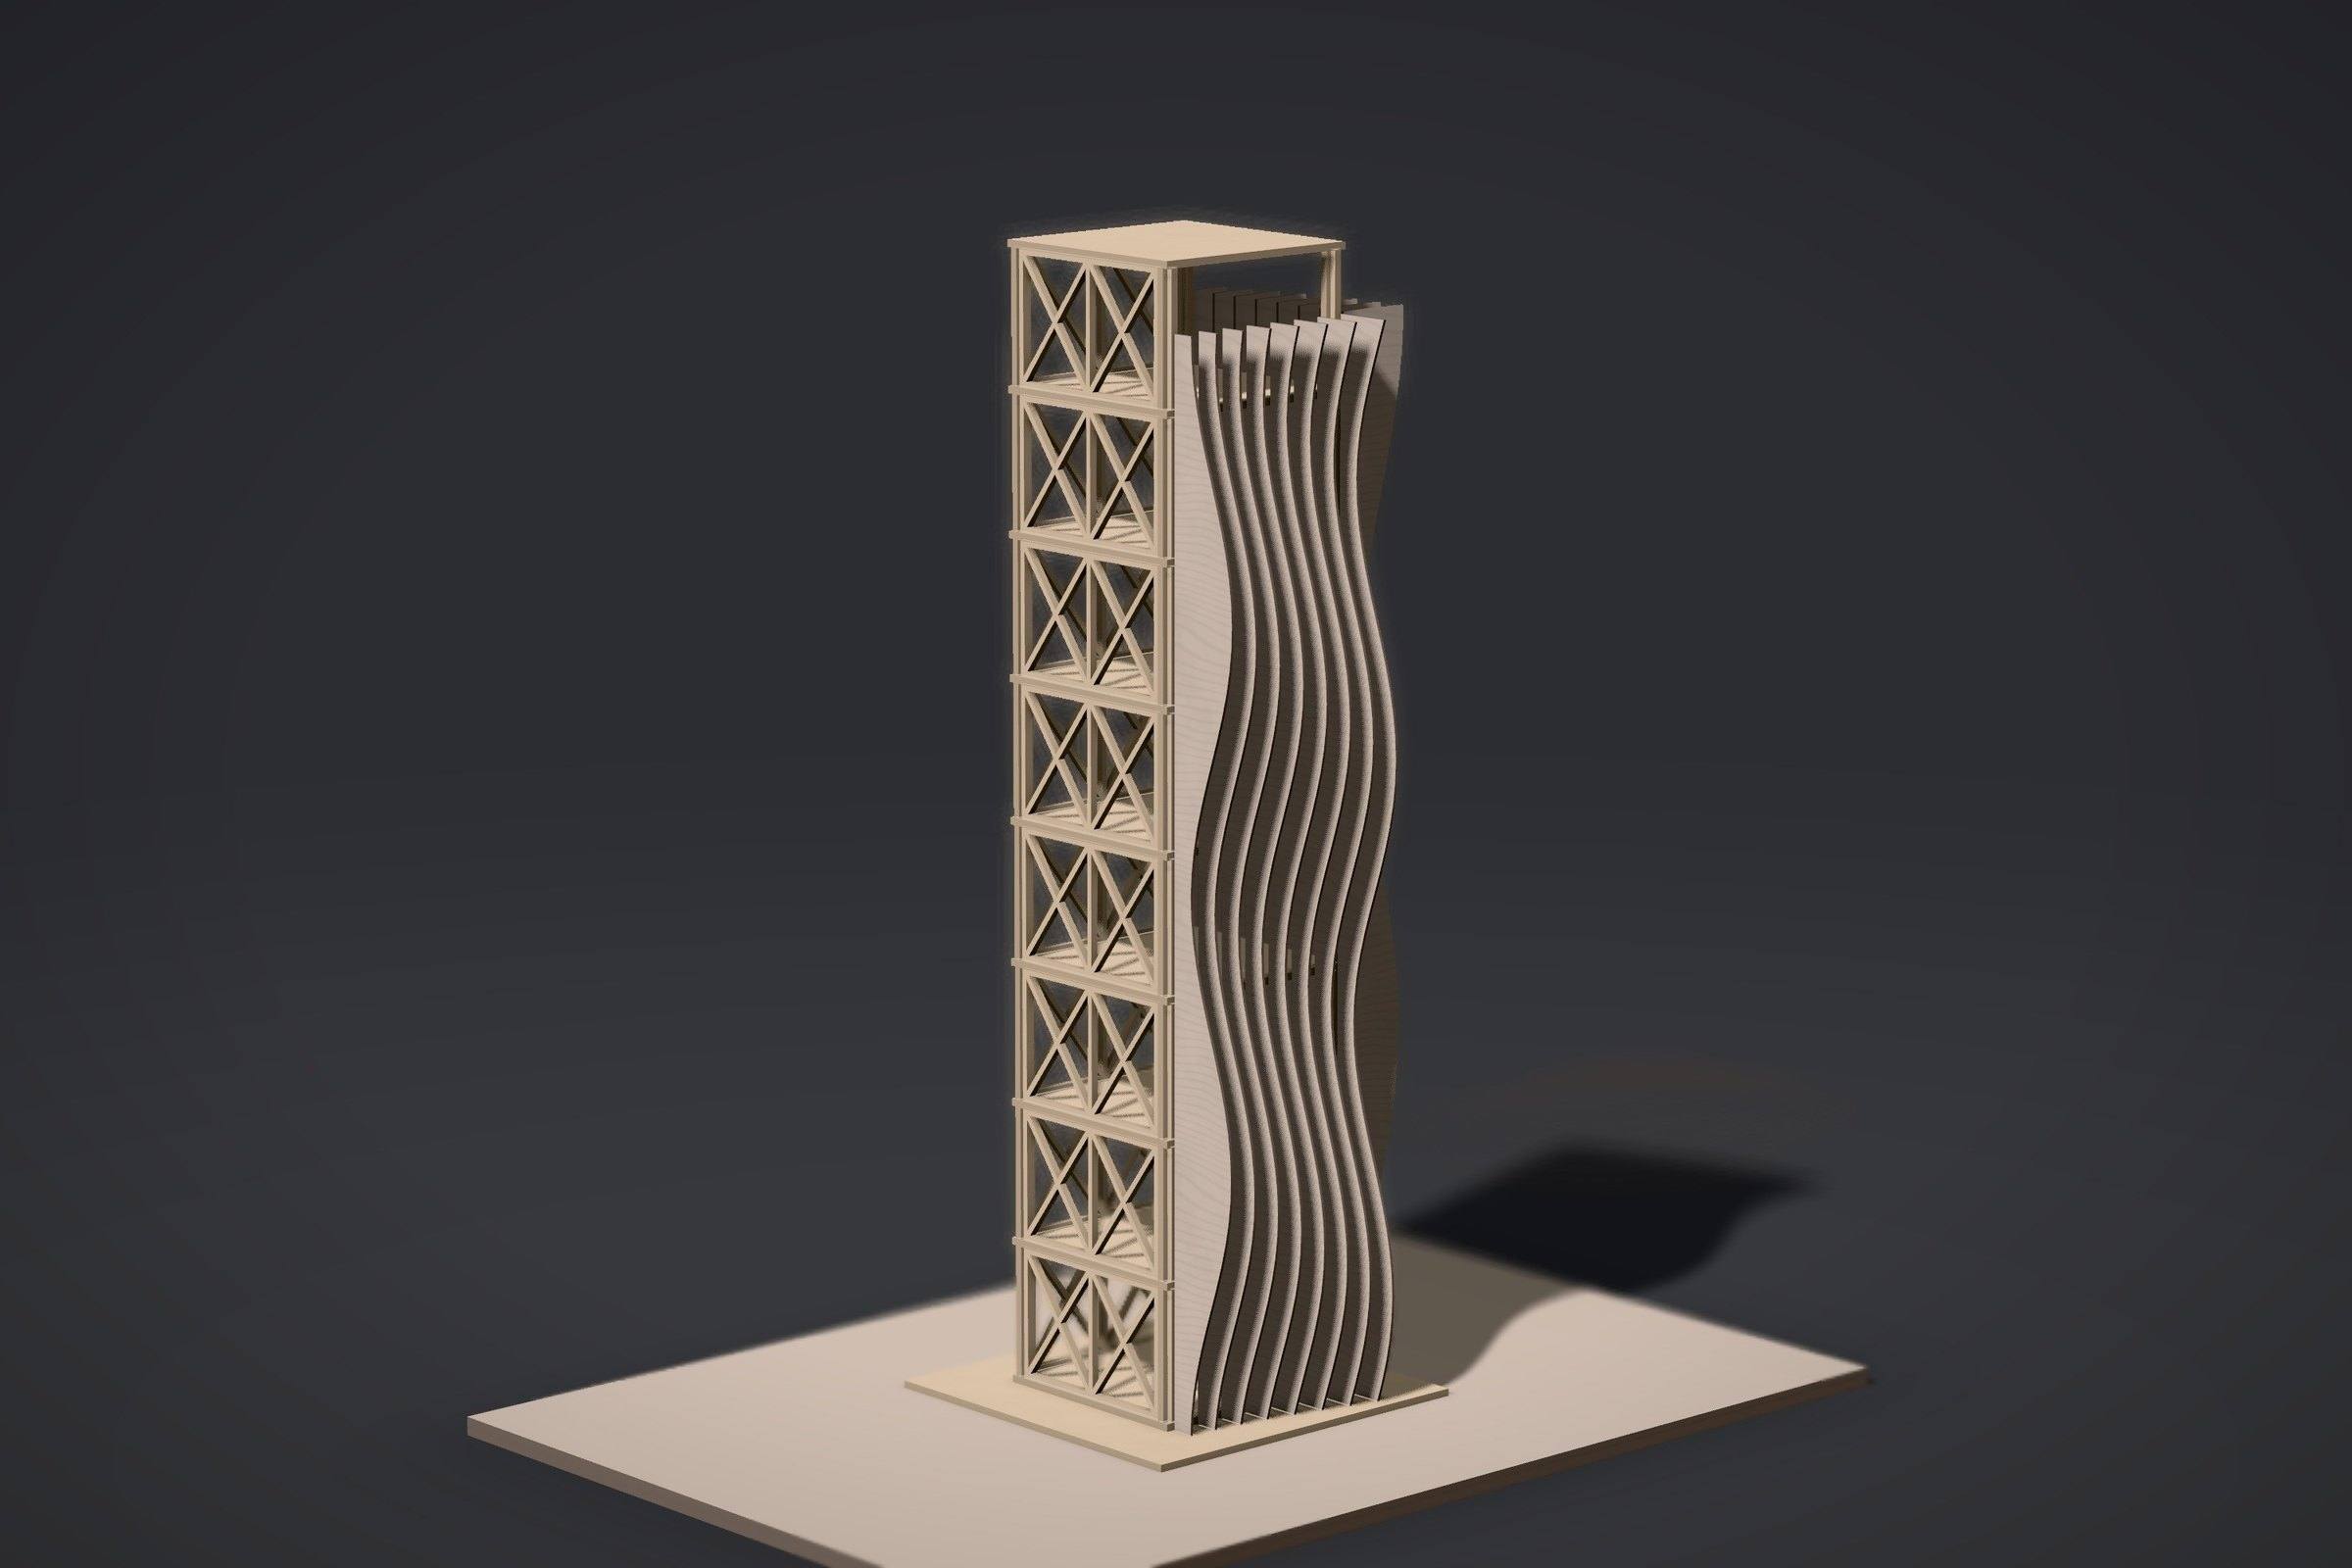
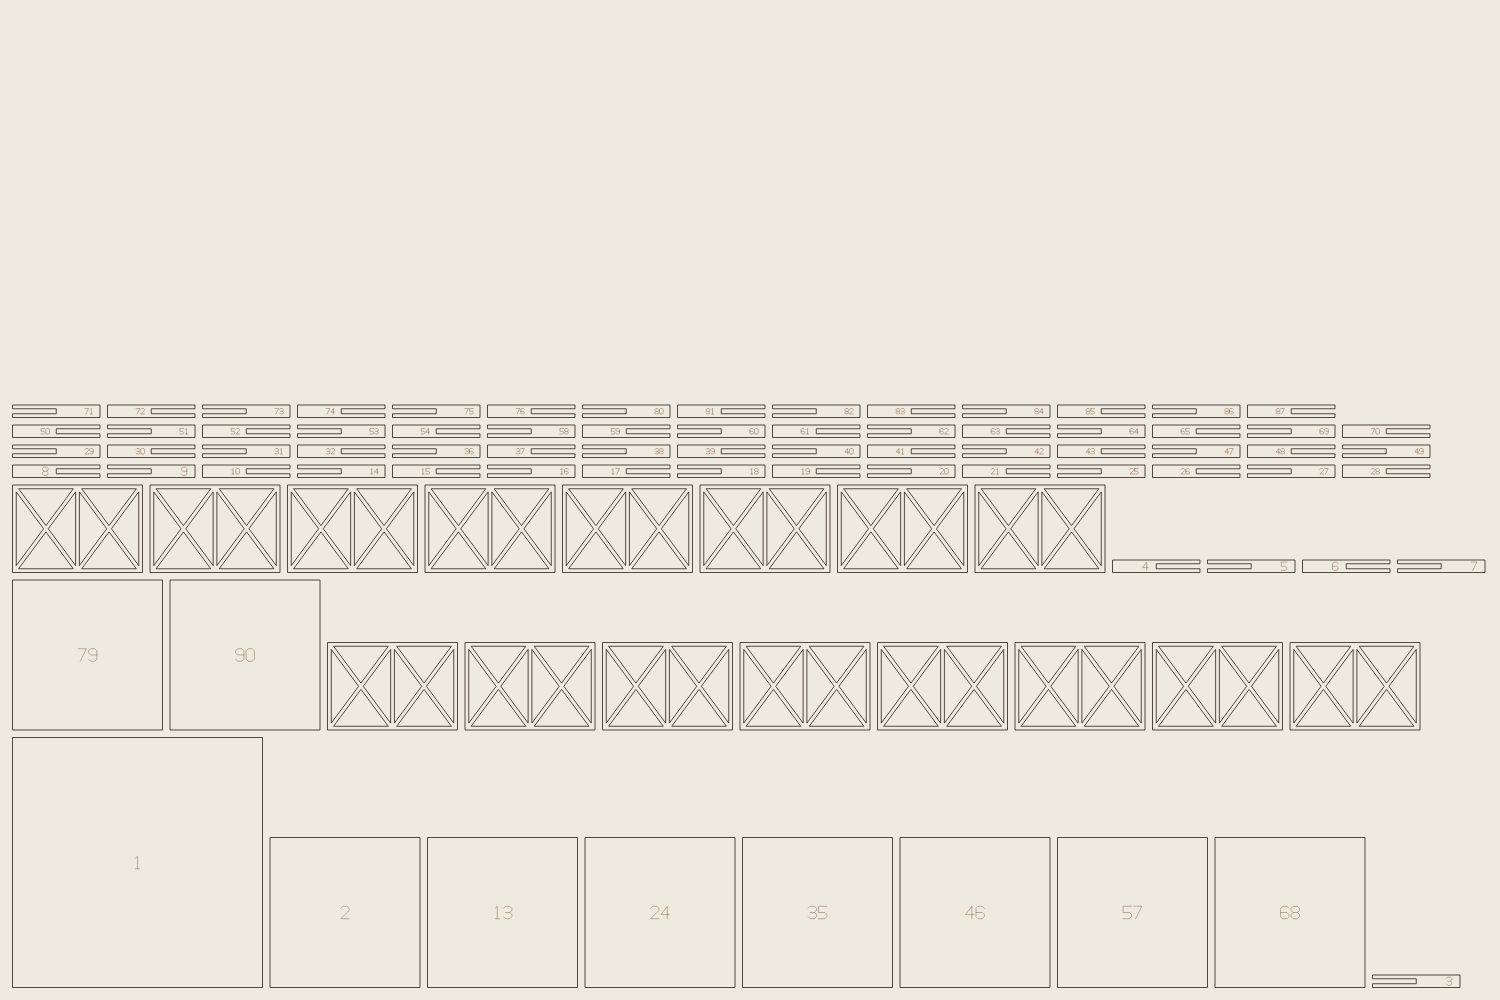
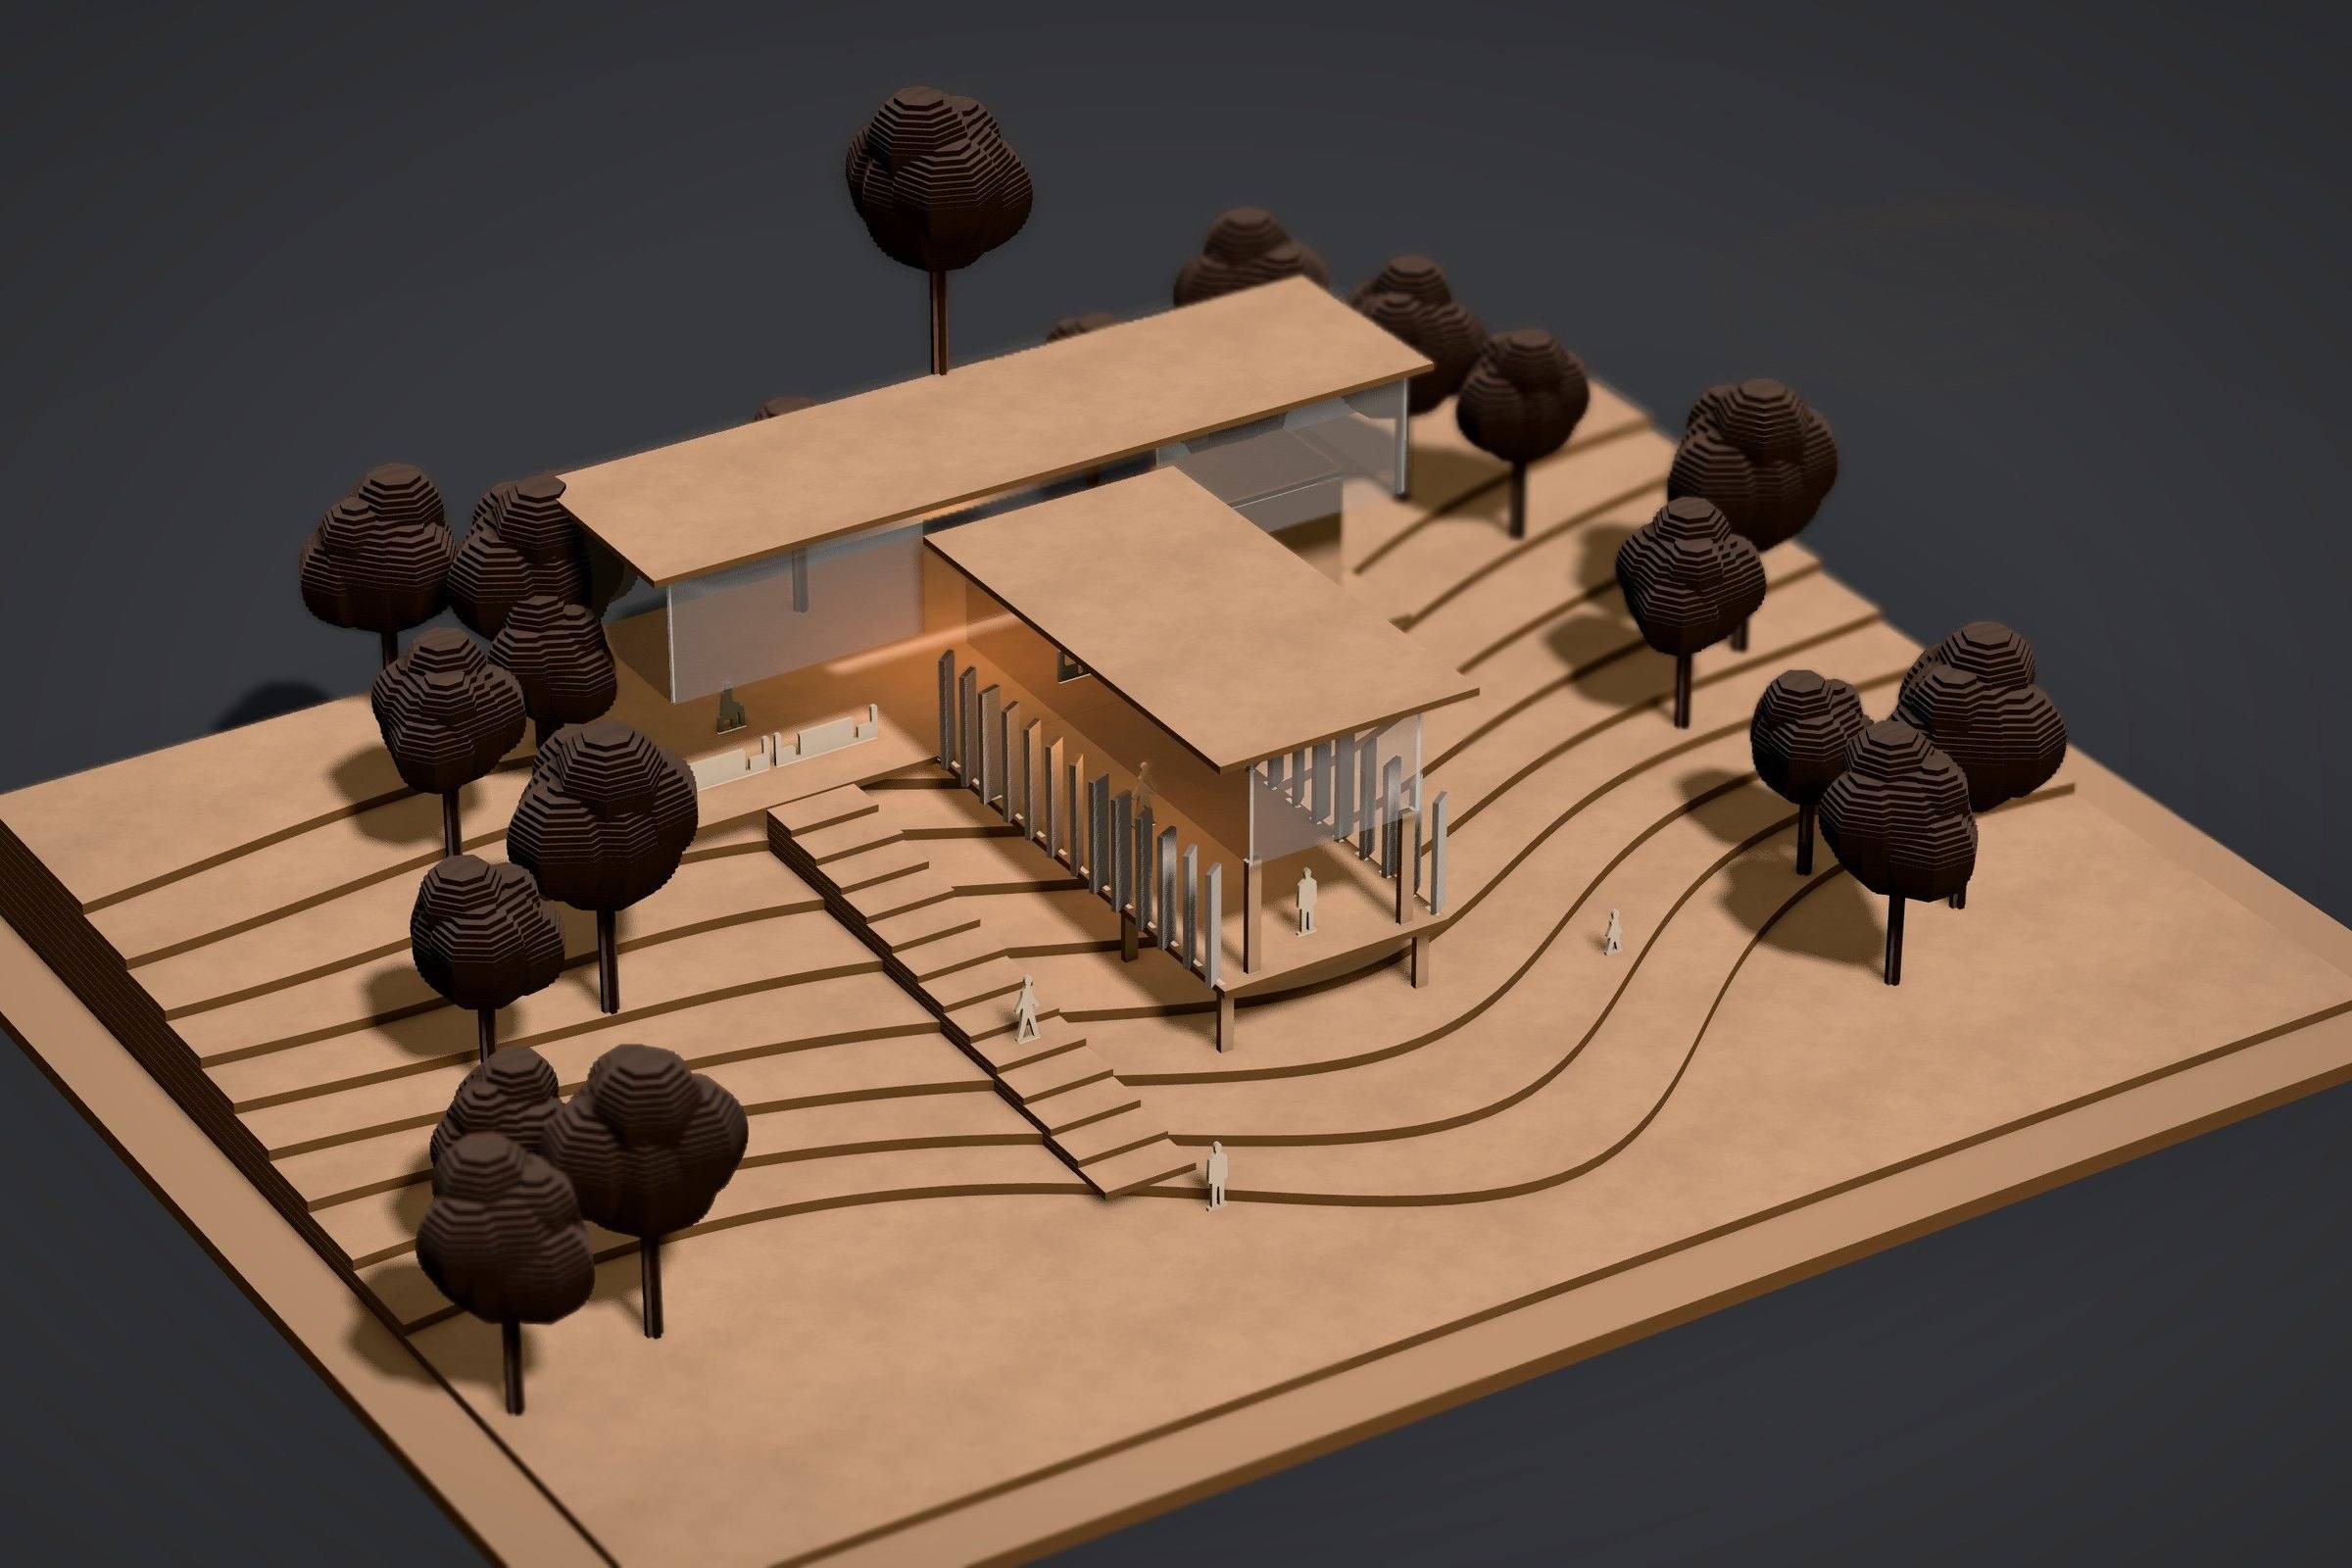
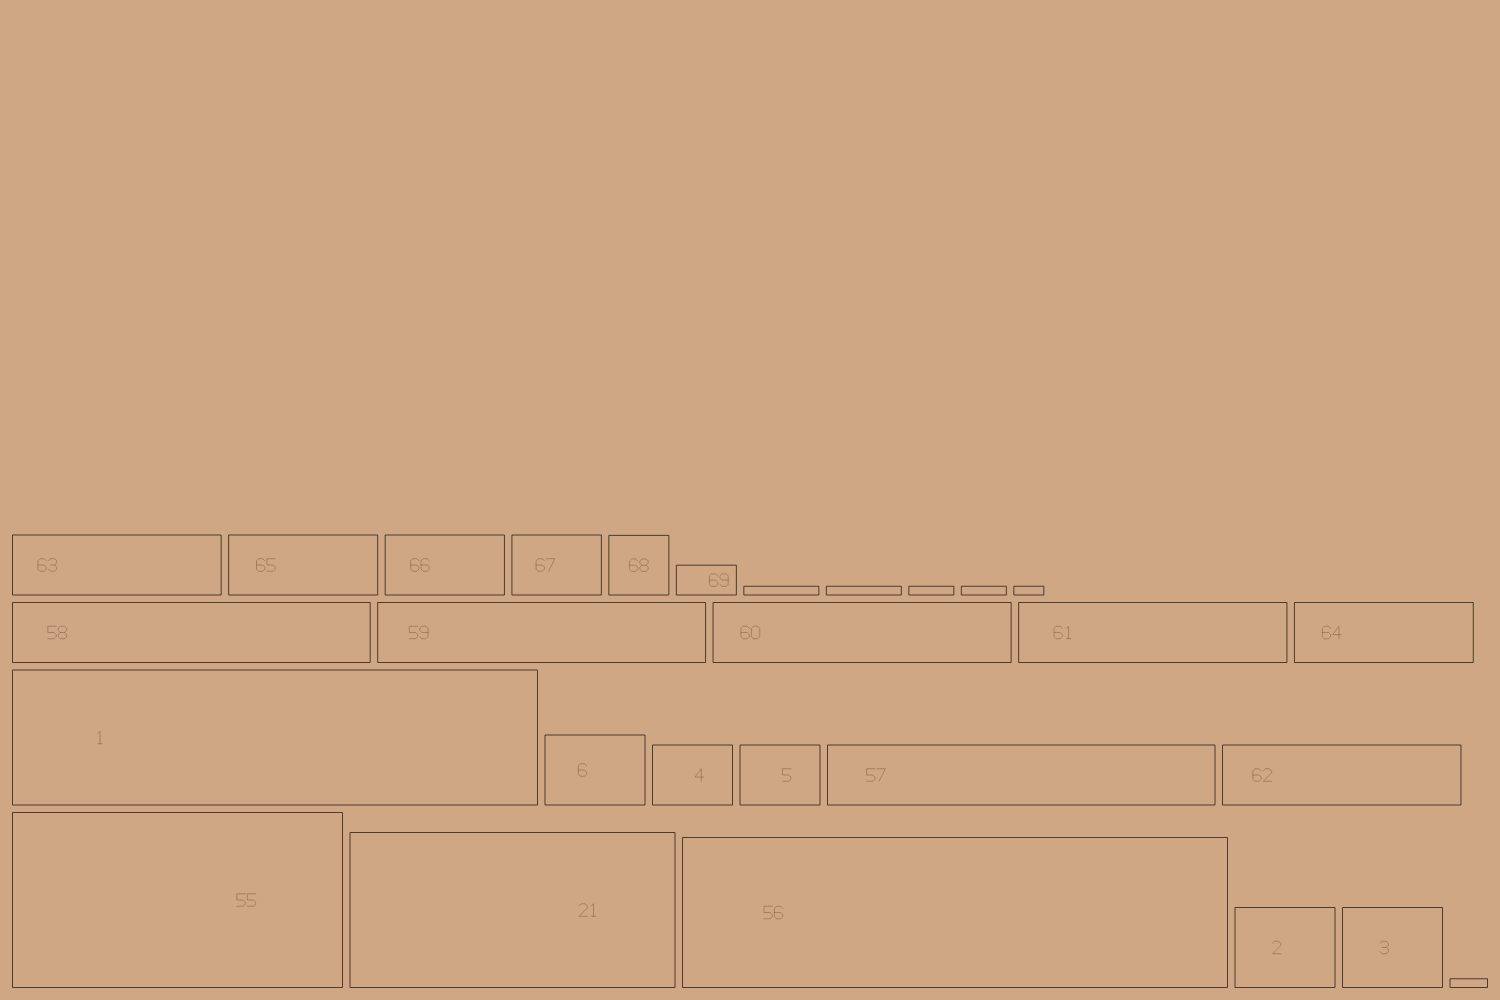
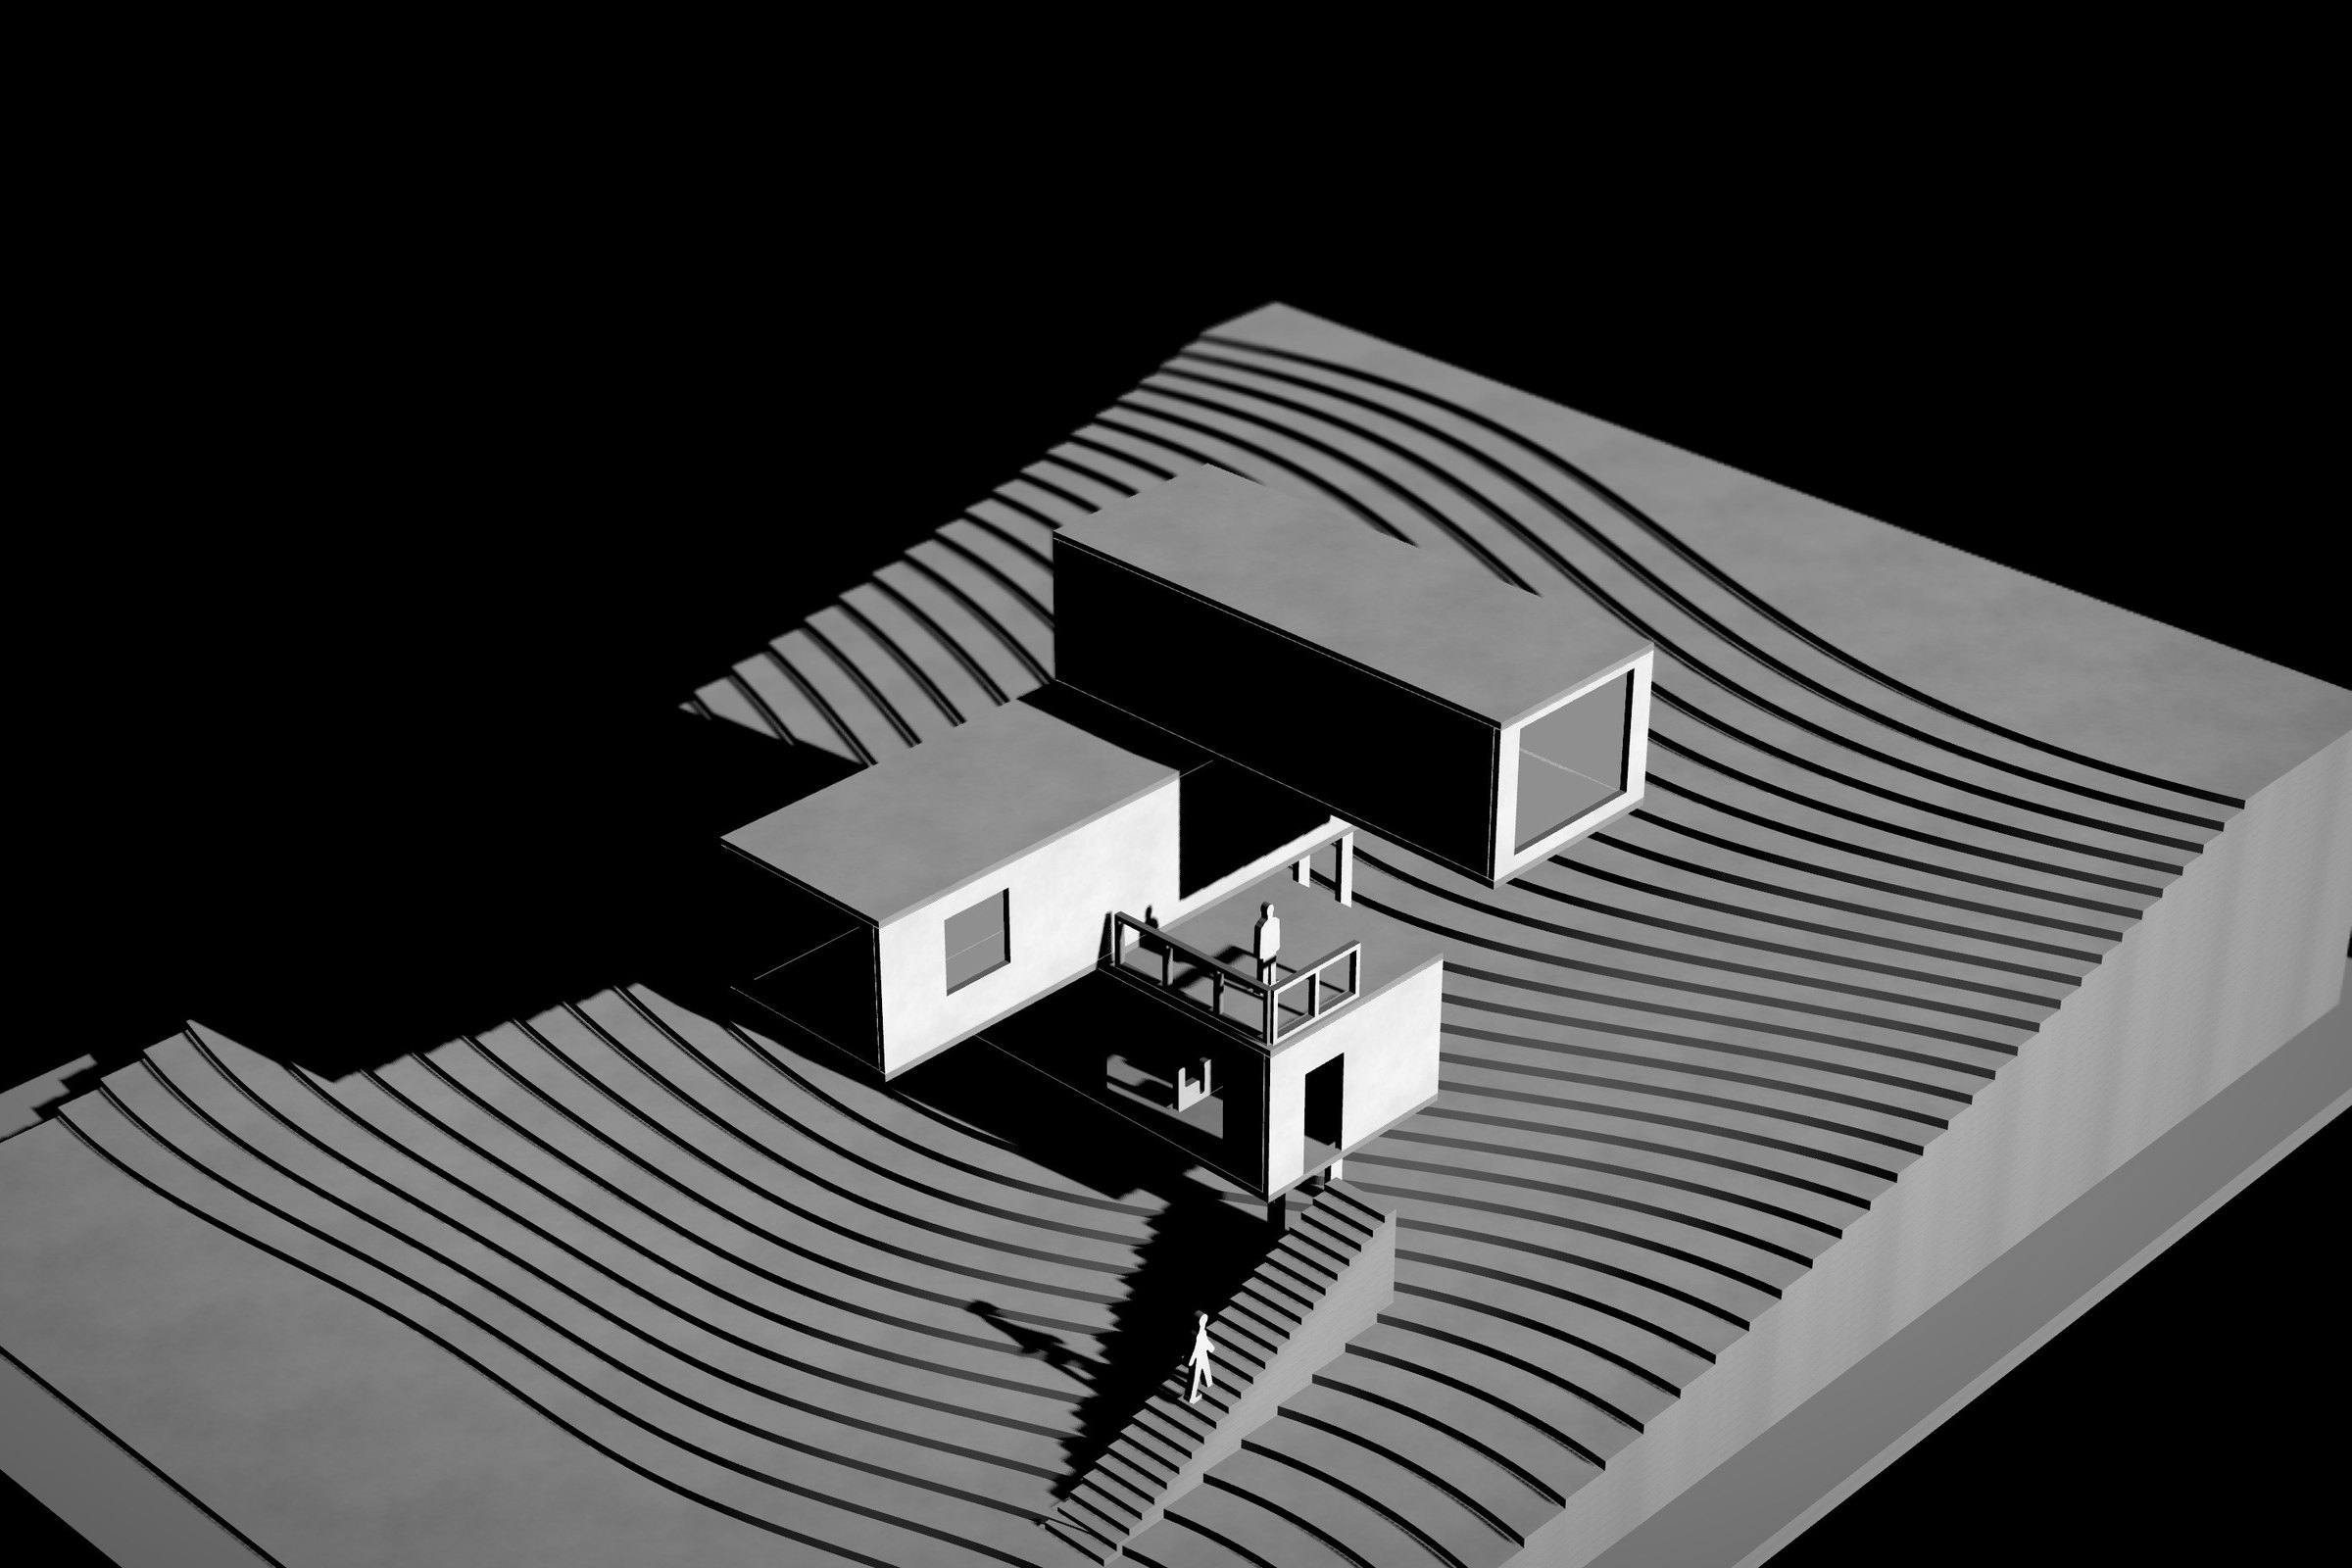
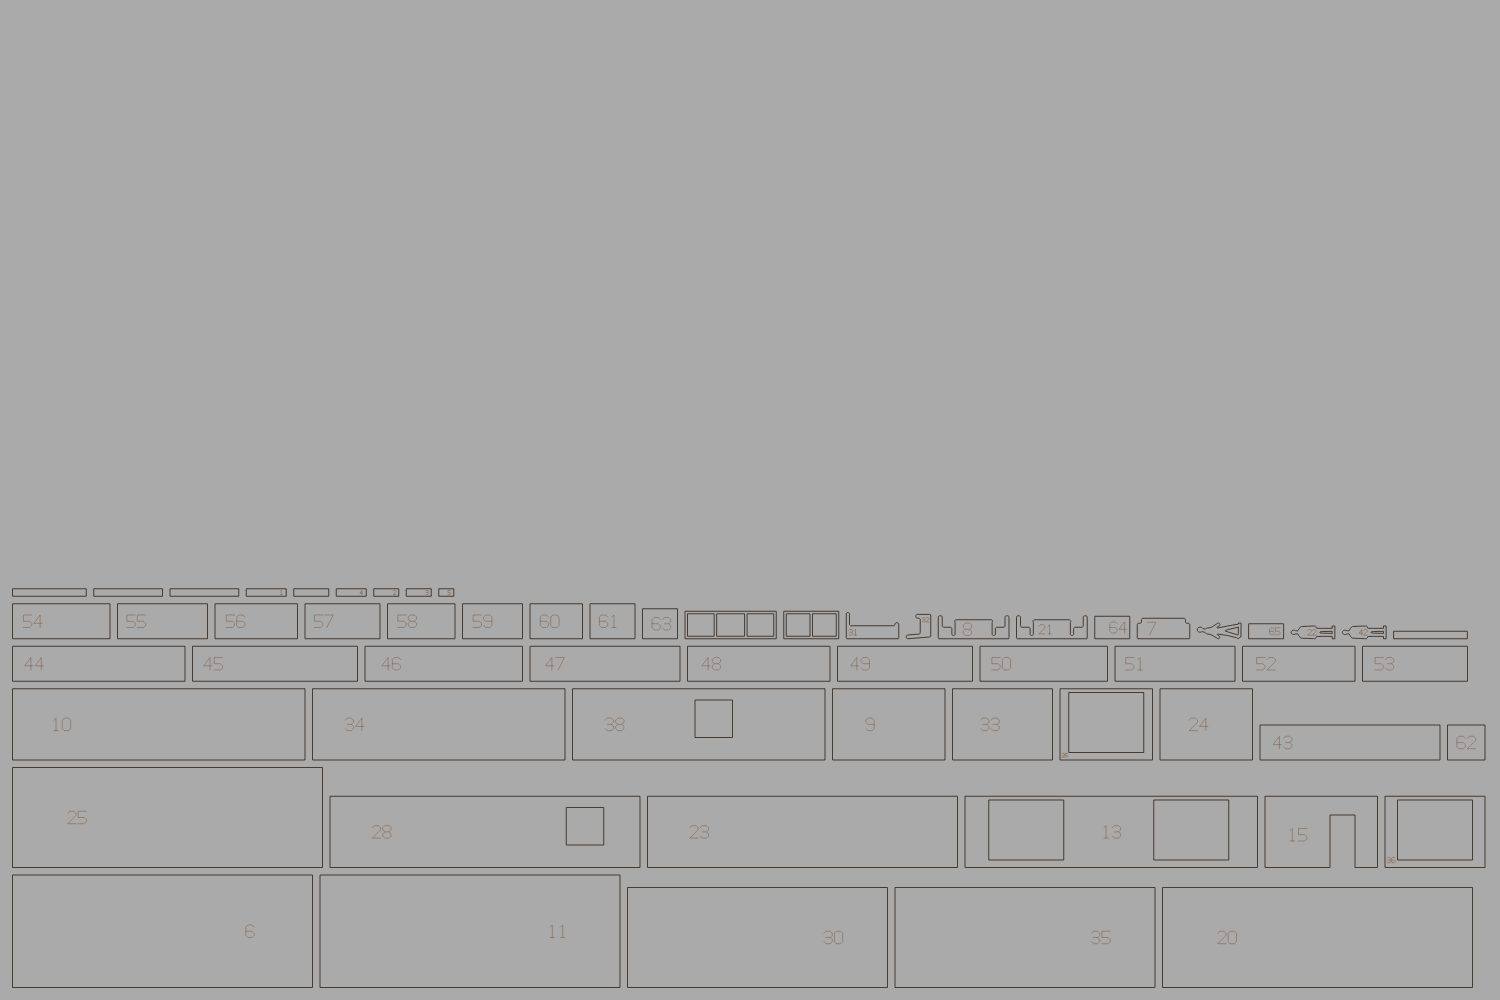
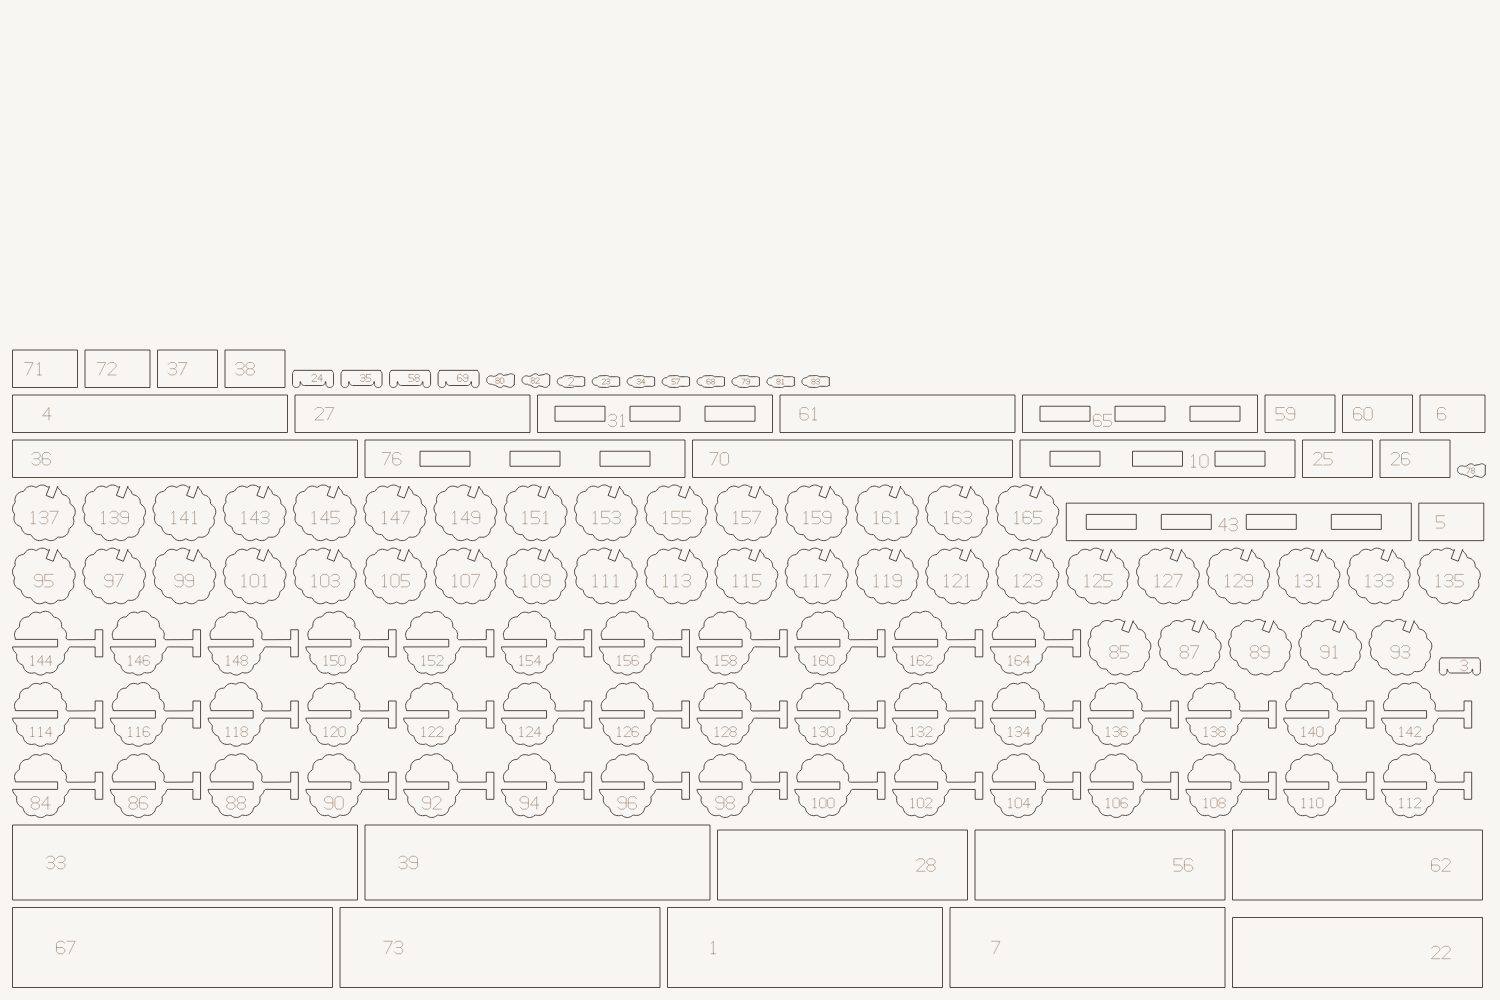
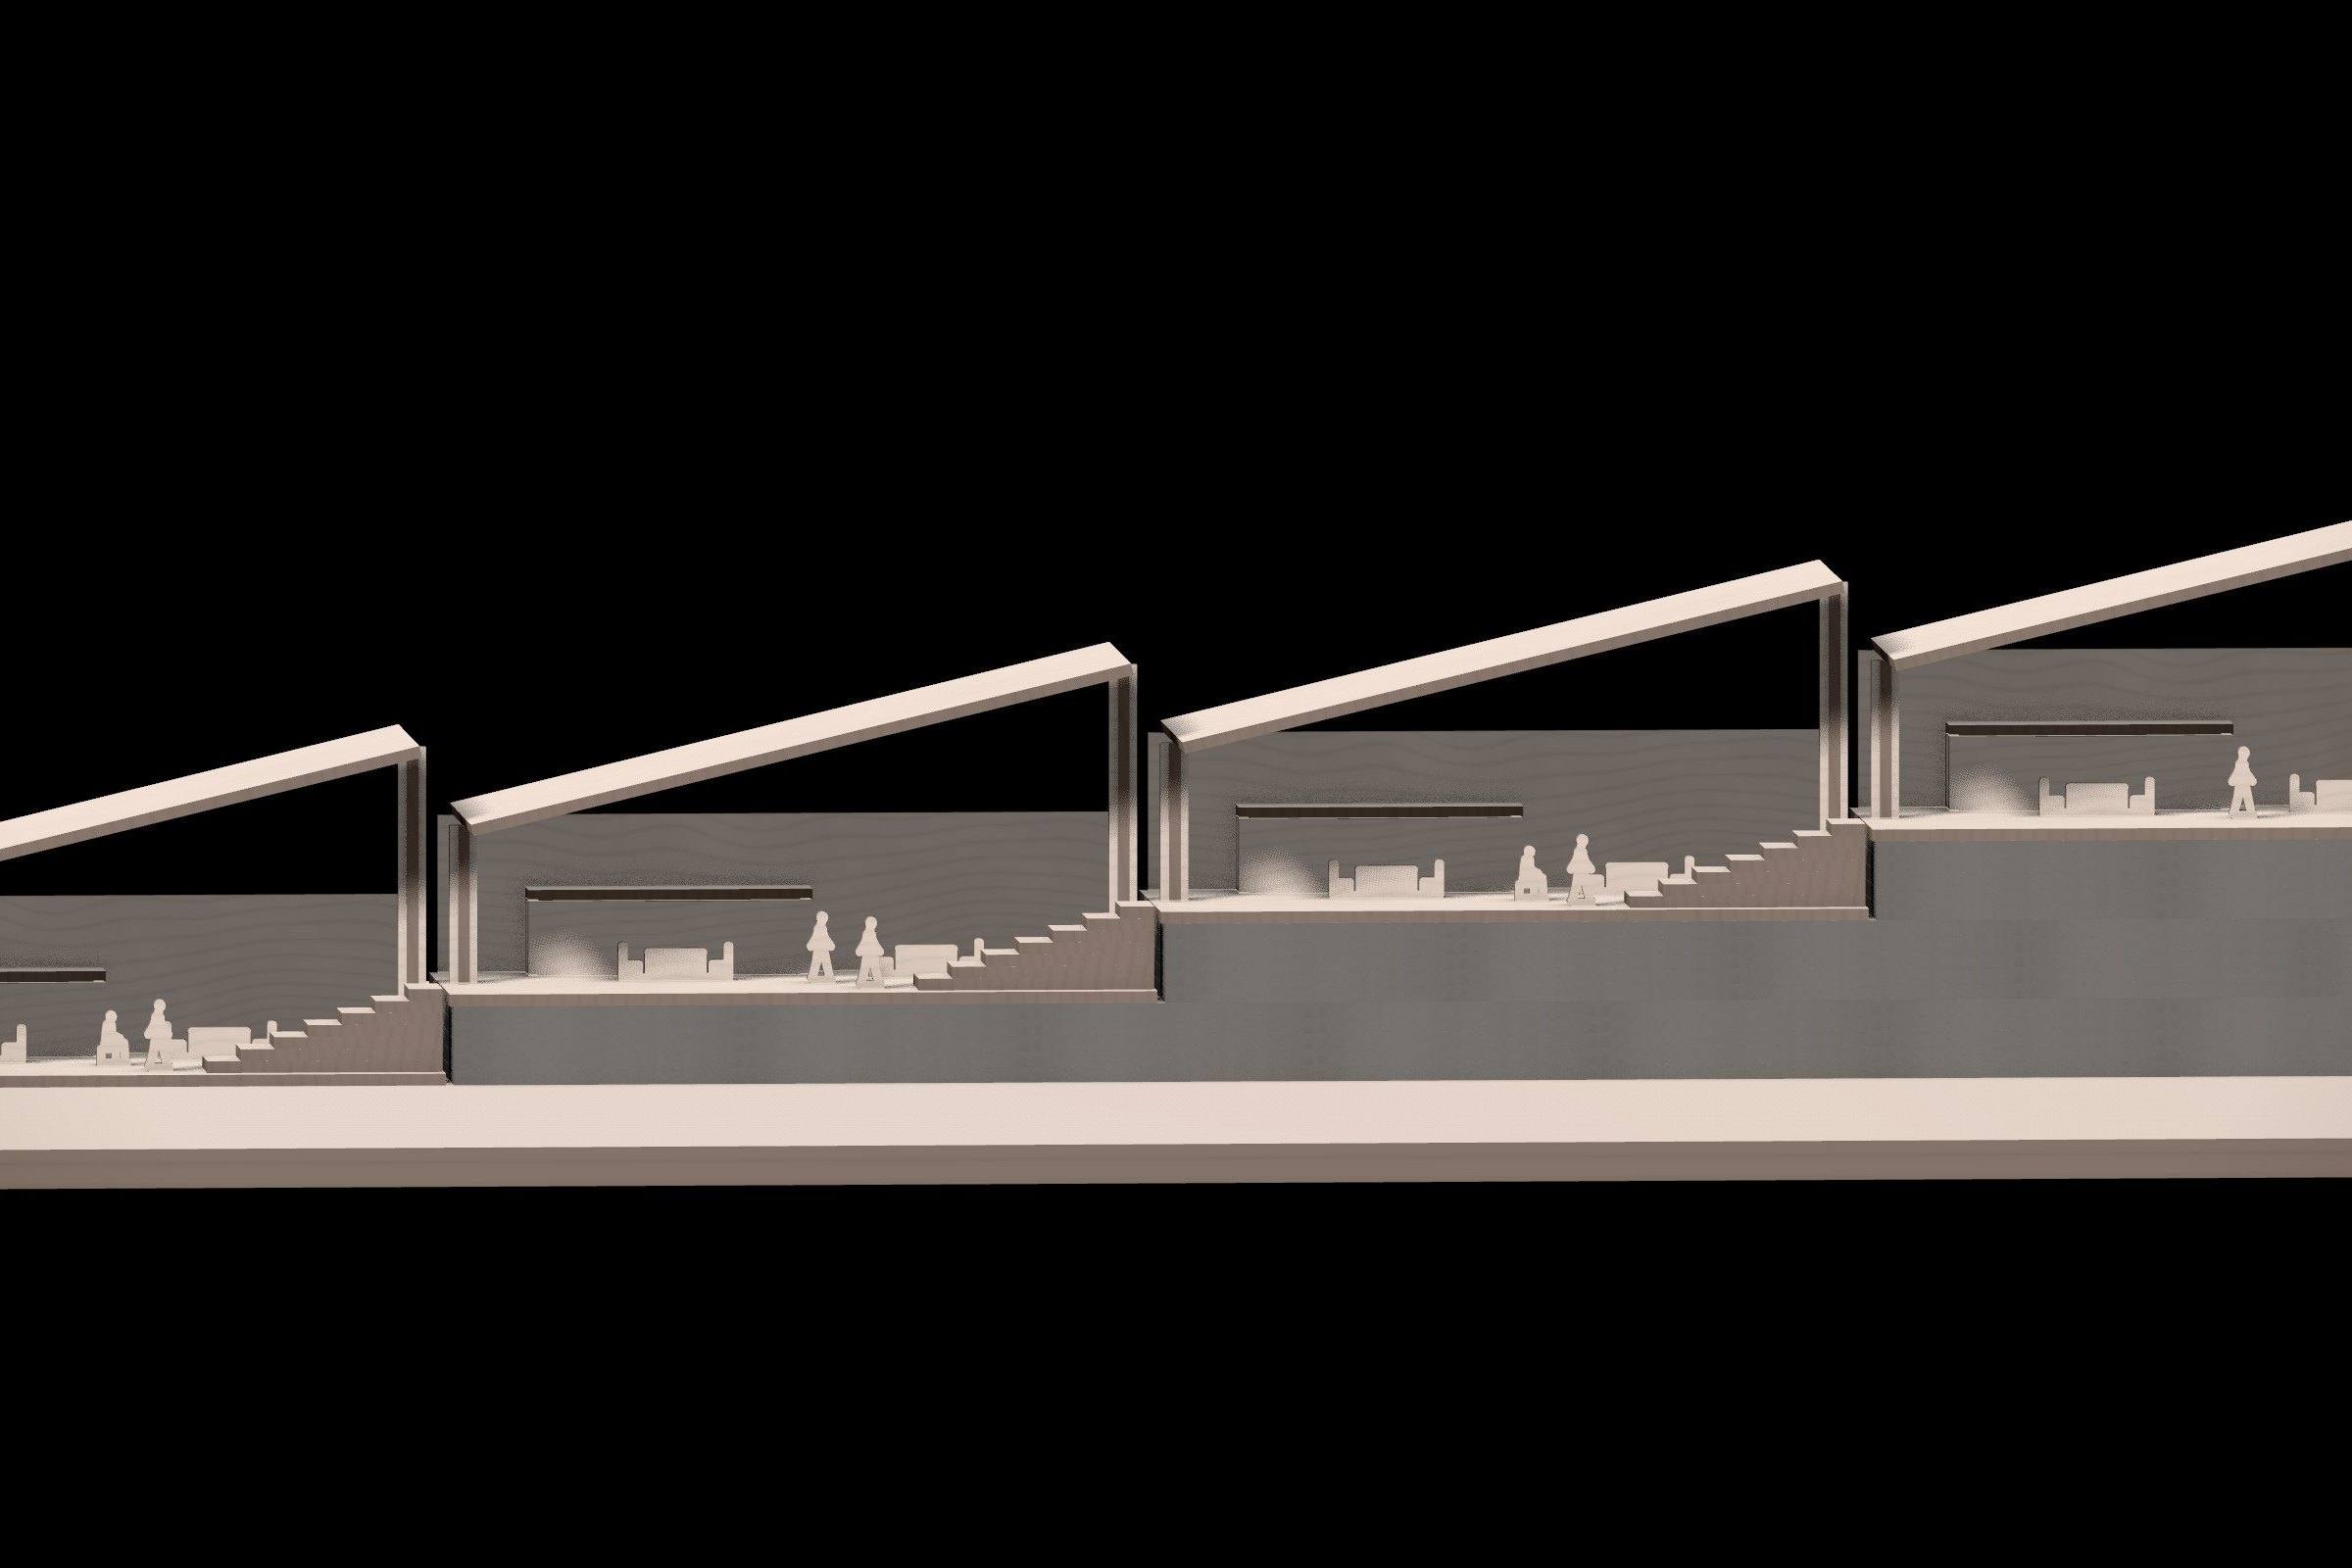
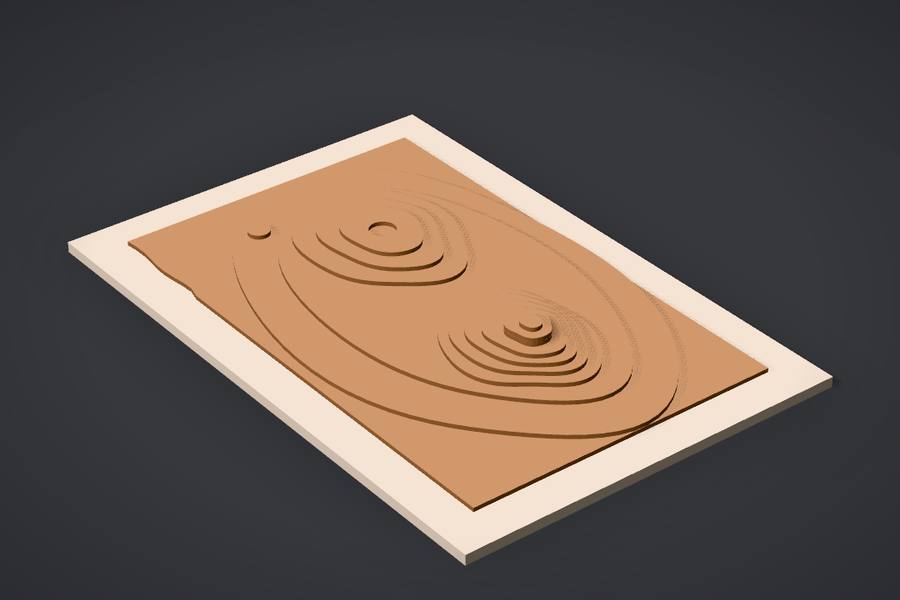
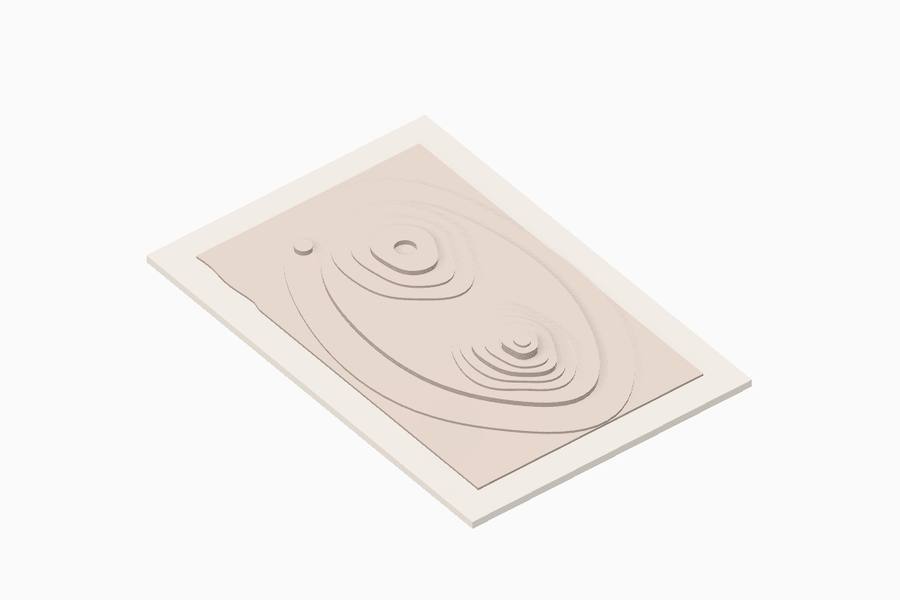
Every model and terrain here was built on the Greyboard table and photographed in its studio. The last three show the same terrain in three presets.
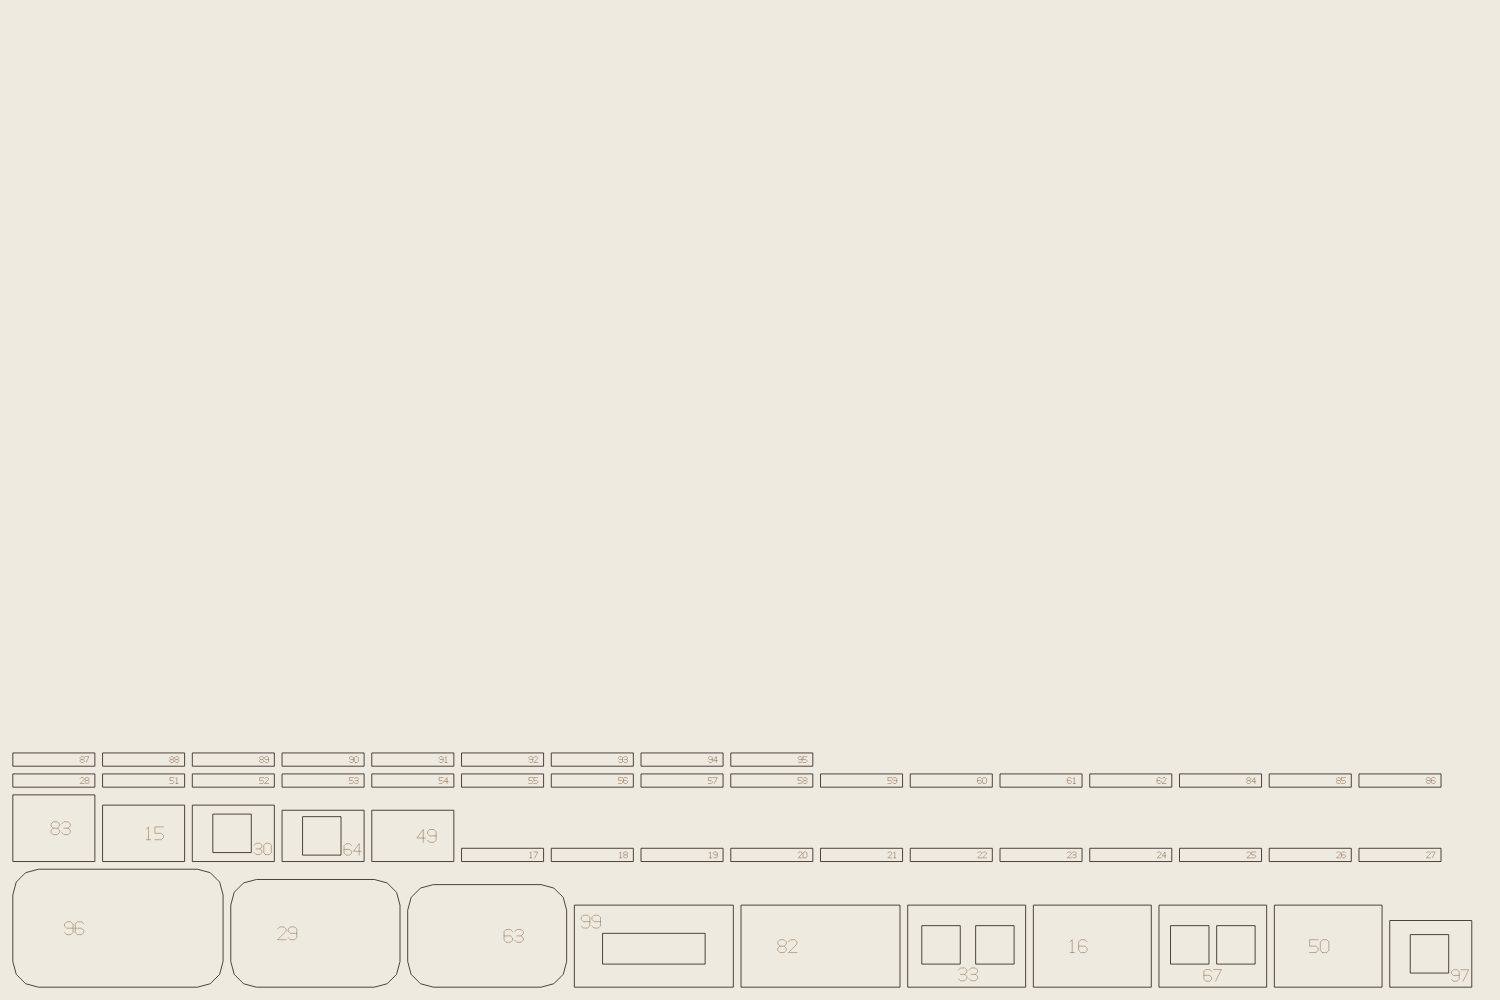
Which studio preset suits which model?
| Preset | Backdrop | Key light | Camera | Good for |
|---|---|---|---|---|
| Dark studio | dark grey #323337, or a warm gradient | soft, from above left, 4700 K; warm light inside glazed rooms | three-quarter view from 30–40°, long lens | kraft and wood, a calm evening mood |
| White world | white #FEFEFE | diffuse daylight, 5600 K | axonometric | white card, massing in context |
| B&W hard light | black #040404 | one hard light about 20° above the horizon, from behind | close, from above, black and white | terrain: every contour casts a stripe |
| Aerial | warm near-black #2C2926 | soft and diffuse; warm light in the openings | 50–60°, almost a plan | site models and masterplans |
| Evening | almost black | weak and cool; warm, bright interiors | raised, wider angle, perspective | glazed buildings at dusk |
| Spot | gradient #050509 → #403A41 | a narrow beam from above, vignette | from the front, at mid-height | towers and shells of fins |
| Section | black #000000 | soft, frontal, onto the cut | square to the section plane | section models |
A preset is a starting point: the direction and height of the light, the softness of the shadow and the lens can all be changed, and Greyboard remembers them.
Why one light and a curved backdrop?
A model reads through its edges. One key light, low enough to rake across the sheets, puts a shadow under every layer and shows the thickness, which is what makes a model look like a model. A curved backdrop, the photographer’s paper sweep, takes away the horizon line, so the eye stays on the base board.
Depth of field does the rest. A soft fall-off towards the far edge tells the viewer at once that the thing is small and made by hand, the way a macro shot of a real model does.
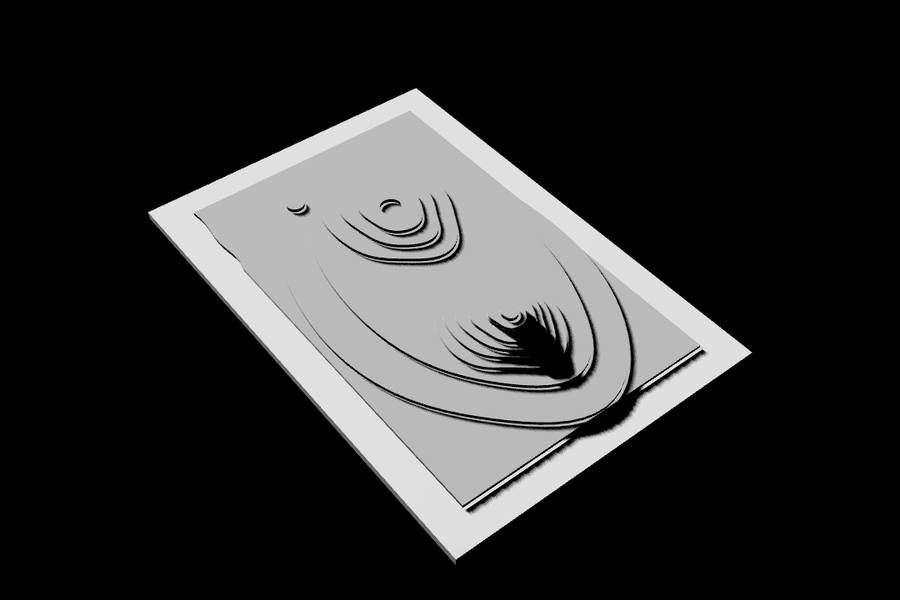
How do you photograph an architectural model?
-
Take the camera
Tap the camera on its tripod. In 700 ms the table turns into a studio: the backdrop rises, the lamp and the tripod fade, and the light moves into the preset.
-
Choose a preset
Dark studio for kraft and wood, White world for white card, B&W hard light for terrain. Aerial looks down on a site; Section looks straight at a cut.
-
Move the light
Set the direction and height of the key light and the softness of its shadow. A low light draws every contour edge; a higher one flattens them.
-
Turn the board and pick a lens
Two fingers turn the turntable. 35 mm takes in the whole site; 85 or 135 mm flattens the perspective, as a long lens does with a real model; axonometric drops it altogether.
-
Take the picture
The viewfinder is 3:2 in landscape and 4:5 in portrait. The shutter dims the view for a moment, and the frame is rendered at 3000 px.
-
Keep the print
Back at the table the picture lies as a sheet of photo paper, overlapping the last one. Tap it to save the PNG: the Share sheet on iPad, a download on a desktop.
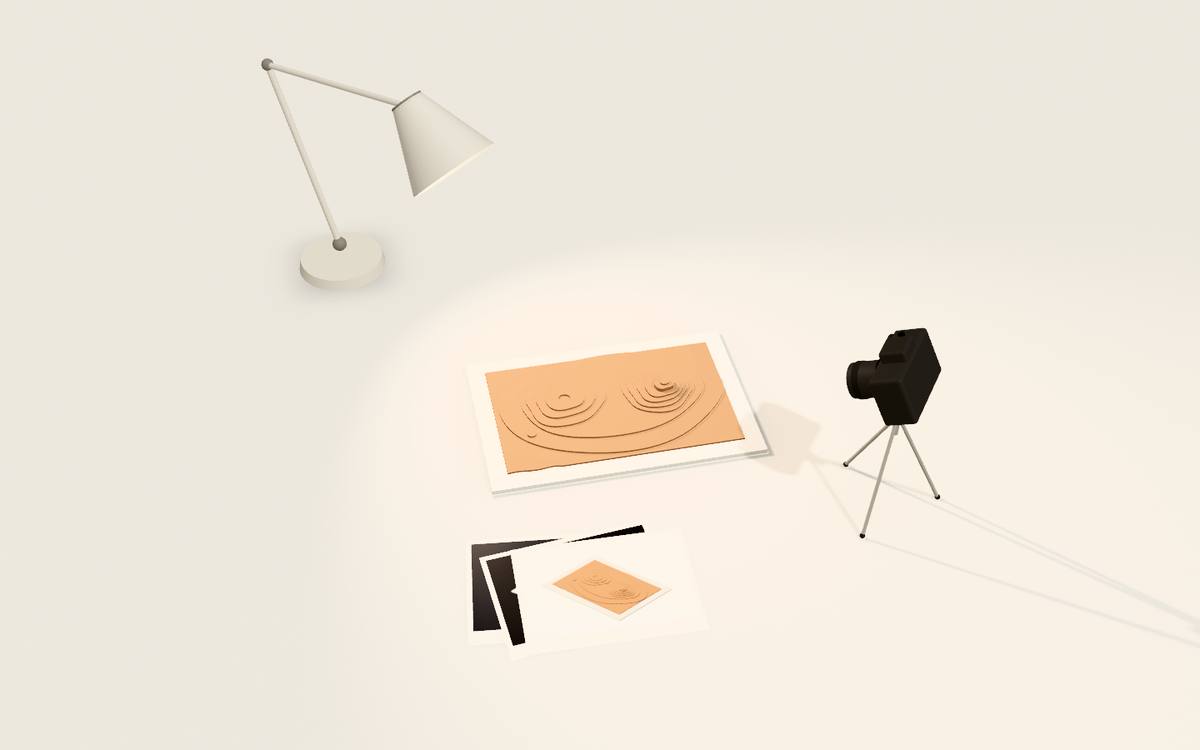
Does the photograph match the model you cut?
In geometry, yes. Every wall in the picture is a plate of a real thickness, and the same plates go to the laser or the knife, so the photo is never a render of something that can’t be made. The colour and the fine texture of each sheet follow the material palette; real kraft and basswood vary a little from sheet to sheet.
Questions about photos
Were these models really made in Greyboard?
Yes. Every model and terrain on this page was built on the Greyboard table and photographed in its studio presets.
What is the best background for photographing an architectural model?
A curved sweep with no horizon line: dark for kraft and wood, white for white card, black for terrain in hard light.
Can I change the light after choosing a preset?
Yes. Direction and height of the light, shadow softness and the lens (35, 50, 85 or 135 mm, or axonometric) can be changed, and the studio remembers them.
Can I save the photos?
Yes. Each picture is a 3000 px PNG. Tap the print on the table: on iPad it goes to Photos or Files, on a desktop it downloads.
Turn the board a little. Then take the picture.
Open the studioFree during the beta · no sign-up · iPad, Mac and PC browsers